What's inside
As an Amazon Associate I earn from qualifying purchases. This post may contain affiliate links at no extra cost to you.
Spring is a good time to build outdoor furniture, but it is also when unfinished wood gets exposed to rain, damp soil, and rapid temperature changes. The finish you choose affects how often you will maintain the piece, how much the grain darkens, and whether water gets into end grain and joints. For most beginners, the best finish is not the one with the hardest film. It is the one you can apply correctly and refresh before the wood starts cracking.
Contents
Choose the Finish by How the Furniture Will Be Used
Start with the furniture’s location. A covered porch has very different demands from a picnic table sitting in full sun. Direct ultraviolet light breaks down wood and finish, while standing water causes swelling, mildew, and peeling.
| Finish type | Best use | Typical maintenance | Main drawback |
|---|---|---|---|
| Penetrating outdoor oil | Deck chairs, benches, cedar, teak, and other rough-sawn projects | Clean and recoat about every 6–18 months | Limited film protection; color fades |
| Exterior stain | General furniture where you want color and moderate protection | Recoat about every 2–4 years | Thin stains may not hide uneven sanding or repairs |
| Exterior paint | Pine, fir, plywood, and furniture needing maximum color coverage | Touch up as needed; full repaint often takes 3–7 years | Peeling is difficult to repair cleanly |
| Exterior spar urethane or varnish | Covered furniture and projects where a clear, glossy finish matters | Inspect yearly; sand and recoat when worn | Can crack and peel in full sun or on wet surfaces |
The Best Outdoor Finishes for Beginners
Penetrating Outdoor Oil
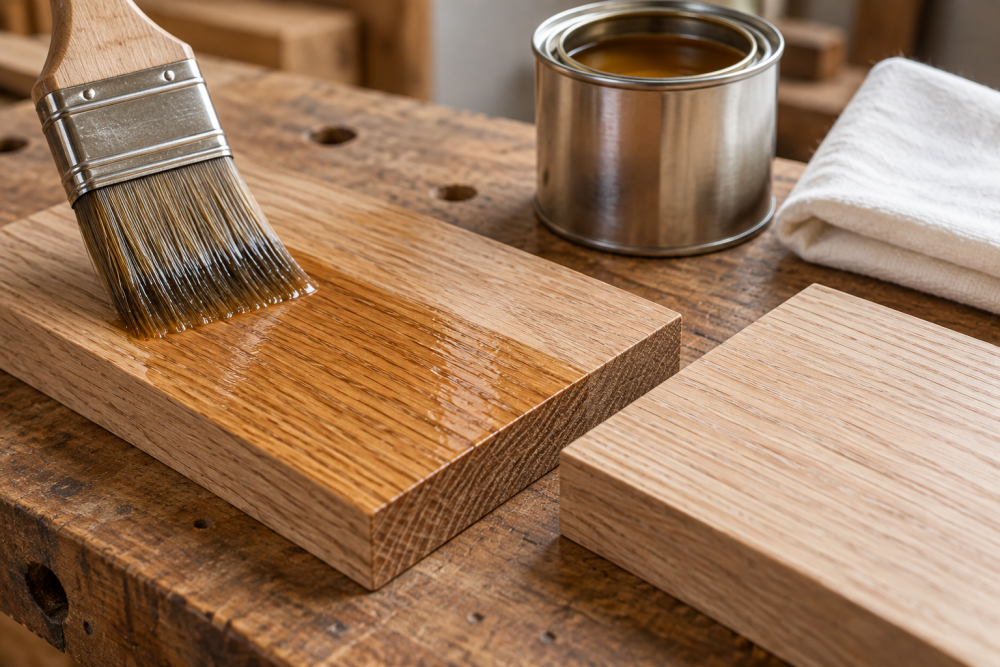
Penetrating oil is the easiest finish for a first outdoor project. It soaks into the wood instead of building a thick surface film, so it will usually fade rather than peel. That makes maintenance simple: wash the furniture, let it dry, and apply another coat.
Look for a product labeled for exterior wood and containing UV protection. Shop exterior penetrating wood oil finishes in a color close to the result you want. “Natural” or clear finishes often provide less visible UV protection than lightly pigmented versions. Oil is a good choice for cedar, redwood, and hardwoods, but it will not stop dents or scratches.
Exterior Wood Stain
Exterior stain is the best all-around choice for many beginner benches, planters, and Adirondack chairs. A semitransparent stain preserves some grain while adding pigment that helps block sunlight. A solid-color stain hides more of the grain and is useful when the wood has mismatched boards or visible filler.
Water-based stains dry faster and produce less odor. Oil-based stains often level well and can look rich, but they need more ventilation and longer drying time. Follow the label rather than guessing: cool spring weather can turn a nominal 24-hour schedule into several days.
Exterior Paint
Paint is usually the most forgiving finish for inexpensive pine, construction lumber, and plywood. It hides color variation, filler, and small sanding mistakes better than clear finishes. Use an exterior wood primer followed by two thin coats of exterior acrylic paint. Paint all faces, including the undersides and end grain, rather than treating only the visible surfaces.
The trade-off is failure mode. Paint forms a film, so water trapped beneath it can cause blistering and peeling. Never paint damp wood. If a moisture meter is available, aim for wood moisture below about 15%; otherwise, allow freshly washed or pressure-treated boards to dry several warm days and test an inconspicuous area.
Exterior Spar Urethane
Spar urethane creates a clear film with some flexibility, but it is not a universal outdoor solution. It works best on furniture protected by a roof, such as a covered porch table. Full-sun furniture sees enough movement and ultraviolet exposure that the coating can crack, cloud, or peel, leaving a difficult repair.
If you use it, apply at least three thin coats and lightly sand between coats according to the label. Round sharp edges first; finish films are thin at corners and fail there early. Do not confuse indoor polyurethane with an exterior-rated spar product.
Prepare the Furniture Before Finishing
Finish cannot compensate for poor construction. Break sharp edges with 120-grit sandpaper, then sand broad faces to 150 grit. Going much finer can burnish some woods and reduce absorption. Remove all dust with a vacuum and a clean, slightly damp cloth. Do not leave sanding residue in open pores.
Pay special attention to end grain. It absorbs water far faster than a board’s face grain. Apply extra finish to the bottoms of legs, exposed end grain, screw holes, and the underside of horizontal parts. For legs, add plastic feet or rubber pads so the wood does not sit in puddles.
Do not finish new pressure-treated lumber immediately. Let it dry until the surface no longer feels cool or damp, then test with a few drops of water. If the drops bead for several minutes, wait longer; if the wood darkens and absorbs the water, it is closer to ready. Sand only after the lumber is dry and stable.
Apply Finish in Safe Spring Conditions
Choose a dry day with temperatures inside the manufacturer’s stated range, commonly between 50 and 90 degrees Fahrenheit. Avoid direct midday sun, which can make a finish skin over before it levels. Avoid application when rain or heavy dew is expected within the product’s recoat or curing window.
Stir finish slowly instead of shaking it, which can create bubbles. Brush with the grain, keep a wet edge, and remove runs immediately. Thin coats are safer than one heavy coat. Thick applications stay soft, wrinkle, or trap solvent underneath. Put the furniture on blocks so you can coat the feet and underside without dragging it through wet finish.
Even water-based products need ventilation. Oil-soaked rags can self-heat and ignite; lay them flat outdoors to dry or store them in a sealed, water-filled metal container before disposal. Keep finished furniture out of rain and heavy use until it has fully cured, not merely until it feels dry.
A Practical Buying Decision
For a first project in full sun, choose a pigmented exterior stain or exterior paint. For a covered porch, penetrating oil or spar urethane is reasonable. For the lowest ongoing cost, paint is often cheaper because it lasts longer between maintenance cycles, though preparation for repainting takes more time.
Buy enough finish to apply the number of coats specified on the label. Coverage varies widely with rough cedar, end grain, and thirsty pine. As a rough planning figure, a quart may cover approximately 75 to 125 square feet for one coat, but check the container and measure the furniture rather than relying on the can’s best-case number.
If you want a low-risk first attempt, use a semitransparent exterior stain on a small offcut from the project. Let it dry for two days, then scratch and wet the sample. This quick test reveals the actual color, sheen, absorption, and whether the finish feels sticky before you commit to the whole chair or table.