What's inside
As an Amazon Associate I earn from qualifying purchases. This post may contain affiliate links at no extra cost to you.
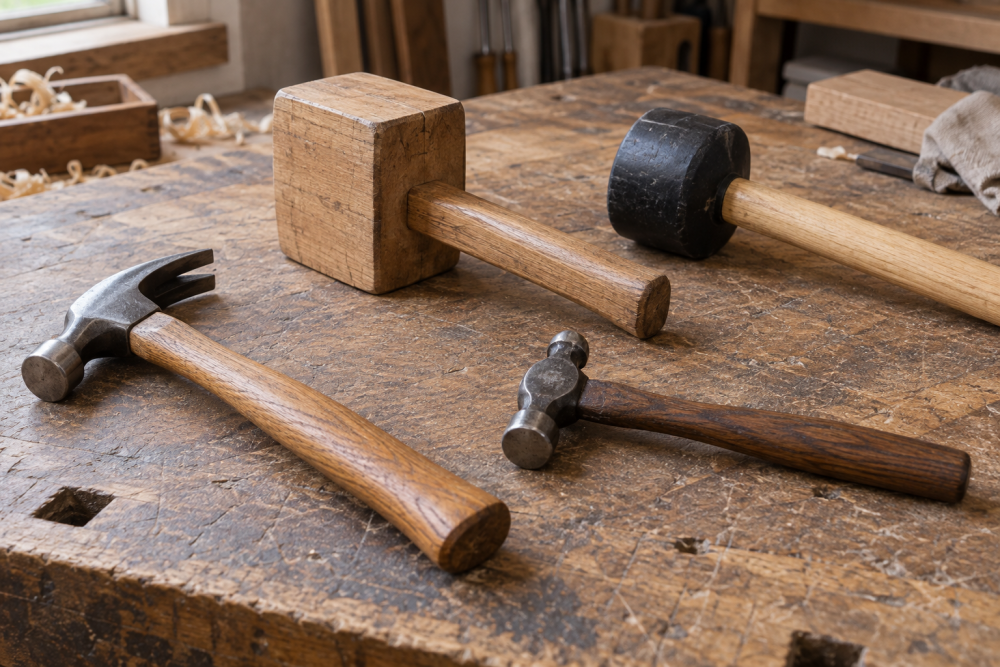
A wooden mallet is a useful first project because it turns short, otherwise awkward offcuts into a durable shop tool. It is also forgiving: small dents and cosmetic defects matter far less than they would on furniture. The basic design below uses a hardwood head, a hardwood handle, and a wedged joint. Allow one afternoon for cutting, shaping, glue-up, and finishing, plus overnight curing time.
Contents
Materials and tools
Choose a dense, straight-grained offcut for the head. Beech, ash, maple, oak, and fruitwoods all work well. Avoid rotten areas, large knots, end checks, and boards with cracks running through the middle. A piece about 250 mm long, 90 mm wide, and 75 mm thick is enough for a general-purpose mallet.
For the handle, use a straight-grained piece approximately 350 mm long, 35 mm wide, and 25 mm thick. Ash is a particularly good choice because it is tough and resists splitting. The finished handle can be thinner than this, but starting oversized gives you room to remove defects.
You will need a handsaw or bandsaw, a plane or rasp, a sharp chisel, a drill, measuring tools, clamps, wood glue, and sandpaper. A wood rasp set is useful for shaping the handle, although a coarse file and a sharp block plane can do the same work. Wear eye protection when cutting and when driving the wedge.
| Head material | Advantages | Drawbacks |
|---|---|---|
| Beech or maple | Hard, dense, clean striking face | Can split if the grain is poor |
| Ash | Tough and relatively easy to shape | More open grain; may dent sooner |
| Oak | Common in scrap bins and very durable | Can be coarse and heavy |
| Softwood | Cheap and easy to cut | Striking faces deform quickly |
Softwood is acceptable for a light-duty mallet used with chisels on softwoods. If you expect to chop hardwoods or knock apart tight joints, spend the time finding a hardwood offcut instead. You do not need premium timber; a sound piece from a pallet or an old furniture component is often sufficient after removing nails, paint, and damaged fibers.
1. Plan the mallet
A practical head is roughly 250 mm long, 75 mm high, and 75 mm thick. These dimensions are not critical. A larger head delivers more momentum but becomes tiring, while a small head is easier to control. For a first build, aim for a finished weight between 700 and 1,000 grams.
Mark the center of the head and the location of the handle hole. Place the hole slightly closer to the back edge than the striking edge, leaving at least 25 mm of wood around every side. This gives the striking face more support and reduces the chance of splitting.
2. Cut and square the head
Cut the head blank slightly oversize. Remove roughly 3 mm from each face with a plane, or make careful saw cuts and true the surfaces afterward. The important faces are the two striking ends and the two broad sides. They do not need to be furniture-perfect, but they should be flat enough that the mallet does not rock in use.
Inspect the grain at both striking ends. If a crack reaches more than about one-third of the way into the blank, discard the piece or cut it shorter. Do not assume glue will repair a structural split. Mark a 5 to 10 mm bevel around each striking face. This bevel prevents the corners from splintering when the mallet hits a chisel or joint.
3. Make and shape the handle
Transfer the handle outline to your blank. A useful starting shape is 300 mm long, 28 mm wide near the head, and 32 mm wide at the lower grip. Keep the section entering the head straight for at least 100 mm. A gentle flare at the bottom prevents your hand from sliding off.
Cut the outline, then remove corners with a plane, rasp, or spokeshave. Aim for a rounded rectangle rather than a perfect dowel. This gives your fingers a better reference and is less likely to twist during a controlled chisel strike. Frequently hold the handle and remove only the high spots. Stop when it feels secure without forcing your grip.
Do not polish the grip yet. A slightly textured surface is easier to hold, especially if your hands are dusty.
4. Cut the socket and fit the handle
Drill a row of overlapping holes through the head at the marked location, staying about 2 mm inside the final outline. A wood drill bit set makes this straightforward. Use a bit slightly smaller than the widest part of the handle, then remove the waste with a sharp chisel.
Work from both sides to reduce breakout. Test the handle often. It should enter about two-thirds of the way by hand and become firm when tapped with a scrap block. If it falls loosely through the hole, the socket is too large. You can make a new handle, but trying to fill a large gap with glue produces a weak joint.
Once the fit is close, mark the handle where it exits the top of the head. Remove the handle and saw a slot down its center, starting at the top and extending 60 to 75 mm. The slot should follow the handle’s long grain.
5. Glue and wedge the joint
Apply ordinary interior wood glue to the handle and the inside walls of the socket. Avoid flooding the hole; trapped glue can prevent the handle from seating fully. Drive the handle through the head until it reaches the marked line or projects 3 to 6 mm above the top.
Cut a hardwood wedge about 60 mm long, 10 to 12 mm wide, and 4 to 6 mm thick at its tallest point. Apply glue to the wedge, align it with the slot, and tap it in until the slot opens slightly and the wedge is firmly seated. Stop if the head begins to split. A wedge that is too thick is a common failure mode.
Leave the assembly clamped or undisturbed for at least 8 hours. After curing, saw the protruding handle and wedge nearly flush. Plane or sand the top smooth, but do not cut below the head surface. The exposed wedge should remain locked in the expanded handle.
6. Finish and test the mallet
Round the head edges with a few passes of sandpaper. Sand the handle through 120 and 180 grit; finer sanding is optional. Apply two thin coats of boiled linseed oil or another penetrating tool-handle finish, wiping off excess after 15 minutes. Allow the first coat to dry fully before applying the second.
Test the mallet on scrap wood before using it on a finished project. Check that the head does not move, the handle has no sharp edges, and the striking faces are reasonably flat. If the head loosens, stop using it immediately. A loose head usually means the socket was oversized, the handle was not fully seated, or the wedge failed to expand the joint. A replacement handle is safer than trying to hide the problem with additional glue.