Key takeaways
- A step-by-step method for cutting drywall with an oscillating multi-tool, including blade choice, depth control and the mistakes that ruin a patch.
What's inside
As an Amazon Associate I earn from qualifying purchases. This post may contain affiliate links at no extra cost to you.
Most drywall cutting goes wrong in the same two ways: the cut wanders off the line, or the blade plunges straight into a wire, a water line, or the back side of a finished wall. A utility knife handles straight cuts on a fresh sheet just fine, but the moment you need to cut a hole in a wall that is already hung, painted, and full of unknowns, a knife starts to fight you. That is where an oscillating tool for cutting drywall earns its place: it plunges from a dead stop, follows a curve, cuts flush into a corner, and lets you control depth to roughly the thickness of the board.
This guide is the procedure I use for cutouts in existing walls and ceilings, plus the setup details that make the difference between a patch that disappears under mud and one that telegraphs forever. Real numbers are included where they matter: standard drywall is 1/2 inch on walls and 5/8 inch on ceilings and fire-rated assemblies, and your blade projection should be set for that, not deeper.
As an Amazon Associate we earn from qualifying purchases at no extra cost to you. Product prices and availability are accurate as of the date shown and are subject to change.


Blade and tool choice at a glance
You do not need an expensive tool for drywall, because drywall is soft. What you need is a blade that clears dust, and a tool that holds the blade tight so it does not wander. Here is how the common blade options compare for this specific job.
| Blade type | Best use on drywall | Watch out for |
|---|---|---|
| Bi-metal segment (round) | Long sweeping cuts, ceiling openings | Loads up with dust, slower in corners |
| Bi-metal plunge (straight, ~1-1/4 in) | Outlet and box cutouts, square corners | Tip wears fastest, keep spares |
| Carbide grit / rasp | Trimming a patch edge to fit | Very dusty, chews the line if rushed |
| Wood plunge blade (coarse tooth) | Drywall plus a stud or nailer behind it | Gypsum dulls wood teeth quickly |
| Flush-cut / scraper | Removing dried mud, cutting to a corner | Not a cutting blade, no depth control |
For nearly all of this work a standard bi-metal plunge blade around 1-1/4 inches wide is the right default. Skip the expensive carbide-tooth blades unless you expect to hit nails or screws. Gypsum is abrasive dust rather than hard material, so blades die from dulling and clogging, not from impact. Buy a multipack.
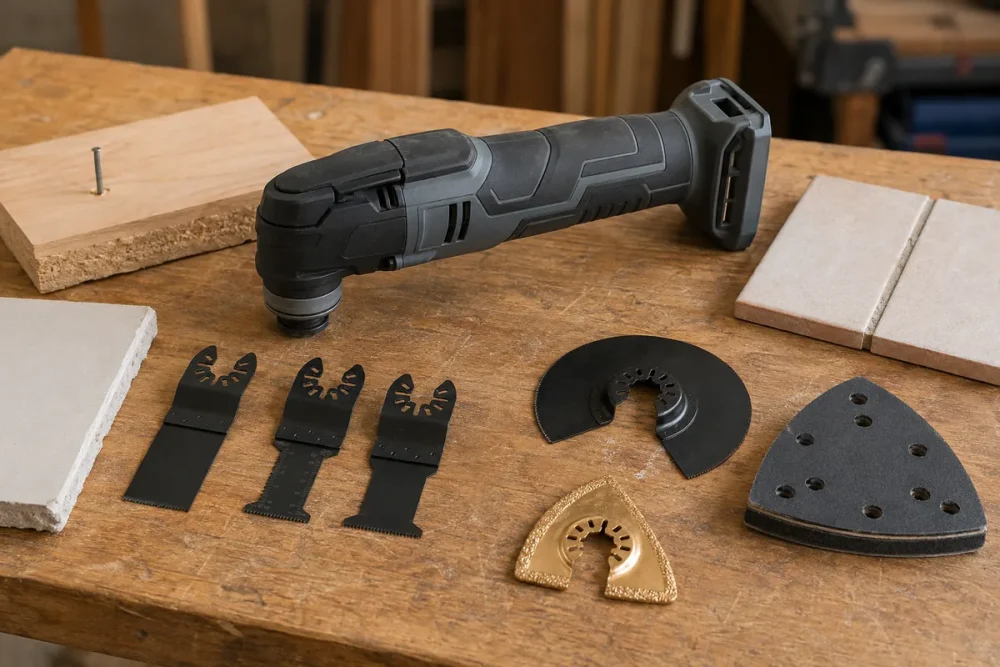
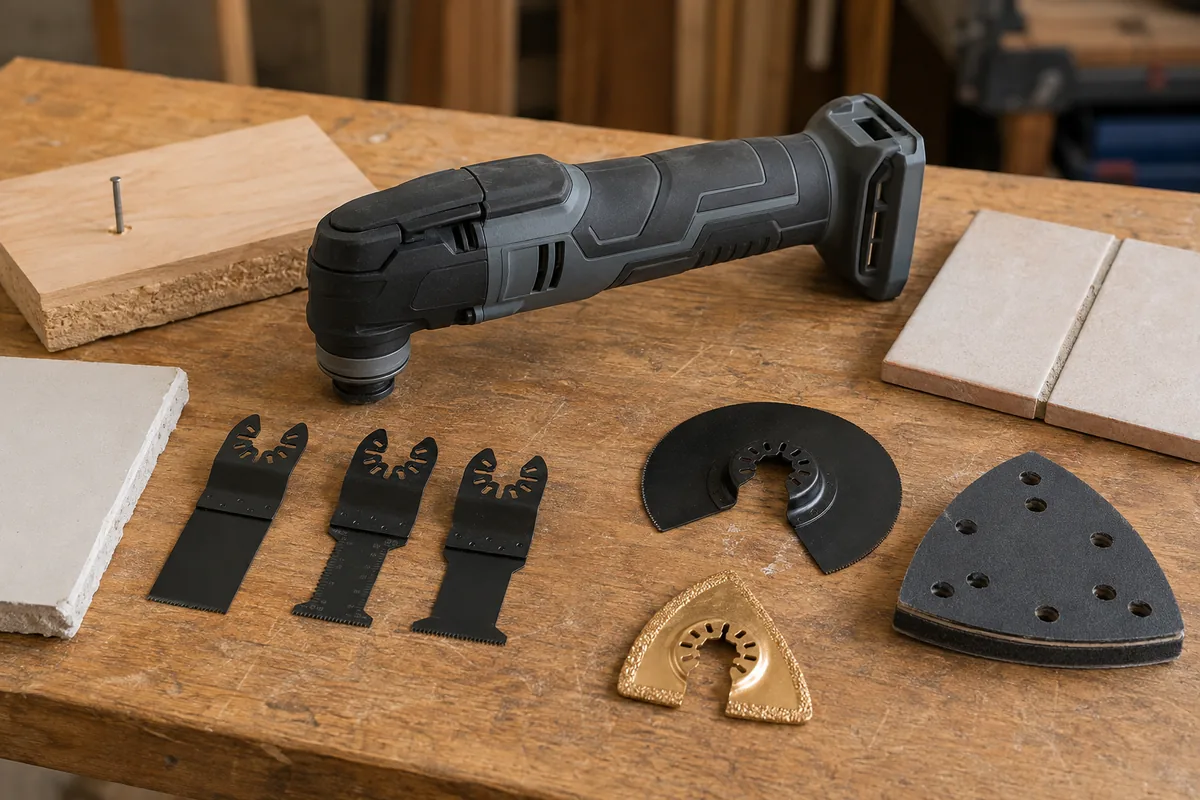
Cordless oscillating multi-tool kit
For drywall work, prioritize tool-free blade changes and variable speed over raw power. Any current brushless platform (DeWalt XR, Milwaukee FUEL, Makita LXT) has far more than enough for gypsum, and cordless matters because you will be reaching over your head and around corners. If you already own a battery platform, buy the bare tool and save the money for blades.
Step-by-step: cutting an opening in existing drywall
Step 1. Find out what is behind the wall before the blade touches it. Run a stud finder across the area and mark stud edges with a pencil, then check for live wires with a non-contact voltage tester or a scanner in AC mode. Kill the breaker for any circuit in that wall. Why this matters: an oscillating blade set at 1/2 inch depth still reaches romex stapled to the face of a stud, and it will nick sheathing before you feel anything change. Look for clues too. Outlets and switches mean vertical wire runs. A bathroom or kitchen on the other side means supply lines.
Step 2. Lay out the cut with a real square. Use a speed square or drywall square and a sharp pencil, not a marker. Keep the opening rectangular and, where you can, extend it so at least one edge lands on the center of a stud. Why: rectangles are easy to patch with a scrap of the same board, and a cut edge over a stud center gives you something to screw the patch to. Odd shapes and floating edges force you into backer strips.
Step 3. Set blade depth deliberately. Hold the blade against the wall and mark it, or simply choke up on the blade in the tool holder so only about 5/8 inch protrudes past the shoe of your hand position. If you are cutting 1/2 inch board, 5/8 inch of projection is plenty. Why: every extra 1/4 inch of exposed blade is another 1/4 inch of reach into wiring, plumbing, or the back face of drywall on the other side of the partition.
Step 4. Start the plunge at an angle, not flat. Set the tool at roughly 45 degrees to the wall, start it at medium-high speed, and let the tip bite before rotating the blade to 90 degrees. Why: plunging flat into the face paper tears it and makes the tool jump off your line. Angling in gives the tip a place to cut.
Step 5. Cut with light pressure and let the blade set the pace. Move at maybe an inch or two per second, keeping the blade square to the surface. Do not lean on it. Why: pushing hard buries the teeth in gypsum dust, which stops the cut and heats the blade. If the tool stalls or smokes, you are pushing.
Step 6. Cut corners last and from both directions. Stop about 1/4 inch shy of each corner, then come back and finish from the adjacent side. Why: trying to pivot in a corner rounds it and overcuts past your line, which shows up as a gap you have to fill.
Step 7. Support the cutout as you finish it. Hold the piece with your free hand or a scrap of tape on the last cut. Why: a falling chunk of drywall tears the face paper on the way out and can snap wires you have already exposed.
Step 8. Clean the edge. Knock the fuzz off with a rasp blade or a drywall rasp and vacuum the opening. Why: loose paper edges soak up mud unevenly and create a ridge you will chase through three coats.
Speed, dust, and depth: the settings that actually matter
Run variable-speed tools at roughly two-thirds to full speed for drywall. Slower speeds sound safer but tend to grab and tear the paper; the highest setting is fine and cuts cleaner, it just makes more airborne dust. If your tool has an orbit or oscillation angle setting, the wider angle cuts faster and rougher, which is fine for demolition and wrong for a cutout you plan to patch.
Dust deserves its own plan. Gypsum dust is fine, it travels, and it settles into everything. Hold a shop vac hose within a couple of inches of the blade with your off hand, or tape a plastic bag under the cut line to catch the fall. Wear an N95 and eye protection: the blade throws dust straight up toward your face on overhead ceiling cuts.
- ✔ Plunges from a dead stop with no pilot hole
- ✔ Depth is controllable, unlike a rotary cutout tool
- ✔ Cuts flush into corners and against trim
- ✔ Handles curves and irregular patch edges
- ✔ Same tool trims the patch to fit
- ✘ Slower than a rotary tool on long production cuts
- ✘ Blades dull quickly in abrasive gypsum
- ✘ Creates more airborne dust than scoring with a knife
- ✘ Vibration gets tiring on overhead work
Common mistakes and how to avoid them
Cutting before locating utilities. This is the only mistake on the list that can hurt you. Scan, test, and kill the breaker. If the wall is above a kitchen sink or behind a bathroom, cut a small inspection hole first and look with a flashlight.
Using too much blade. Full blade projection on a 1/2 inch wall means you are cutting into the cavity, not just the board. Choke the blade up in the clamp.
Freehanding the layout. Eyeballed openings become trapezoids, and a trapezoid patch needs a custom-cut plug. Two minutes with a square saves twenty minutes of mudding.
Overcutting the corners. Overcuts show through joint compound as hairline cracks once the wall moves. Stop short and finish from the other direction.
Forcing a dull blade. When the cut slows and the dust turns to powder rather than chips, change the blade. A dull blade tears paper and burns the tool’s motor for no benefit.
Skipping the vacuum. Dust that lands on the surrounding wall gets pressed into your mud and creates a gritty texture that shows under paint.
Bi-metal plunge blade multipack
Drywall is abrasive, so treat blades as consumables rather than investments. A multipack of 1-1/4 inch bi-metal plunge blades in a universal fitment costs a fraction of premium carbide and is the correct choice for gypsum. Check that the arbor matches your tool, since older Fein and Bosch OIS mounts differ from newer universal shanks.
When a different tool is the better call
An oscillating tool is the right choice for cutouts in hung walls, tight corners, patch fitting, and anywhere depth control matters. It is the wrong choice for hanging a room of new board. For that, score and snap with a utility knife, and use a rotary cutout tool with a guide bit for outlet boxes once the sheet is screwed up. For a doorway-sized demolition opening, a reciprocating saw is faster, though it has no depth control at all and should never go into a wall you have not scanned.
Keep a drywall saw in the bag as well. For a single small hole in an interior wall where you already know the cavity is clear, a hand saw is quieter, dust-free by comparison, and takes ten seconds.
Frequently asked questions
What blade should I use to cut drywall with an oscillating tool? A standard bi-metal plunge blade about 1-1/4 inches wide covers almost everything. Use a segment blade for long sweeping or curved cuts, and switch to a coarse wood plunge blade only if you expect to cut through a stud or nailer behind the board.
Will an oscillating tool cut through electrical wire? Yes, easily, and it will not warn you first. Always scan the wall, test for voltage, and shut off the relevant breaker. Limiting blade projection to just past the board thickness, roughly 5/8 inch for 1/2 inch drywall, dramatically reduces the risk.
Is an oscillating tool better than a rotary cutout tool for drywall? For existing walls, yes, because you control depth and can plunge exactly on your line. For new construction, where you are cutting dozens of box openings on a freshly hung sheet, a rotary cutout tool with a guide bit is considerably faster.
Get the layout square, keep the blade short, know what is behind the wall, and the cut takes less time than the patching will. If you need to add a tool or restock blades before the next project, start here.
Check prices on Amazon →