What's inside
As an Amazon Associate I earn from qualifying purchases. This post may contain affiliate links at no extra cost to you.
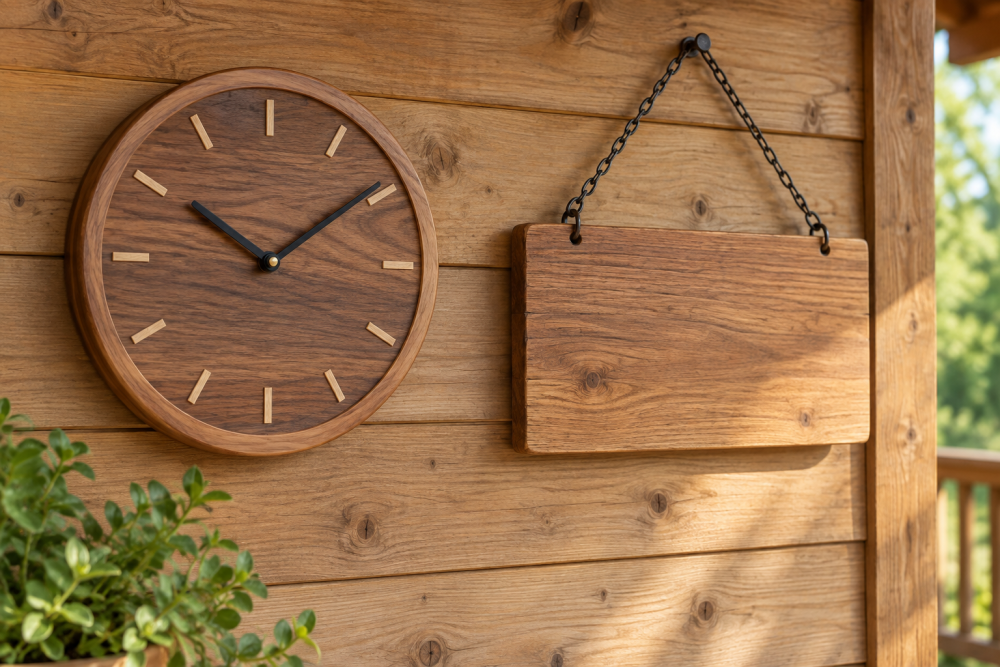
A simple wooden wall clock is a manageable weekend project: make a round wooden face, drill one accurate hole, and fit a battery-powered movement. The main challenges are keeping the blank flat, centering the hole, and choosing a movement that suits the clock’s thickness and hand size. This plan makes a 12-inch clock with a clean face and no carved numerals.
Contents
Plan the clock and choose materials
Use a 12-inch-diameter, ¾-inch-thick panel. A glued-up hardwood panel is stable and easy to finish; ¾-inch plywood is cheaper and less prone to seasonal movement, though its edge layers will show unless you cover or finish them deliberately. Pine works, but dents easily. Avoid a wide, solid-wood disk cut from a single board: changes in humidity can make it cup or split.
For a straightforward build, gather a panel at least 13 by 13 inches, a clock movement with hands, a drill and bits, a jigsaw or bandsaw, sandpaper from 120 to 220 grit, finish, and a hanging method. A battery clock movement kit with hands is usually the simplest option. Check its stated maximum dial thickness before buying: some movements suit thin panels only, while others have longer shafts.
Movement type is a practical trade-off, not a matter of appearance alone.
| Movement choice | Best for | Check before buying |
|---|---|---|
| Standard quartz | Quiet rooms and a smooth-looking face | Dial thickness and hand clearance |
| Sweep quartz | A seconds hand that moves continuously | Battery life and movement depth |
| High-torque movement | Long or heavier hands | Published hand-length limit; it may tick audibly |
Prepare and mark the blank
Cut the panel roughly square if it is not already. Mark the center by drawing lines between opposite corners. Their intersection is a useful starting point, but verify it by measuring 6 inches from the intended center to several points around the perimeter. A small error becomes obvious when the clock is on a wall.
Draw a 12-inch circle with a compass or a trammel made from a strip of scrap with a pivot hole and a pencil hole 6 inches away. Clamp the panel to a workbench and cut just outside the line. Use a bandsaw if available; a jigsaw is fine if you move slowly and keep the base flat. Leave the line visible, then sand the edge to it with a sanding block or spindle sander.
Wear eye protection and keep hands clear of the blade path. A jigsaw can tear fibers at the back of the panel, especially in plywood. If both faces matter, place the better face up and use a fine-tooth blade; on plywood, a zero-clearance backing board can reduce tear-out. Sand the face flat, starting at 120 grit only where needed, then progress to 180 and 220. Do not round over the perimeter so much that the clock looks lopsided.
Drill the center hole and test-fit
Read the movement instructions for the required hole diameter; many use a hole around ⅜ inch, but do not assume. Clamp a scrap board beneath the clock face and drill from the front with a sharp bit. The backing board helps prevent blowout as the bit exits. Keep the drill perpendicular to the face. An angled hole can make the movement sit crooked and cause the hands to rub.
Test-fit the movement before finishing. The threaded shaft must pass through the panel with enough thread left for its washer and retaining nut. If it is too short, use a thinner panel or a movement with a longer shaft; do not deepen the front of the hole by guesswork. That can leave too little wood around the opening. Confirm that the movement body fits behind the face and that the hands clear one another and the wood.
Lay out a readable, simple face
A plain face can be just wood grain and hands. If you want markers, draw a light vertical and horizontal line through the center, then mark the 12, 3, 6, and 9 positions at the rim. Add the other eight hour marks halfway between them. On a 12-inch face, keep markers several millimeters inside the edge so they do not disappear around the curve.
For a durable, low-risk layout, use a pencil and ruler, then paint or apply thin markers. A wood-burning tool gives a permanent result but requires a steady hand and practice on scrap. Avoid cutting deep grooves near the edge: they collect finish and make the face harder to sand evenly. Before committing, place the hands over the layout and check that the markers remain visible.
Finish the face and assemble
Remove dust with a vacuum and a clean cloth. Apply a finish that suits the room: a water-based clear coat keeps pale wood light, while oil deepens grain but can amber it. Follow the label and let each coat dry fully. Apply finish to the back and edge as well as the front to reduce uneven moisture exchange. Keep finish out of the center hole; a buildup there can prevent the movement from seating.
After curing, install the movement according to its instructions, with the washer and nut in the specified order. Tighten the nut snugly, not hard enough to crush the wood. Fit the hour hand, minute hand, and seconds hand if included. Set them to 12 o’clock and make sure they point in the same direction. Rotate them through a full cycle by hand only if the maker permits; otherwise, install a battery and observe the clock. If the hands touch, gently adjust their spacing rather than bending them sharply.
Hang it and check for common problems
Use the movement’s hanger only if it is firmly attached and the wall fixing suits the wall material. A small keyhole plate or a securely mounted sawtooth hanger is another option. Center the hanger over the movement, not by eye from the clock edge, and use a screw and anchor rated for the clock’s weight. On drywall, a screw driven into a stud is the most reliable choice.
If the clock stops, first check the battery orientation, then inspect for hands rubbing the face, one another, or the case. A clock that loses time may have a weak battery or a faulty movement. If it runs accurately on a table but stops when hung, the hands may be touching because the movement or face is tilted. Remove the battery before adjusting them. Fixing those small alignment problems is usually quicker—and cheaper—than replacing a movement that is still working.