What's inside
As an Amazon Associate I earn from qualifying purchases. This post may contain affiliate links at no extra cost to you.
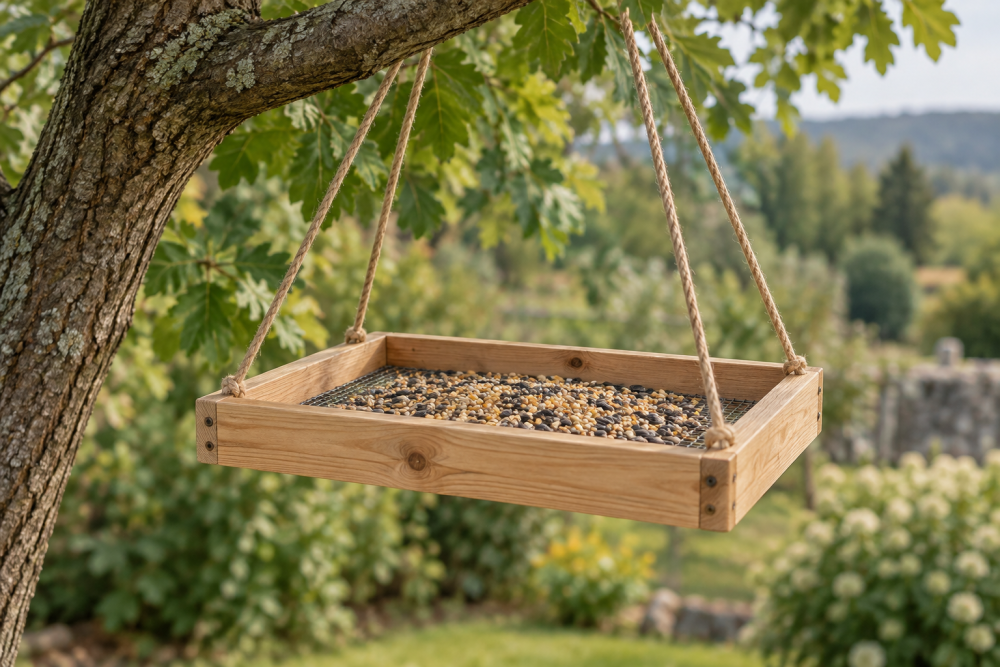
A wooden bird feeder with a removable seed tray is a useful beginner-to-intermediate woodworking project. The tray makes the feeder easier to clean, and the open design lets you see when it needs refilling. This plan uses common lumber, a simple pitched roof, and a tray that slides out without removing the feeder from its post or hanger.
Contents
Project Overview and Skill Level
This feeder is about 12 inches wide, 10 inches deep, and 11 inches tall, not including the hanging hardware or mounting post. It holds roughly 2 to 3 quarts of seed, depending on the tray depth and seed mix. Allow 3 to 5 hours for cutting, drilling, sanding, and finishing, plus drying time.
| Material | Advantages | Drawbacks |
|---|---|---|
| Cedar | Rot-resistant, light, easy to work | Soft and prone to splitting near screws |
| Pine | Cheap, widely available, easy to cut | Needs better protection from rain and rot |
| Exterior plywood | Stable and useful for the roof and tray bottom | Edges must be sealed; avoid indoor-grade plywood |
Cedar is the best all-around choice if the feeder will be exposed year-round. Pine is perfectly reasonable for a sheltered location or a low-cost first build. Avoid pressure-treated lumber inside the seed area. The chemicals and surface residue are unnecessary around bird feed.
Materials and Tools
Buy one 1×8 cedar board at least 6 feet long, one 1×6 board about 4 feet long, and a small piece of 1/2-inch exterior plywood. Nominal 1x boards are actually about 3/4 inch thick, so check the real dimensions before cutting. You will also need exterior screws, waterproof wood glue, two small hinges or a pair of tray slides, and a latch or stop to keep the tray from sliding out accidentally.
For the finish, use an exterior water-based sealer on the outside only. A natural-oil finish can also work, but it generally requires more frequent renewal. An exterior water-based wood sealer is the simpler choice for most builders.
Use a tape measure, combination square, pencil, circular saw or table saw, drill, countersink bit, 1/4-inch drill bit, clamps, and sandpaper from 80 through 180 grit. A miter saw is convenient but not essential. If you are buying a drill for this project, a basic cordless drill-driver kit is enough; you do not need a high-torque model.
Cut List
Cut the following parts:
- Two side panels: 10 inches long by 7 1/4 inches wide
- Two end panels: 10 inches long by 7 1/4 inches wide
- One tray bottom: 10 inches by 10 inches
- Four tray sides: two at 10 inches by 1 1/2 inches, and two at 8 1/2 inches by 1 1/2 inches
- Two roof panels: 13 inches by 7 inches
- One ridge strip: 13 inches by 1 1/2 inches
On each end panel, mark a centered triangular peak. The lower rectangle is 7 1/4 inches high; add a 3-inch-tall triangle above it. Cut the two sloping roof lines carefully. The peak should be centered within about 1/8 inch. Small inaccuracies will show at the roof joints, but they will not ruin the feeder.
Build the Removable Seed Tray
Start with the tray because it determines the inside dimensions of the feeder. Attach the four 1 1/2-inch-high sides around the plywood bottom with exterior screws and glue. The shorter side pieces fit between the longer ones. Drill 1/8-inch pilot holes first, especially in cedar, and countersink the screws so they do not catch seed or scrape the feeder walls.
Keep the tray slightly loose. Sand its outside edges until it slides in and out without binding. Aim for about 1/16 inch of clearance on each side. Wood swells in damp weather, and a tray that fits perfectly in the workshop may jam after a wet week. Add a small finger hole or half-moon notch in the front edge so you can pull the tray out while wearing gloves.
Do not make the tray sides excessively high. A 1 1/2-inch wall holds seed while keeping the tray accessible for cleaning. Drill two or three 1/4-inch drainage holes in the bottom. Without drainage, wet seed can turn moldy within days.
Assemble the Feeder Box
Stand the two side panels and two peaked end panels around the tray. The end panels should sit between the side panels, creating a box roughly 10 inches square. Clamp the parts together, check that the tray slides freely, and then drive exterior screws through the side panels into the end panels.
Leave the bottom open except for the removable tray. If you add a fixed floor beneath the tray, spilled seed and droppings will collect in a difficult-to-clean cavity. The open-bottom design is less tidy during filling, but it is healthier and easier to maintain.
At this stage, test the feeder for square by measuring diagonally from corner to corner. The two measurements should be within about 1/8 inch. If they differ more, adjust the clamps before the glue sets. A crooked box can make the tray bind and leave gaps under the roof.
Fit the Roof and Hardware
Center the two roof panels over the peaked ends, leaving about 1 1/2 inches of overhang at the front and back and about 1 inch at each side. Screw the roof panels to the side and end panels. Add the ridge strip over the roof joint to reduce water entry. A thin bead of exterior sealant under the ridge strip is useful, but do not seal the removable tray or any drainage path.
Install a small stop at the rear of the tray opening. A simple 1-inch block held by one screw works better than a complicated latch. The tray should stop firmly but still be removable. If the feeder will hang where squirrels or raccoons can reach it, use a small barrel bolt or hook-and-eye on the front. Otherwise, a wooden stop is the cheaper and simpler option.
For hanging, screw two eye screws into the roof support area rather than relying on one screw in thin roof stock. Use a weather-resistant hanging chain rated well above the feeder’s loaded weight. If mounting to a post, attach a 1×4 back cleat across the inside of the feeder and use galvanized exterior screws through the cleat.
Sand, Finish, and Maintain It
Round every exposed corner with 120-grit sandpaper, then sand the visible surfaces to 150 or 180 grit. Do not polish the seed tray excessively; a slightly textured surface helps seed stay in place. Remove dust before applying finish.
Apply two thin coats of exterior sealer to the outside surfaces, including the end-grain edges and roof joints. Keep finish off the inside of the tray and the areas where seed rests. Let the feeder cure completely according to the product instructions before filling it. If you prefer a completely untreated interior and exterior, cedar can handle that, but it will turn gray and eventually weather faster.
Empty and brush the tray every few days in wet weather. Wash it with hot, soapy water when seed becomes damp, moldy, or fouled by droppings, then dry it fully before refilling. Replace cracked tray bottoms, loose screws, or softened wood promptly. A feeder that cannot be cleaned is not worth preserving.