What's inside
As an Amazon Associate I earn from qualifying purchases. This post may contain affiliate links at no extra cost to you.
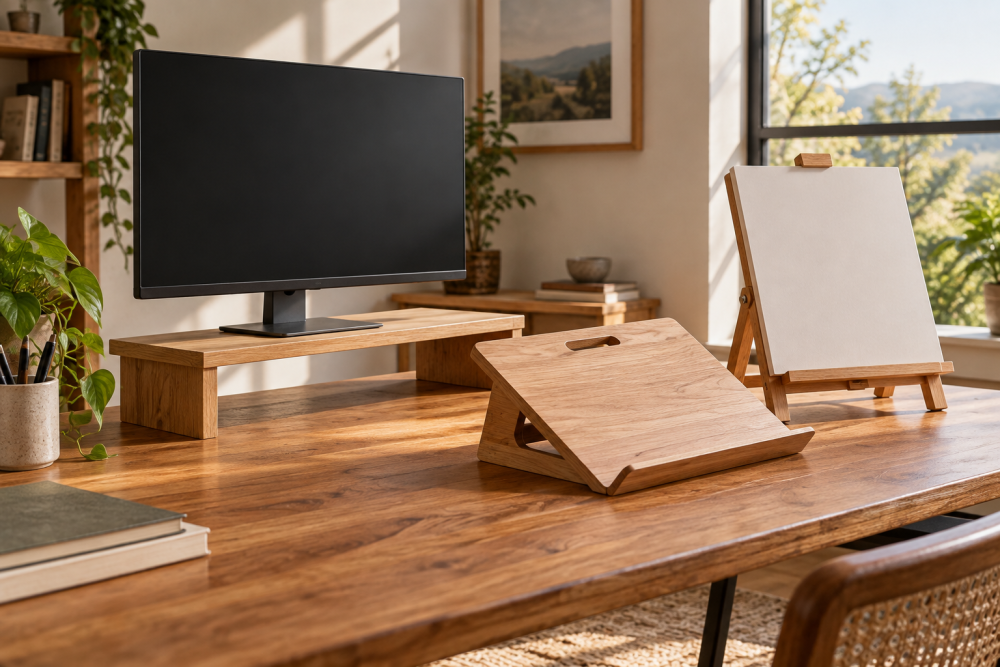
A wooden desk riser is a useful weekend project when you need more monitor height, a little storage, or a cleaner work surface without replacing the desk. This design is a shallow box with an open shelf underneath. It is strong enough for a monitor, laptop, or small speakers, and simple enough for a first woodworking project.
Contents
Project overview
The finished riser is approximately 36 inches wide, 10 inches deep, and 5 inches tall. That size fits one large monitor or two smaller monitors, while leaving room underneath for a keyboard, notebook, or small storage bins. Adjust the width to suit your desk, but avoid making it deeper than necessary: a deep riser can reduce usable desk space and become awkward to reach over.
| Material | Advantages | Drawbacks |
|---|---|---|
| 3/4-inch plywood | Stable, strong, economical, easy to paint | Exposed edges need edging or filler |
| 3/4-inch pine boards | Easy to find, attractive when stained | Can warp; glued panels may be uneven |
| 1-inch solid hardwood | Durable and furniture-like | More expensive and heavier |
For most builders, 3/4-inch plywood is the best choice. A cabinet-grade sheet gives cleaner faces than construction plywood, but the cheaper material is fine if you plan to paint the riser. If you want visible wood grain, use veneered plywood or clear pine and spend more time sanding.
Materials and tools
You will need one 3/4-inch-by-4-foot-by-2-foot plywood panel, or equivalent boards, plus wood glue and 1 1/4-inch screws. Add four rubber or felt feet, sandpaper, and paint, stain, or clear finish. Optional materials include iron-on edge banding, wood filler, and two small storage boxes that fit the opening.
Useful tools include a tape measure, pencil, square, drill, countersink bit, and saw. A circular saw with a straightedge guide produces accurate cuts, while a table saw is faster if you already have one. A random-orbit sander is convenient, but a sanding block works for this small project. If you do not own a drill, a basic cordless drill driver is sufficient; this is not a job that requires a high-end tool.
Cut list
For the 36-by-10-by-5-inch version, cut the following pieces:
- Top: 36 by 10 inches, one piece
- Side panels: 4 1/4 by 10 inches, two pieces
- Center divider: 4 1/4 by 10 inches, one piece
- Optional back stretcher: 3 by 34 1/2 inches, one piece
The side and divider height is 4 1/4 inches because the 3/4-inch top brings the total height to 5 inches. The divider splits the storage opening and also prevents the top from sagging. If you plan to support a very heavy ultrawide monitor, use two dividers or reduce the overall width.
Cut and prepare the pieces
Measure each cut rather than assuming the plywood is square. Mark the cut line across the panel with a square, then support the offcut so it does not tear away at the end. A circular saw guide rail can make straight cuts easier, but a clamped, straight board works nearly as well.
Dry-fit the pieces on a flat surface. Check that both side panels are the same height and that the divider fits between them. Sand all cut edges with 120-grit paper, followed by 180-grit. Do not round the edges heavily; a small eased edge is enough to prevent splinters while keeping the assembly square.
Assemble the riser
Mark the divider location on the underside of the top. For two equal openings, place the divider center at 18 inches from either end. Apply a thin, continuous bead of wood glue to the top edge of each side panel and the divider, then position the top over them.
Drill pilot holes through the top into each support. Use two screws at each side panel and three or four at the divider, spacing them evenly. Countersink the holes so screw heads sit just below the surface. A small woodworking clamp set helps hold the divider in position, although careful hand placement and pilot holes are enough for a compact riser.
Wipe away glue squeeze-out immediately with a damp cloth. If you wait until the glue hardens, you may remove finish unevenly. Check the riser with a square before the glue sets. Measure the diagonals of the assembled frame; if they differ by more than about 1/8 inch, push the structure square and clamp it.
Add the back and feet
The riser can remain open at the back, which makes cables easier to route. For extra stiffness, install the optional back stretcher between the sides, about 1 inch below the top. Drive screws through the side panels into the stretcher, using pilot holes to avoid splitting.
Attach four rubber feet near the corners on the underside. Use a fifth foot near the center if the riser will carry a heavy monitor. Feet protect the desk and compensate for minor unevenness. Felt pads are cheaper, but they compress and slide more easily; rubber feet are the better choice for a permanent setup.
Finish and storage
Fill visible screw holes with stainable filler if you are using a clear finish, or ordinary filler if you are painting. Sand the filled areas after they dry. Apply two or three thin coats of water-based polyurethane for a quick, low-odor finish. Paint is more forgiving when the plywood edges are unattractive, but prime first because raw plywood can absorb paint unevenly.
Before buying bins, measure the openings after assembly. A bin listed as 16 inches wide may actually be slightly larger at its rim. Leave at least 1/2 inch of clearance in width and height so it slides out without catching. Small fabric storage bins are quiet and inexpensive; wooden boxes look better but add weight and cost.
Safety and common mistakes
Wear eye protection when cutting and drilling, and support plywood on sacrificial boards. The most common failure is driving screws without pilot holes, which can split the side panels or cause the top to bulge. Another is making the divider slightly too tall; it will hold the top up before the glue joint closes. Cut it 1/16 inch short if necessary and rely on glue and screws for the joint.
Finally, test the riser with more weight than you expect to use. Place the monitor and accessories on top, then check for rocking, screw movement, or top deflection. If the top bends noticeably, add another divider or a back stretcher rather than simply adding longer screws.