What's inside
As an Amazon Associate I earn from qualifying purchases. This post may contain affiliate links at no extra cost to you.
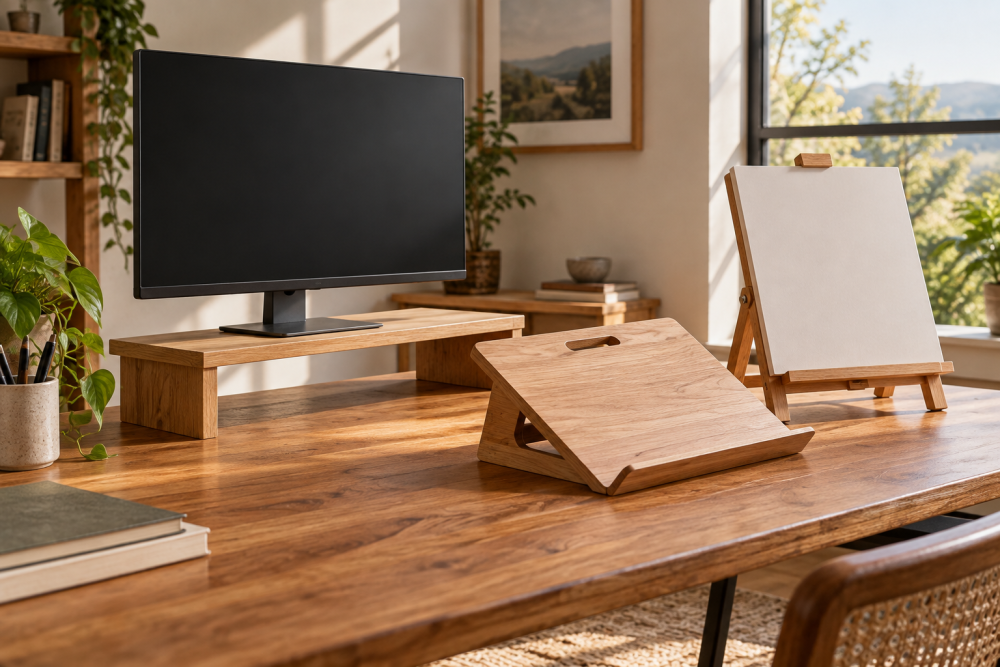
This stand is a simple weekend project: a tilted wooden platform with two cable notches at the back and a stop at the front to keep a laptop from sliding. The plan below fits a typical 13- to 15-inch laptop. Measure your own machine before cutting; a wide gaming laptop or an unusually deep model may need a larger platform.
Contents
Dimensions and layout
Make the platform 12 inches deep and 15 inches wide, with the back raised about 3 inches above the desk and the front about 1 inch high. That gives a modest slope without making the laptop awkward to type on. The front stop can be a ¾-by-¾-inch strip, cut to 14 inches long. Leave its ends short of the platform edges so they do not snag sleeves or cables.
Two notches, each about ⅝ inch wide and ½ inch deep, will pass a charging cable or smaller peripheral lead. Put one near each rear corner, at least 1 inch from the sides. If you use a thick connector or bundled cables, check its width first and adjust the notch.
Materials and tools
Use a clear, flat board around ¾ inch thick for the top. Pine is inexpensive and easy to cut, though it dents more readily than hardwood. Birch plywood is stable and less prone to seasonal movement; hardwood such as maple is tougher but costs more and is less forgiving to work. Avoid a warped or cupped board: the laptop needs a steady, even surface.
You will also need two side supports, glue, screws, sandpaper, and a finish. For the supports, use ¾-inch stock cut into triangular side pieces, roughly 3 inches high at the back and 1 inch high at the front. A combination square helps mark the slope and check that the supports match. A handsaw and drill are enough; a jigsaw makes shaping the supports and notches quicker.
Choosing the support style
Two side supports leave the center open for airflow and make the stand relatively light. A full-width panel is simpler to lay out, but it blocks more of the underside and can trap warmth. The open design is a good default for a laptop with bottom vents. If your machine draws air through the bottom, do not cover its intake with a solid panel or thick pad.
| Support style | Best fit | Trade-off |
|---|---|---|
| Two side supports | Most laptops; airflow matters | Needs careful alignment to avoid rocking |
| Full-width panel | Quick build with basic cuts | Heavier and may restrict underside airflow |
| Slotted rails | Extra ventilation and lighter weight | More layout and cutting work |
1. Cut and mark the parts
Cut the top to 12 by 15 inches. Check the corners for square and sand away splinters. Cut two matching triangular supports from ¾-inch stock. Each should have a level bottom edge, a 3-inch rear height, and a 1-inch front height, with a straight sloping top between those points. Make a cardboard template first if you are new to angled cuts, then trace it twice. Matching supports matter more than perfect-looking triangles: different heights can make the stand wobble.
Mark the rear edge of the top and locate the cable notches. A jigsaw is convenient for cutting them, but a coping saw or a small backsaw can work. Drill a hole at the inner end of each notch before cutting to reduce the chance of a split corner. Keep the notch bottoms rounded rather than leaving sharp inside corners, which can start cracks.
2. Assemble the stand
Set the supports beneath the top, about 1 inch in from each side. Their tall ends go at the back. Dry-fit and check that both front and rear edges line up. Apply a thin, even coat of wood glue, clamp the pieces, and drill pilot holes before driving screws from above. Two 1¼-inch screws per support are usually sufficient for ¾-inch stock. Pilot holes help prevent splitting, especially in pine; a wood drill bit set with a bit slightly narrower than the screw shank is useful.
Do not overtighten: a screw driven too deep can pull through the top or split a support. Wipe away glue squeeze-out while it is wet. Before adding the front stop, place the stand on a flat bench and press each corner. If it rocks, identify the high support and sand its bottom edge gradually; do not try to disguise a badly mismatched pair with felt pads.
3. Fit the front stop and test the cables
Center the 14-inch stop across the front edge. Glue it in place and secure it with short screws or brads, checking that the fasteners cannot emerge through the top. The stop should be tall enough to catch the laptop’s feet, not so tall that it presses into the case or blocks its front edge. A strip about ¾ inch high is a practical starting point. Test with the laptop unplugged before committing to the final position.
Run the charging cable through each notch while the laptop sits on the stand. Make sure the cable bends gently and the connector is not forced sideways against the computer. If a cable catches, widen the notch in small steps and sand its edges smooth. A notch that is too large can weaken the rear corner, so enlarge only as much as your cables require.
4. Sand, finish, and check stability
Sand the top and exposed edges with 120-grit paper, then finish with 180 grit. Ease sharp corners slightly so they are comfortable to handle. For a basic indoor stand, a water-based clear finish is low-odor and dries quickly; wipe-on oil is also easy to apply, but usually takes longer to cure and can darken pale wood. Follow the label and let the finish cure fully before setting a laptop on it. A water-based wood finish is a reasonable choice if you want to keep the wood color close to its original tone.
Place the finished stand on your desk and press down near all four corners. It should not rock, slide, or creak. Set the laptop on it and type normally; if the machine creeps forward, lower the slope slightly or add thin rubber feet beneath the front stop. Do not add thick cushioning over laptop vents. Recheck the screws after the first few days of use, especially if the stand is made from soft pine.