What's inside
As an Amazon Associate I earn from qualifying purchases. This post may contain affiliate links at no extra cost to you.
Contents
Plan the layout before cutting
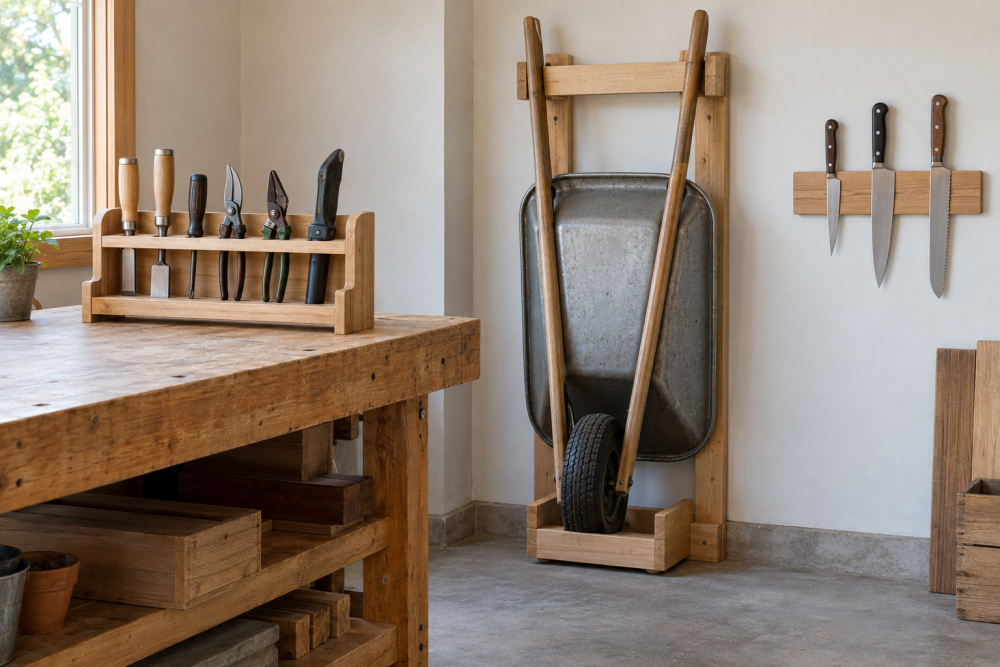
A useful display stand keeps tools visible without letting them roll, overlap, or hang by a weak point. This design is a simple two-tier rack for a workbench or shelf, sized for about six to ten hand tools with handles. Adjust the width to suit your collection: a 24-inch stand works for a small set, while a 36-inch stand gives more room for longer tools.
Measure the longest tool and the widest head in your collection first. Allow at least 2 inches of clearance above each tool, and leave roughly 1 inch between neighboring tools so you can lift one out without catching another. Keep heavy tools low and light tools high. If your collection includes chisels, saws, or tools with unusually shaped heads, make a paper template of the widest part before deciding where to put the supports.
Materials and tools
For a stand about 30 inches wide, gather one 1×6 board for the base, two 1×4 boards for the upright end supports, and two 1×3 boards for the horizontal rails. Use straight, dry stock; bowed rails make the tools sit unevenly. Pine is inexpensive and easy to cut, while poplar is a little harder and usually paints more evenly. Either is adequate indoors.
You will also need wood glue, 1¼-inch screws, sandpaper in 120- and 180-grit, and a drill with a countersink bit. A handsaw and square are enough for the cuts, though a miter saw saves time. A tape measure, pencil, clamps, and eye protection round out the setup. If you prefer a crisp, repeatable layout for the rail slots, a combination square is handy, but a basic framing square works fine.
Dimensions and cut list
The example stand is 30 inches wide, 10 inches deep, and about 13 inches tall. Cut the base to 30 by 10 inches. Cut two end supports to 12 inches long from 1×4 stock. Cut the lower rail to 30 inches and the upper rail to 30 inches from 1×3 stock. The rails span between the end supports, so trim them to the measured inside width if your stock thickness or layout differs.
| Part | Quantity | Finished size | Purpose |
|---|---|---|---|
| Base | 1 | 30 x 10 in. | Supports the stand and catches tool handles |
| End supports | 2 | 12 x 3½ in. | Hold the rails above the base |
| Lower rail | 1 | 30 x 2½ in. | Supports the lower tool row |
| Upper rail | 1 | 30 x 2½ in. | Supports the upper tool row |
The rail positions depend on the tools. A practical starting point is to place the lower rail 3 inches above the base and the upper rail 8 inches above it. Mark the same heights on both end supports, then check that each tool rests securely at both contact points. Move a rail before assembly if a tool’s balance point lands too close to an edge.
Cut and fit the parts
Cut the base, supports, and rails square. Sand the cut ends lightly so they seat flush, but do not round over the edges yet. Lay the end supports on the base near its ends, with their outside faces flush with the base edges. Center them front to back, leaving about 3¼ inches of base in front and behind each support.
Mark the rail positions on the supports. Set each rail between the supports and check the fit with a dry assembly. If the rails are a little too long, trim them gradually; forcing a tight rail into place can split a support. If there is a small gap, wood glue and screws will still hold the joint, but gaps larger than about ⅛ inch are worth correcting rather than hiding.
Assemble the stand
Drill two pilot holes through the base into the bottom of each end support. Use a countersink so the screw heads finish flush or slightly below the surface. Apply a thin layer of glue to the joint, align the supports square to the base, then drive the screws. Check both supports with a square before the glue sets; a rack that leans is more likely to tip when a heavy tool is removed.
Fit the rails at the marked heights, keeping their front faces aligned. Drill pilot holes through the outside of each support into each rail, then glue and screw the joints. Two screws per rail end are usually enough for this light-duty rack. Wipe away squeezed-out glue with a damp cloth. Leave the assembly clamped or undisturbed for the glue manufacturer’s stated cure time—often several hours before handling and about 24 hours before loading.
Add rests for individual tools
A flat rail works for many handled tools, but round handles can roll or slide. One easy fix is to mark tool positions along the lower rail and add small wooden stop blocks between them. Use offcuts about ¾ inch square, glue them in place, and leave enough space for the handle to lift out. For a more orderly display, drill shallow holes or cut narrow notches in a replaceable rail, testing the spacing on scrap first.
Do not rest sharp edges directly on bare wood if the tools may shift. A thin strip of cork or felt can reduce scuffing, but avoid thick, soft padding that lets tools rock. For chisels and carving tools, protect the cutting edges with individual guards; the stand is not a substitute for edge protection.
Finish and test the stand
Sand the assembled rack to 180 grit, easing sharp corners so they do not splinter. A clear water-based finish keeps the wood visible and dries quickly; paint is cheaper if you already have it and makes the stand easy to label. Bare wood is acceptable in a dry shop, though it will pick up dirt and may snag rough handles. Let any finish cure fully before putting tools on the rack.
Place the stand on a level surface and load it gradually, starting with the heaviest tools near the center of the base. Press gently on the top rail and check for rocking, loose joints, or a tendency to tip forward. If it moves, add a wider base, move the rails closer to the center, or fasten the stand to the bench. A set of rubber feet can stop sliding on a smooth bench, but it will not correct a top-heavy layout. For a stand that will be moved often, use screws rather than relying on glue alone, and inspect the joints periodically.