What's inside
As an Amazon Associate I earn from qualifying purchases. This post may contain affiliate links at no extra cost to you.
Hand-cut mortise-and-tenon practice works best when the joint is visible, the parts are easy to remake, and a small error will not ruin an expensive project. Start with a simple frame, not a table or chair: those larger builds add compound angles, long-part handling, and alignment problems before you have the joint under control.
As an Amazon Associate we earn from qualifying purchases at no extra cost to you.



Contents
Choose a practice project that fits the joint
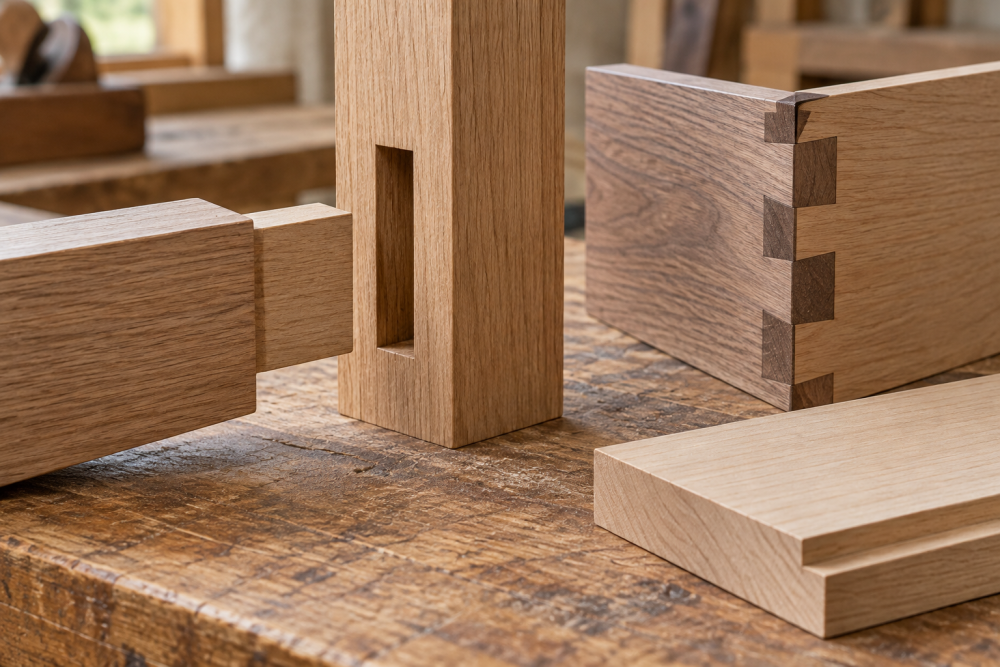
A basic through tenon is the best first exercise. It passes through the mortised piece, so you can see whether the cheeks are square and how well the tenon fits. A housed or blind tenon hides more of the joint and asks for more accurate depth control. Save those for a second project.
Use straight-grained, inexpensive hardwood such as poplar for early attempts. Pine can work, but its soft earlywood crushes easily and knots can deflect a chisel. Avoid using figured or costly stock until you can cut a repeatable fit. For most small practice joints, boards about 3/4 inch thick are manageable; make the tenon about one-third of that thickness, or roughly 1/4 inch.
Projects compared
| Project | Best practice | Typical challenge | Good first choice? |
|---|---|---|---|
| Small frame or stool sample | Square shoulders and a basic through tenon | Keeping the frame square during glue-up | Yes |
| Low plant stand | Several repeatable mortises and tenons | Matching joint locations across legs | After one successful frame |
| Garden bench end frame | Larger joints and outdoor construction | Stock movement and weather exposure | Not as a first project |
| Small cabinet door | Shoulder accuracy and consistent rails | Thin parts leave little room for error | Once basic joints fit reliably |
First project: a small frame
Make a four-part frame from 3/4-inch stock, with rails around 2 inches wide. Cut one through mortise-and-tenon joint at each corner, or make a two-rail sample before building the full frame. The sample is useful: it lets you test your layout and cutting technique without committing all the parts.
Mark the mortise with a marking gauge and keep the reference face consistent on every piece. A basic marking gauge is enough; an expensive wheel gauge is not necessary for practice. Cut the mortise close to its line with a sharp chisel, removing waste in small increments. Pare the walls to the gauge lines rather than trying to split the line in one heavy cut.
For the tenon, saw just on the waste side of the layout lines and remove the last thin sliver with a chisel or shoulder plane. Test the fit frequently. It should enter with firm hand pressure, not hammer blows, and should not rattle. If it is too tight, pare the cheeks evenly. If it is loose, do not expect glue to fill a visible gap; remake the tenon or use the piece as a practice sample.
Second project: a low plant stand
A simple plant stand adds repetition, which is where hand-cut joinery becomes more useful than one carefully tuned sample. Use four legs and two rails per side, with the rails joined to the legs. Keep the design low and the joints square; a stand about 12 inches high is easier to clamp and check than a tall, narrow one.
Make a story stick or a single layout template for the mortise heights. If the joints sit at different heights, the stand will rack or its rails will not line up. Dry-assemble the whole frame on a flat surface before glue-up, then check diagonals. If the diagonal measurements differ by more than about 1/8 inch on a small stand, adjust the clamps before the glue sets.
A basic set of bench chisels can handle this work if the edges are sharp. A low-cost set is fine for learning, but budget time to flatten and hone the backs; dull or poorly prepared chisels make accurate paring harder. A dedicated mortise chisel is helpful for repeated deep cuts, not essential for a few small joints.
Seasonal projects: move outdoors later
Once you can make a snug indoor frame, use the same skills on a small garden bench end or potting-bench frame. These projects suit spring and early summer because they can be assembled and finished in dry weather. Use stock thick enough for the loads—often 1 1/2 inches or more for legs and rails—and avoid placing narrow shoulders where water can sit.
Outdoor wood moves with moisture, and an overly tight joint can split as parts swell. Choose a durable species suited to your climate, seal end grain, and use an exterior-rated glue where the joint design and product instructions allow it. A hand-cut joint does not make ordinary indoor glue weatherproof. If the project will stay outside year-round, design for drainage and plan on periodic finish maintenance.
Common failures and how to avoid them
The most common beginner error is cutting the mortise too wide while trying to reach depth quickly. Work from both ends toward the center, and stop to check the walls against your gauge lines. Another is sawing the tenon shoulder beyond its line: that gap remains visible after assembly. Use a knife line or marking gauge, and stop the saw cut just short of the shoulder before cleaning it up.
Do not clamp a bad fit closed. Heavy pressure can bow the frame, crush the shoulders, or leave a joint under stress. Before glue-up, check that shoulders meet without force, that the assembly is square, and that every part is oriented correctly. Marking the outside faces with a pencil triangle helps prevent a sound joint from being assembled backward.
Buy only what improves the work
For a first project, the essentials are a reliable saw, a sharp chisel, a marking gauge, a square, and clamps. A tenon saw gives better control than a general-purpose handsaw, but a sharp backsaw you already own is adequate. Similarly, a simple bevel-edge chisel is fine if you can sharpen it and keep its edge square.
Spend first on sharpening supplies and straight, stable stock rather than specialized jigs. A honing guide is useful if freehand sharpening is inconsistent, but it will not correct a poor layout or a dull cutting edge. Build one small frame, inspect where the fit failed, and adjust that step before moving on to a larger project.