What's inside
As an Amazon Associate I earn from qualifying purchases. This post may contain affiliate links at no extra cost to you.
Contents
What you’ll make
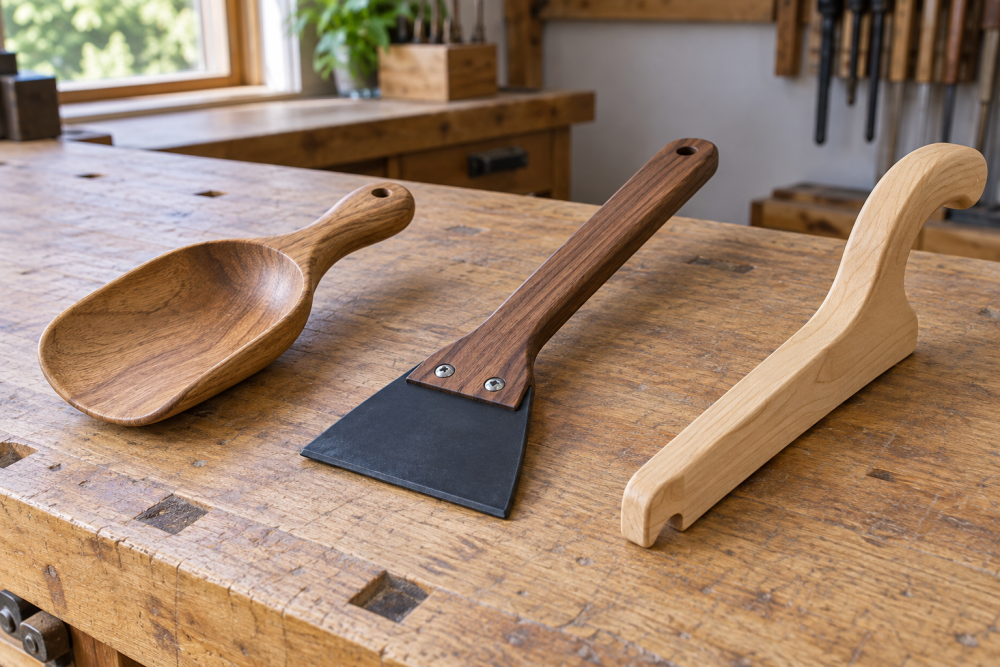
This scoop is a small, one-piece garden tool carved from a scrap of hardwood: a broad, shallow bowl flows into a short handle. It works for moving potting mix, compost, seed, or dry fertilizer. It is not a substitute for a metal shovel, and a wooden scoop can split if you pry with it or leave it soaking in water.
Allow about two to four hours for shaping and sanding, plus drying time if you apply a finish. A board roughly ¾ inch thick, 4 inches wide, and 12 inches long is enough for a compact scoop. Use a piece without cracks, loose knots, or rot. Maple, cherry, beech, and sound fruitwood are good choices; pine is easier to carve but dents and wears faster.
Tools and materials
You’ll need a pencil, ruler, saw, carving knife or gouges, a rasp, and sandpaper in 80, 120, and 180 grit. A bandsaw speeds up cutting the outline, but a handsaw works. For shaping, sharp hand tools give good control; a rotary tool can help with the bowl but is easy to use too aggressively.
If you need a basic carving tool, compare a wood-carving knife and gouge set with the tools you already own. A small set is convenient, but one sharp gouge and a rasp are enough for this project. Clamp the board securely with a pair of woodworking clamps; don’t hold the work in one hand while cutting toward it.
Choose a shape and mark the board
Draw the scoop from the side first. Leave about 4 inches for the handle and use the remaining 8 inches for the head. Make the head roughly 3½ inches wide, with a rounded front and sides that taper slightly toward the handle. Keep the handle at least 1 inch wide where it joins the bowl; a narrow neck is a common break point.
On the top face, mark a shallow oval bowl about 5½ inches long and 2½ inches wide. Leave a rim at least ⅜ inch thick around it, and preserve about ¼ inch of wood at the bottom. The exact dimensions can change to suit your board, but keep enough material beneath the bowl and at the neck. If the board is thinner than ⅝ inch, make a very shallow dish or choose a different blank.
Cut the outline
Cut just outside the outline, then bring the edges to the line with a rasp. Round the end of the handle and ease the corners of the head so they won’t catch on a pot. If you use a bandsaw, keep fingers clear of the blade and don’t force a tight curve; a series of small cuts is safer than twisting the board through the blade.
Check the blank for hidden defects as you work. A crack that reaches the handle neck or bowl rim is a reason to restart, not something sanding will fix. Small, tight knots outside the bowl may be usable, but knots in the thin rim can break under a load of damp soil.
Carve the bowl
Clamp the blank with the bowl facing up. Mark the planned depth on the sides, then remove wood gradually with a gouge, working from the center toward the edges. Make shallow cuts and turn the work as needed so you’re not pushing a blade toward your hand. A bowl around ⅜ inch deep is enough for light materials; going much deeper can leave a weak bottom.
Shape the inside into a smooth, shallow curve rather than a flat-bottomed pocket with sharp corners. Leave the rim even, and blend the bowl into the handle so there is no abrupt, thin step where the parts meet. Test the thickness by comparing it with the side of the board or measuring from the underside. If you cut through, the blank is generally scrap unless you can shorten and redesign the scoop.
Shape the outside and sand
Turn the blank over and round the underside of the head slightly. Keep the base broad enough to support the bowl, and soften the handle edges until it feels comfortable in a closed hand. Sand with 80 grit only where needed to remove tool marks, then use 120 and 180 grit. Sanding alone is slow for removing deep gouge ridges, so correct those with a rasp first.
Brush or vacuum dust from the bowl and handle. Check for splinters along the rim and neck, then run a finger lightly over the surfaces. Avoid making the rim knife-thin: a crisp edge looks tidy but chips more readily in use.
Finish and care
For a scoop used only with dry garden materials, leaving the wood unfinished is reasonable and makes later touch-ups simple. For a smoother, easier-to-clean surface, apply a thin coat of food-contact-safe mineral oil or another finish whose label suits the intended use. A food-grade mineral oil is a practical choice, though it will need refreshing and won’t make the scoop waterproof. Follow the product label and let the finish cure or settle as directed.
After use, brush off soil and wipe the scoop dry. Don’t leave it in a bucket, outdoors in rain, or on damp ground. Repeated soaking can swell the grain, loosen a glue-free one-piece blank by splitting it, or encourage mold. If the handle develops a crack or the bowl flexes under a light load, stop using it until you assess the damage.
Choosing wood for the scoop
| Wood | What it’s like to work | Best fit |
|---|---|---|
| Maple or beech | Hard, durable, and slower to carve | Frequent use with compost or potting mix |
| Cherry or fruitwood | Usually carves cleanly; availability varies | A comfortable, long-lasting hand tool |
| Pine | Cheap and easy to shape, but dents and wears sooner | A first attempt or occasional light use |
Use the soundest scrap you have rather than buying premium stock for a small utility tool. A straight-grained offcut with no cracks matters more than a particular species. Store the finished scoop in a dry shed or potting area, and it should handle ordinary garden work without demanding more than an occasional sanding and a fresh coat of oil.