What's inside
As an Amazon Associate I earn from qualifying purchases. This post may contain affiliate links at no extra cost to you.
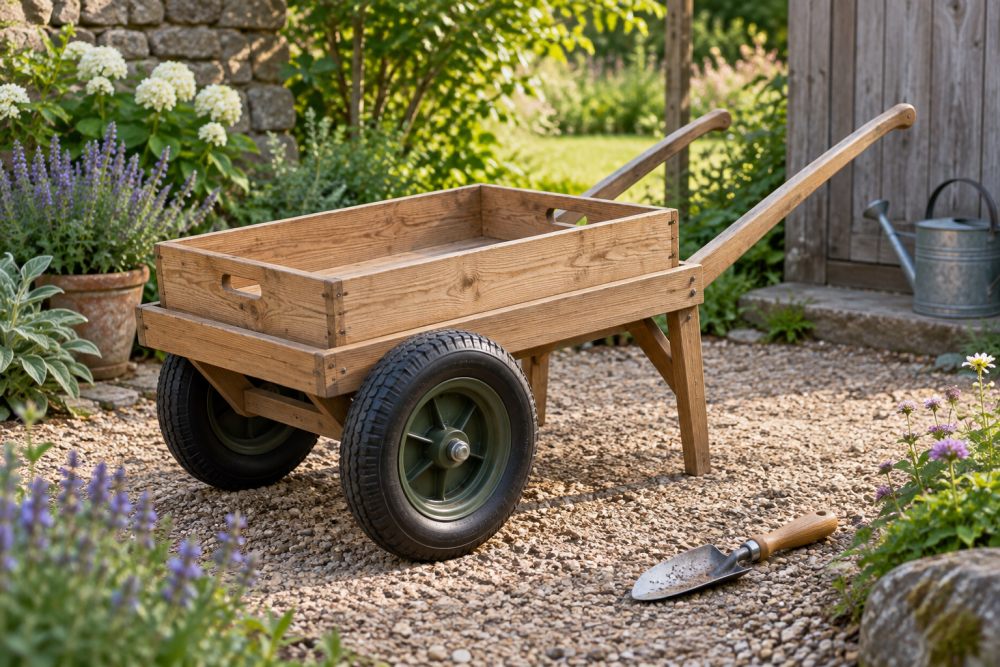
This cart is sized for moving pots, soil bags, and hand tools around a typical backyard—not for hauling heavy construction loads. The finished bed is about 24 by 36 inches, with a handle long enough to pull comfortably and four pneumatic wheels for uneven ground. Expect a weekend build if your lumber is straight and you have a saw, drill, and square.
Contents
Plan and materials
Use exterior-rated lumber and fasteners. Pressure-treated 2-by-4s work well for the frame, but let fresh lumber dry before assembly if possible; wet stock is heavier and more likely to twist as it dries. For the bed, use ¾-inch exterior plywood. A coat of exterior paint or deck finish helps protect the plywood edges, which are the first places to absorb water.
Here’s a practical starting list for one cart:
Four 2-by-4s for the bed frame and cross supports; one 24-by-36-inch piece of ¾-inch exterior plywood; two 2-by-4s for the handle; four wheels; two steel axles or axle rods; washers, locking nuts, and exterior screws. Cut lengths will depend on your wheel and axle arrangement, so buy a little extra lumber rather than relying on exact cuts from bowed boards.
For a simple, sturdy layout, use fixed wheels at the rear and swivel casters at the front. A set of 10-inch pneumatic cart wheels rolls better over grass than small hard wheels, but the tires can lose air and need occasional checking. Choose wheels rated for more than the expected total load; the rating should account for the cart, not just what you put in it.
Choose a wheel layout
Wheel layout affects steering, cost, and how much fabrication the project needs. Use the table to choose before cutting the frame. A pair of swivel casters is convenient on paving, but small swivel wheels can dig into soft soil or wobble under a heavy load.
| Layout | Best for | Trade-off |
|---|---|---|
| Two fixed wheels, two swivel casters | Turning in tight spaces and moving mostly on firm paths | Swivel casters add cost and may struggle in grass |
| Four fixed wheels | Straight runs and a low-cost build | Harder to turn; the cart may scrub sideways |
| Two fixed wheels and a pull handle | Uneven ground and simple construction | Needs balancing when parked; it is more like a small wagon |
This plan uses two fixed rear wheels and two front swivel casters. If your yard is mostly lawn, consider the two-wheel wagon layout instead. It takes less hardware and usually rolls better over soft ground, though you must lift the handle to balance the load.
Cut and assemble the bed frame
Cut two 2-by-4s to 36 inches and two to 21 inches. The shorter pieces fit between the long sides, making an outside frame about 24 by 36 inches. Check your lumber’s actual thickness and width before cutting: nominal 2-by-4s are typically 1½ by 3½ inches, but old or rough stock can vary.
Lay the pieces on a flat surface, clamp the corners, and check that the frame is square by measuring both diagonals. They should match within about ⅛ inch. Drill pilot holes near the ends of the long rails, then fasten each corner with two 3-inch exterior screws. Add two cross supports between the long sides, spaced roughly 12 inches apart. These keep the plywood from sagging when loaded with soil or pots.
Set the plywood on the frame and check that its edges sit flush. Drill pilot holes and secure it with 1⅝-inch exterior screws every 8 inches around the edge and across the supports. Do not drive screws too close to the plywood edge, where it can split. Seal the cut edges before the first wet season.
Mount the wheels
Turn the cart upside down and mark the wheel positions. Put the rear wheels near the back corners, far enough inboard that their tires do not rub the frame as they turn. Mount the swivel casters at the front corners, leaving clearance for the caster plates and their full rotation. Hold each caster in place and swing it through a full circle before drilling.
Use bolts, washers, and locking nuts for caster plates rather than relying on wood screws. If the mounting bolts pass through plywood, place a backing block or washer plate beneath it so the fasteners cannot crush the panel. For axle-mounted wheels, drill straight, fit the axle securely to the frame, then add washers on both sides of each wheel. The wheel should spin freely without enough side play to rattle off the axle.
Hardware sizes vary, so match the axle diameter to the wheel bore. A cart axle hardware kit can save a trip for washers and retaining nuts, but check that its axle length fits your cart width. A generic rod that is too short is a common reason a wheel assembly ends up pinched or insecure.
Build and attach the handle
For the swivel-caster version, make a simple pull handle from two 2-by-4 rails about 30 inches long and one crosspiece about 16 inches long. Round the grip edges with sandpaper so they are comfortable in the hand. Attach the rails to the front of the frame with through-bolts and washers, or use sturdy exterior-rated brackets. Leave enough room for the handle to turn without hitting the ground or caster plates.
Before loading the cart, push it empty and check for rubbing, loose fasteners, and caster interference. Then add a modest load and test it on the surface you use most. If the cart pulls to one side, check that the wheels are parallel and that the frame is square. If the handle flexes, add a diagonal brace rather than simply tightening the bolts harder.
Finish and use
Sand splinters, coat exposed plywood edges, and apply an exterior finish compatible with your lumber. Paint is a reasonable low-cost choice; a penetrating deck finish is easier to touch up but may need more frequent renewal. Keep the cart under cover when practical, and do not store wet bags of soil on the bed for long periods. Water trapped against plywood can cause swelling and delamination.
Load heavier items low and near the axle line, not high at the handle end. Stay within the wheel and caster ratings, and avoid slopes where a loaded cart could run away. If you expect frequent loads above about 150 pounds, upgrade the frame and wheel hardware rather than assuming a larger tire alone will make the cart safe. For occasional light garden work, ordinary exterior screws and a simple finish are adequate; expensive specialty hardware is not necessary if the cart is built square and inspected now and then.