What's inside
As an Amazon Associate I earn from qualifying purchases. This post may contain affiliate links at no extra cost to you.
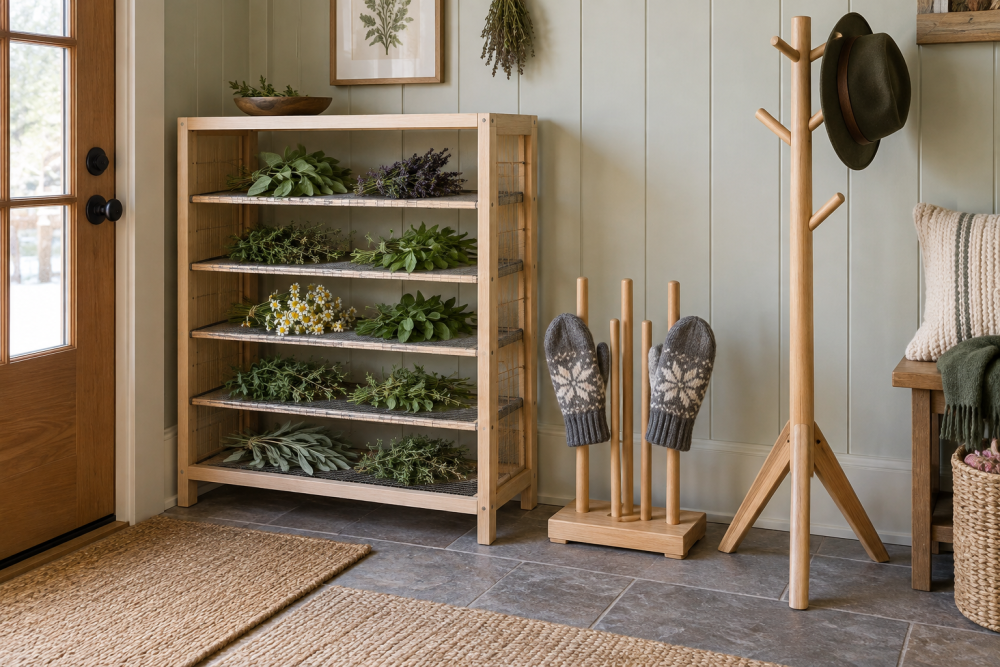
A mitten-and-hat stand is a useful small winter project: it gives wet gear room to dry instead of leaving it in a heap on a radiator. This plan uses a weighted wooden base, one upright post and four angled dowels. It suits a beginner who can drill reasonably straight holes and has a weekend for glue to cure and finishes to dry.
Contents
Plan the stand
The finished stand is about 24 inches tall, with a 12-by-12-inch base. Four 10-inch dowels project from the post at different heights. Hang one mitten from each dowel, or use a pair of neighboring dowels for a bulky pair. A separate short peg near the top can hold a hat, or a hat can drape across two arms.
Use dry, straight hardwood for the arms and upright. Maple, birch and beech resist dents better than soft pine, but pine is fine if that is what you have. Avoid a narrow, lightweight base: wet mittens can pull the stand over. A square base with a little weight is less elegant than a wide tripod, but it is simple to cut and stable on a flat floor.
Materials and tools
Gather a 12-by-12-inch piece of ¾-inch plywood or a glued-up hardwood panel, a 1½-by-1½-by-24-inch post, four ⅝-inch hardwood dowels about 10 inches long, wood glue and four felt pads. For extra stability, add a ½-inch steel plate under the base or screw a second plywood layer beneath it. Check that added weight does not make the stand awkward to move.
You’ll need a drill or drill press, a ⅝-inch brad-point bit, a saw, a square, a tape measure and sandpaper. A drill press makes the angled holes more consistent, but a hand drill works with a guide block and careful layout. If you need a brad-point bit set, choose one with the size you need rather than paying extra for a large range you will not use. A ⅝-inch hardwood dowel should fit snugly without force; dowel diameters can vary slightly, so test a scrap before drilling the post.
Choose a base
| Base option | Advantages | Trade-off |
|---|---|---|
| ¾-inch plywood, one layer | Cheap, flat and quick to cut | May tip if the stand is loaded unevenly |
| ¾-inch plywood, doubled | Heavier and still easy to make | Uses more material; edges need sanding |
| Hardwood panel | Good appearance and durable edges | Costs more and can move with seasonal humidity |
For a household with children or several heavy, soaked items, double the plywood or add a securely fastened plate. For two adults’ gloves and hats, a single base may be adequate on a nonslip floor. If you are buying a set of felt furniture pads, use them to protect the floor, not as a substitute for a stable base.
Saturday: layout and drilling
Mark the center of the base by drawing diagonals from corner to corner. Mark the post’s bottom the same way. Drill a centered pilot hole through the base for a 2½-inch wood screw, then countersink it from underneath so the screw head sits below the floor-facing surface. Glue the post to the base and drive the screw upward into the post. Keep the post square to the base while the glue sets; a temporary clamp or two scrap blocks can help.
On the post, mark four arm heights at 5, 10, 15 and 20 inches above the base. Rotate each mark 90 degrees from the one below so the arms point in different directions rather than colliding. Drill each hole about 1¼ inches deep, angled slightly upward—roughly 10 degrees. That upward tilt helps keep mittens from sliding off, but a steep angle makes them harder to put on. A simple wedge-shaped guide block can help set the drill angle.
Drill a test hole in scrap first. If the dowel wobbles, the hole is too large; if it splits the post or needs hammering, it is too tight. A too-tight dowel can force the post apart, especially near an edge. Keep the hole centered on each face and leave at least ⅜ inch of wood around it.
Sunday: fit, glue and finish
Dry-fit the arms and check that they do not intersect. Trim a dowel if a long arm would catch people walking past. Pull each arm out, add a small amount of glue inside the hole, and push it back in. Wipe away squeeze-out before it dries. Do not rely on friction alone: repeated loading can loosen a dry-fit arm.
Round the exposed dowel ends and ease the base corners with sandpaper. Start around 120 grit, then finish at 180. Remove dust and apply a thin coat of water-based polyurethane or another finish labeled suitable for indoor furniture. Unfinished wood is also acceptable and cheaper, but it will absorb grime and may raise its grain after contact with damp gear. Let the finish cure according to its label before use; “dry to the touch” does not always mean ready for wet mittens.
Drying and safety
Place the stand where air can circulate around all sides, not wedged against a wall. Shake off snow and turn mittens inside out when practical. This stand is for air-drying, not for placing directly on a radiator or beside a stove: heat can damage fabric, loosen glue and dry the wood unevenly. If the base rocks, fix that before loading it; a folded pad under one corner is a temporary fix, not a good permanent repair.
After the first week, check the arm joints and base screw. Tighten the screw if needed, and re-glue any arm that moves. Keeping the stand simple makes those repairs quick—and leaves the weekend plan flexible if winter weather changes.