What's inside
As an Amazon Associate I earn from qualifying purchases. This post may contain affiliate links at no extra cost to you.
Outdoor trim teaches mitering quickly: a small angle error can leave a visible gap, and weather makes poor joints less forgiving. The best practice projects are small, square, and useful enough that you can afford to remake a part. Start with simple 45-degree cuts, then move to a frame with more joints or a sloped top.
As an Amazon Associate we earn from qualifying purchases at no extra cost to you.


Contents
What accurate outdoor miters require
A miter is only as accurate as the setup behind it. Check that the saw is square to its fence, support long stock so it cannot tip, and use a sharp blade intended for clean crosscuts. A fine-tooth crosscut miter-saw blade can reduce splintering, but it will not correct a misaligned saw or a moving workpiece.
Before cutting project parts, make two test cuts from scrap and bring the cut ends together. A gap at the inside or outside corner shows which way the angle needs adjustment. Make small changes—about 0.1 degree at a time—and test again. Do not trust the saw’s printed detents without checking them.
For outdoor projects, use naturally durable or appropriately treated lumber, and seal cut ends as the material instructions require. Keep joints out of standing water where possible. A perfect miter is not waterproof; exposed end grain can still take on moisture.
Beginner projects, from easiest to harder
| Project | Joint practice | Difficulty | Why it works |
|---|---|---|---|
| Small planter-box cap | Four 45-degree corners | Easy | Short parts are easy to support and replace |
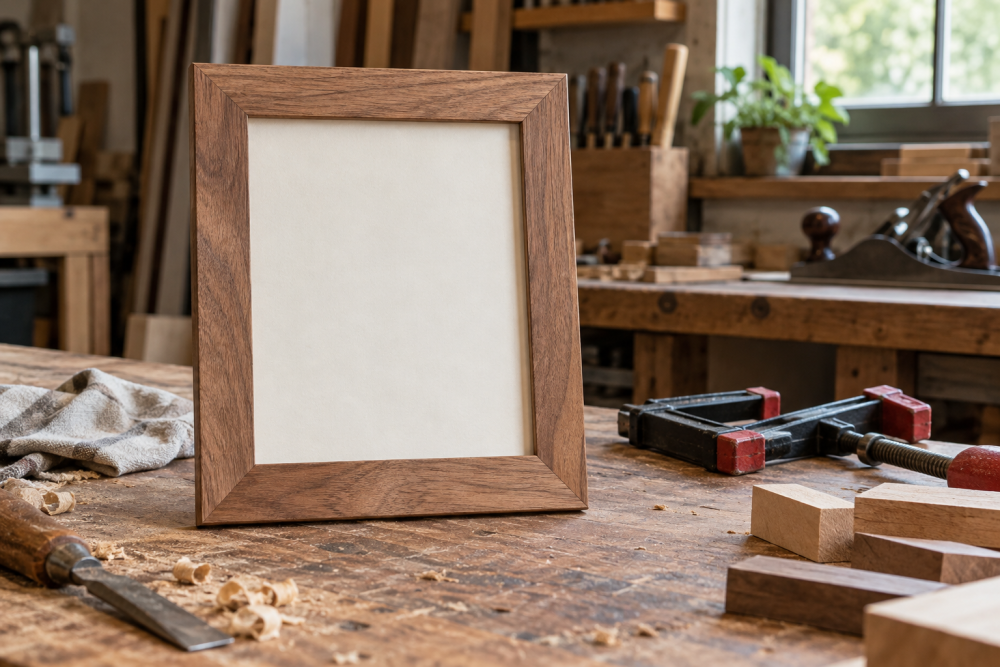
| Outdoor picture frame | Four matched miters | Easy to moderate | Reveals cumulative angle and length errors |
| Window-box trim frame | Longer miters and fastening | Moderate | Introduces stock support and outdoor attachment |
| Small peaked garden sign | Paired angled cuts | Moderate | Builds confidence beyond 45-degree corners |
1. Make a mitered planter-box cap
This is the best first project because the cap is decorative and a small gap is not structural. Build a plain rectangular planter or use an existing box, then add four cap pieces wide enough to cover its rim. For a box with outside dimensions of 12 by 18 inches, measure the finished outside edges and cut each corner at 45 degrees. The long points of the miters should meet at the box’s outside corners.
Cut the pieces slightly long, dry-fit them around the box, and trim to final length only after confirming the corners close. Mark each piece’s position; swapping two apparently identical parts can create a mismatch. Secure the cap with exterior-rated screws or suitable outdoor adhesive, following the product directions. Predrill near miter tips to reduce splitting. If the joints open after fastening, check whether the box is square before blaming the saw.
2. Build a small outdoor frame
A simple frame for a garden plaque or protective grille makes errors easy to see. Use four equal-width rails, cut the miters, and assemble the frame on a flat surface. Measure both diagonals: if they match, the frame is square. A difference of even 1/8 inch can make the frame look twisted or prevent it from fitting its opening.
Do not use a frame as a structural support unless its joinery and fasteners are designed for that load. For a light plaque, exterior screws, corner blocks, or a frame clamp can help hold the assembly while you fasten it. A frame clamp is convenient, but a flat work surface, tape, and careful clamping can be enough for one-off work.
3. Add mitered trim to a window box
Once short parts fit consistently, try a trim frame around a window box. The longer rails make it more important to support stock level with the saw table. If one end droops, the cut can twist, leaving a joint that looks right when held by hand but opens when installed. Use a stand or a stable, level support at the same height as the saw.
Measure the opening rather than assuming it is square. Cut one pair of opposite sides, dry-fit them, then measure and cut the remaining pair. Leave small clearance where the trim meets a wall or box; outdoor movement can make a tight fit buckle. Fasten trim to sound material, not just thin box siding, and avoid placing screw holes close to a miter point.
4. Make a peaked garden sign frame
A small peaked frame adds angled cuts while keeping the parts manageable. Make a two-piece top with matching slopes, then fit it to vertical sides. The peak angle depends on the design, so establish it from a full-size drawing or a test template rather than guessing. Cut both sides from the same setting and compare them before assembly.
This project exposes a common mistake: confusing the saw’s miter setting with the roof slope shown on a drawing. The saw setting is the cut angle; the finished slope also depends on how the board is positioned. Mark the waste side clearly, and make a scrap test before cutting expensive stock.
What to buy—and what can wait
A basic miter saw is adequate for small outdoor trim and short project parts. A sliding saw helps with wider boards, but costs more and takes more space; it is unnecessary if your stock fits the saw’s capacity. A basic compound miter saw is a reasonable starting point for repeated trim work. For a single planter cap, borrowing a saw or using a carefully set hand miter box may be cheaper.
Before buying, check the saw’s crosscut capacity at 45 degrees, not just at 90 degrees. The angled cut reduces usable width. Also budget for a stable support, eye and hearing protection, and a way to clamp or hold work safely. Never hold a short offcut where the blade could trap it; let the blade stop before clearing scraps.
Fix the cause, not just the gap
If a joint is open, first check that both mating edges are clean and the stock is not cupped or twisted. Then check saw alignment and whether the piece moved during cutting. Two parts cut at slightly different angles can still look close individually but fail together. Recutting every piece without diagnosing the setup wastes material.
For outdoor work, avoid filling a large gap with caulk and calling the miter accurate. Caulk can help shed water at an appropriate exterior joint, but it is not a substitute for a close fit or secure fastening. Build the planter cap or small frame first, make test cuts from scrap, and move to longer or sloped parts only when the corners close consistently.