What's inside
As an Amazon Associate I earn from qualifying purchases. This post may contain affiliate links at no extra cost to you.
Outdoor wood finishing is mostly a timing problem. The same stain or paint can work well in spring and fail in fall if the wood is damp, the temperature drops overnight, or rain arrives before the coating cures. Choosing the right finish starts with the season, but the project’s exposure, wood species, and your tolerance for maintenance matter just as much.
Contents
Spring or fall: which season is easier?
Spring usually offers longer, warmer days, but the wood may still be holding winter moisture. Fall often brings comfortable daytime temperatures, yet cool nights, heavy dew, and shorter drying windows create problems. In either season, finish on a dry day when the forecast gives you at least 24 hours without rain. Some products need 48 hours or more before they are safe from moisture.
Do not finish immediately after a wet spell. For ordinary exterior lumber, a moisture reading below about 15% to 18% is a useful target. If you do not have a meter, use a practical test: the surface should look uniformly dry, feel dry at joints and end grain, and show no dark, cool-looking patches. Pressure-treated boards can take weeks or months to dry, depending on the treatment and weather. A finish applied too soon may peel, wrinkle, or trap moisture.
| Condition | Spring | Fall |
|---|---|---|
| Main advantage | Increasing temperatures and longer workdays | Often lower heat and less intense sun |
| Main risk | Wet lumber, pollen, and sudden showers | Dew, cold nights, and slow curing |
| Best work window | Late morning through afternoon | Late morning through mid-afternoon |
| Good finish choices | Penetrating stain or exterior paint after drying | Penetrating stain on a warm, dry forecast |
Choose a finish based on exposure
For decks, fences, raised beds, porch furniture, and other large outdoor builds, a penetrating exterior stain is usually the forgiving choice. It soaks into the surface instead of forming a thick film, so minor movement is less likely to cause obvious peeling. A semi-transparent stain shows the grain and makes touch-ups fairly simple. The trade-off is maintenance: expect to clean and recoat exposed surfaces roughly every one to three years, depending on sun and rain.
A solid-color stain provides more pigment and better hiding power. It is useful when the boards are mismatched, weathered, or unattractive, but it behaves more like a thin paint film. Apply it to clean, dry wood, and do not put a new coat over loose or flaking material.
Exterior acrylic paint gives the most color control and can last well on stable siding, trim, and furniture. It is less forgiving on wide, flat boards that expand and contract. Seal end grain carefully, and use an exterior primer when the wood is bare, resinous, stained, or prone to bleed-through. For most outdoor projects, a quality exterior acrylic wood paint is a sensible buy; the cheapest interior paint is not.
Clear finishes are attractive but demanding. Exterior spar urethane or marine varnish can protect a door, porch table, or decorative bench while preserving the grain. It needs multiple coats, light sanding between coats, and regular inspection. Once the film cracks, water gets underneath and repairs become much harder than refreshing a penetrating stain. Do not choose a clear coat for a large fence or deck unless you are willing to maintain it.
Finishing outdoor projects in spring
Spring lumber often looks dry on top while remaining wet inside. Pay special attention to end grain, screw holes, lap joints, and the underside of boards. Sanding a damp board can make it feel smooth without solving the moisture problem. If possible, stack boards with spacers in a dry, shaded area for several days before finishing.
Apply stain or paint after the surface has warmed and morning condensation has evaporated. A practical range for many exterior coatings is 50°F to 90°F, but follow the can because some products have narrower limits. Avoid coating in direct hot sun if the finish flashes dry before it can level. Pollen can also stick to wet coatings, so wipe the surface with a clean, dry cloth immediately before application.
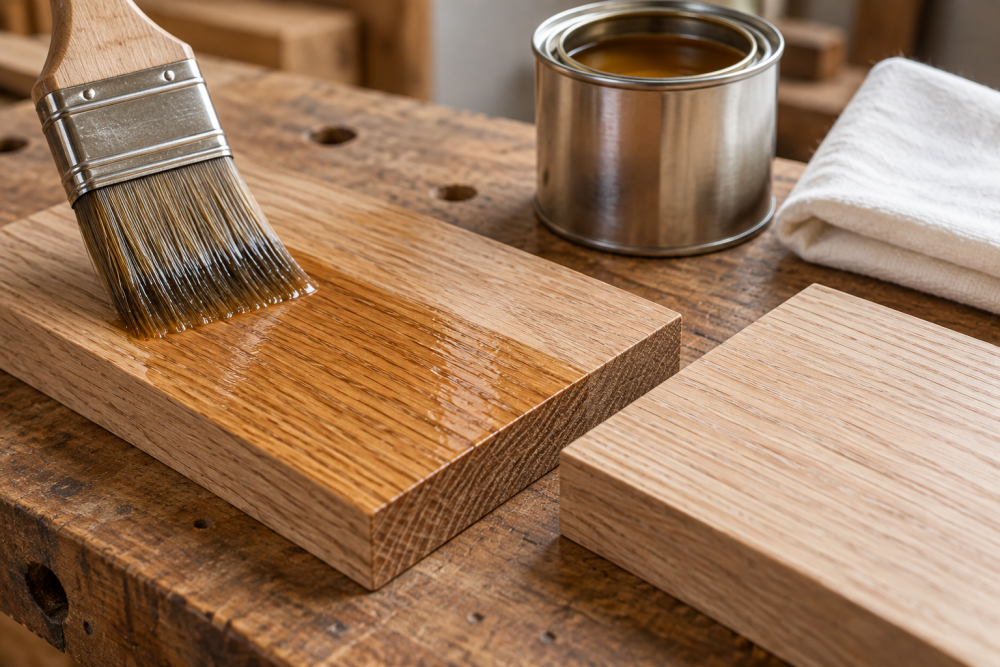
Brush stain into end grain until it stops absorbing, then remove puddles from flat areas. Puddled stain dries slowly and can remain tacky. For paint, two thin coats are generally safer than one heavy coat. Heavy application can skin over while the layer below remains soft.
Finishing outdoor projects in fall
Fall’s biggest trap is overnight condensation. Even when the afternoon temperature is 65°F, the board can become wet after sunset. Stop applying finish several hours before the expected dew point or sunset, and allow the coating to dry during the warmest part of the day. If the forecast calls for temperatures below the product’s minimum during the first night, postpone the job.
Use a semi-transparent exterior wood stain when you need a practical finish late in the season. It generally avoids the thick surface film that can fail when moisture movement continues. However, do not assume “dry to the touch” means cured. A finish may feel dry after a few hours but remain vulnerable to rain, dirt, and freezing temperatures.
Fall is also a good time to clean and inspect an existing finish rather than automatically recoating it. If water still beads on the surface, the coating may have useful protection left. If the wood turns dark quickly, the surface is chalky, or color has faded unevenly, wash it, let it dry thoroughly, and apply a maintenance coat.
Preparation and tools that prevent failure
Preparation matters more than brand choice. Remove dirt, mildew, and loose fibers with an exterior wood cleaner and a stiff brush. Use a pressure washer cautiously; too much pressure raises the grain and drives water into joints. Let washed wood dry completely before sanding or coating.
Sand mill-glazed new lumber lightly with 80- to 120-grit paper, then remove dust. Round sharp edges slightly because finishes tend to pull away from knife-sharp corners. Keep a wood moisture meter nearby if you regularly build outdoors. It costs less than redoing a peeling project.
For application, use a brush for end grain and corners, and a roller or pad for broad surfaces. Work in manageable sections and maintain a wet edge. Test the finish on an offcut or hidden area first; the same stain can look dramatically different on cedar, pine, oak, and pressure-treated lumber.
When the cheaper finish is fine
A budget penetrating stain is reasonable for a shaded fence, temporary garden project, or utility bench where easy maintenance matters more than maximum lifespan. Spend more on paint or a clear finish when appearance, color retention, or difficult repair work justifies it. In every case, buying the right product for exterior use and applying it within the weather limits is more important than choosing the most expensive can.
If the project must be finished this weekend, choose the season’s safest dry window rather than forcing the schedule. Dry wood, moderate temperatures, no dew, and enough curing time will do more for durability than an extra coat applied in bad conditions.