What's inside
As an Amazon Associate I earn from qualifying purchases. This post may contain affiliate links at no extra cost to you.
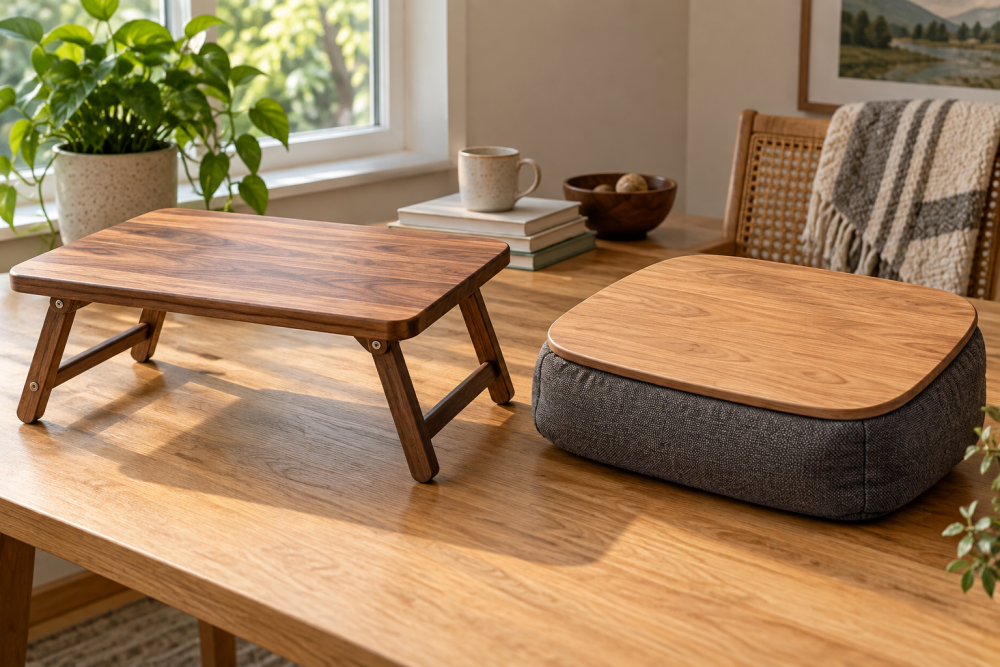
A wooden folding lap desk is a useful small project: the top is large enough for a notebook or tablet, the legs fold underneath, and a shallow groove keeps a pencil from rolling onto the floor. The build below uses ordinary lumber and simple hinges. It suits a beginner who can make straight cuts and drill accurately; the main challenge is fitting the legs so they fold without rubbing or wobbling.
Contents
Dimensions and design
This plan makes a desk about 22 inches wide, 14 inches deep, and 8 inches high. That size works for writing or a small laptop, though a larger computer may need a deeper top. The legs fold flat against the underside, so the desk stores under a bed or beside a sofa.
Use a 3/4-inch-thick top and four legs cut from 1-by-2 stock. The legs are paired at each end and joined by a crosspiece, making two folding frames. Small butt hinges attach the frames to the underside. If you want a lighter desk for occasional use, 1/2-inch plywood can work for the top, but it is more likely to flex and needs a well-supported underside.
Materials and tools
You’ll need one 22-by-14-inch panel of 3/4-inch plywood or edge-glued board; four 1-by-2 legs, each 7 1/4 inches long; two 1-by-2 crosspieces, each 10 inches long; two small butt hinges; wood glue; and 1 1/4-inch screws. Choose clear, straight-grained stock for the legs. Twisted legs make a wobbly desk even when the hinges are fitted correctly.
A circular saw and straightedge are sufficient for the cuts. A drill-driver, countersink bit, square, clamps, and sander make assembly easier. A combination square helps keep the leg frames aligned. For a cleaner groove, use a router with a straight bit; a chisel and careful layout are cheaper and perfectly adequate for a short, shallow groove.
Cut and prepare the parts
Cut the top to 22 by 14 inches and sand the edges smooth. Cut the four legs to 7 1/4 inches and the crosspieces to 10 inches. These dimensions place the legs near the ends of the desk while leaving room for the hinges to fold inward. Before assembly, check that matching legs are the same length; even a 1/8-inch difference can make the desk rock.
Make two U-shaped frames by gluing and screwing one crosspiece between a pair of legs. Set the crosspiece about 1 inch from the bottom ends. Drill pilot holes to reduce splitting, especially near the ends of the 1-by-2 stock. Clamp each frame square while the glue sets. Test both frames on a flat floor before attaching them.
Cut the pencil groove
Mark a line across the top, about 1 1/2 inches from the far edge. Make the groove 3/8 inch wide and about 1/8 inch deep. That is deep enough to stop a standard pencil without creating a sharp trench that catches sleeves or notebook pages.
With a router, clamp a straightedge as a guide and make several shallow passes rather than removing the full depth at once. With a chisel, mark the edges with a knife, then pare out the waste gradually. Keep the groove straight and stop about 1 inch short of each side edge. Sand the bottom lightly and test with a pencil; if it rolls out, deepen the groove a little, not more than about 3/16 inch.
Attach the folding legs
Turn the top upside down and mark the hinge positions. Set one frame near each short end, with its crosspiece facing the center of the desk. Leave about 1 inch between the frame and each end of the top. Position the hinges so the frames swing inward and lie flat underneath. Check the folding direction before drilling; reversing a hinge can leave the legs unable to close.
Use hinges with leaves around 1 to 1 1/2 inches long. Screw one leaf to the top and the other to the frame’s crosspiece, using pilot holes. If the hinge screws are longer than the thickness of the top, they can break through the writing surface. Replace them with shorter screws rather than forcing them in. Open the legs and set the desk on a level surface. If it rocks, check for uneven leg lengths and hinge alignment before sanding a leg shorter.
Compare top materials
| Top material | Advantages | Trade-offs |
|---|---|---|
| 3/4-inch plywood | Stable, widely available, and resists seasonal movement | Exposed plies need edge treatment; quality varies |
| Edge-glued board | Solid-wood appearance and easy to sand | Can move with humidity; often costs more |
| 1/2-inch plywood | Light and inexpensive | Can flex; needs careful leg placement and may feel less sturdy |
For a desk that will be carried around, 3/4-inch plywood is a sensible balance. Edge-glued board is a good choice if you prefer a solid-wood look and can accept seasonal movement. There is no need to buy premium hardwood for a project that will mostly hold a notebook or laptop.
Sand and finish
Sand the top and legs through 120- and 180-grit paper, easing sharp corners so they do not snag clothing. Apply a thin coat of water-based polyurethane, wiping varnish, or another furniture finish. A water-based polyurethane dries relatively quickly and keeps the wood color closer to its raw appearance. Follow the label and let the finish cure before placing a laptop on the surface.
Test and adjust
Open and close the legs several times, then press gently at each corner. The desk should sit firmly without the frames shifting. If the legs fold unevenly, loosen the hinge screws, realign the frame, and retighten. If the top flexes under normal use, add a narrow support strip beneath the center; do not try to fix flex by overtightening the hinges.
Keep the desk on a stable surface rather than balancing it on a soft mattress, where folding legs can sink or slide. A light coat of furniture wax on hinge contact points can reduce squeaks, but it will not correct a frame that is out of square.