What's inside
As an Amazon Associate I earn from qualifying purchases. This post may contain affiliate links at no extra cost to you.
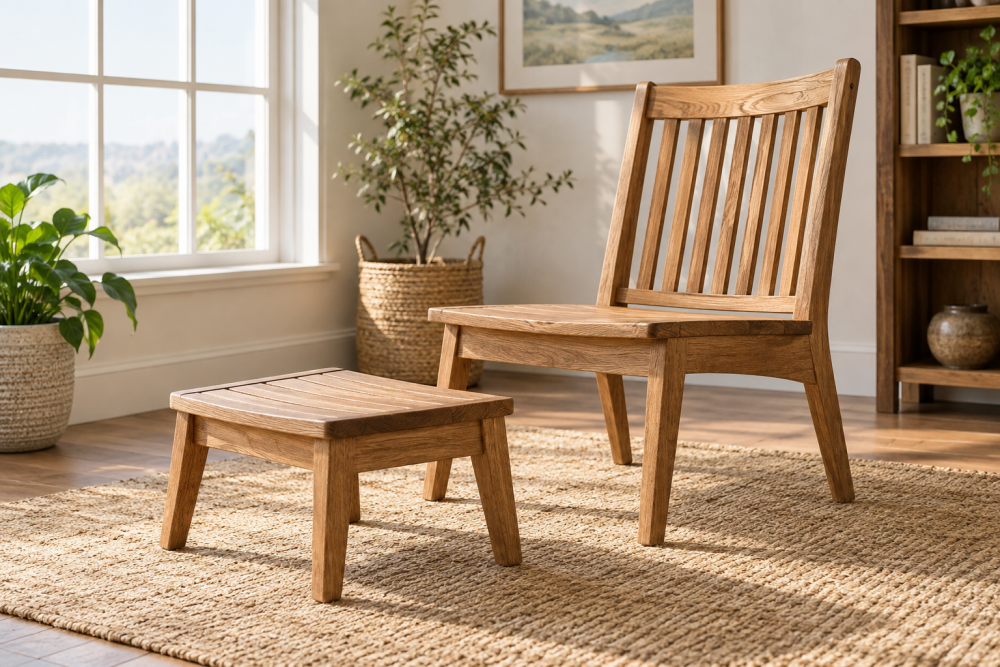
A wooden patio footstool is a useful first outdoor project: it needs only a few parts, but angled legs teach you how to lay out repeatable cuts and make stable joints. The plan below makes a stool about 18 inches wide, 14 inches deep, and 11 inches high. Those dimensions suit most patio chairs, though you can adjust the height to match your seat.
Contents
Choose a plan that fits your tools
There are two sensible beginner approaches. A screwed-together frame is quick and easy to repair; a housed or mortised frame takes more layout work but hides the joints and can resist racking well when fitted accurately. For a first build, use the screwed frame and spend your effort on matching the leg angles and sealing the end grain.
| Plan | Best for | Trade-off |
|---|---|---|
| Four legs, rails, and a slatted top | Beginners with a drill and saw | Visible fasteners; straightforward to adjust |
| Angled legs joined directly to a solid top | Very simple, light-duty stools | Fasteners carry more stress; less resistant to wobble |
| Angled legs in mortised rails | Builders with chisels or a router | Stronger-looking joinery, but harder to fit consistently |
Use the first plan for regular patio use. It gives the top support on all four sides and lets the rails tie the legs together.
Materials and tools
Use naturally durable outdoor wood such as cedar, redwood, or a suitable hardwood. Pressure-treated lumber is inexpensive and tolerates wet conditions, but it can be wet, rough, or prone to movement; let it dry before finishing, and avoid using it where splinters or chemical contact are a concern. A clear, straight 2-by-2 for the legs and 1-by-3 stock for rails and slats are easy to find. Choose boards without large knots near joints.
For this size, buy about 12 linear feet of 2-by-2 and 18 linear feet of 1-by-3, allowing for saw kerfs and selecting around defects. You’ll also need exterior-rated screws, a drill, square, tape measure, saw, clamps, and sandpaper. A box of stainless or coated outdoor wood screws is a better choice than indoor drywall screws, which can rust and snap under movement. Stainless costs more but is worthwhile near salt air; coated exterior screws are usually fine inland.
Cut list and leg angle
Cut four legs from 2-by-2 stock, each 10½ inches long. Cut two long rails from 1-by-3 stock at 15 inches and two short rails at 11 inches. Cut six top slats at 18 inches. These are nominal dimensions: a typical 1-by-3 is actually about ¾ by 2½ inches, and a 2-by-2 is about 1½ by 1½ inches.
Set the legs outward by about 7 degrees in the long direction and 7 degrees in the short direction. That modest splay widens the footprint without making the stool awkward to sit beside. If your saw has a bevel scale, test it on scrap first. A cut made at 7 degrees is not the same as a leg leaned 7 degrees after assembly, so use a simple angle gauge or make a full-size side-view layout to check the result. Keep the top ends of the legs square to the floor-facing edges of the rails, or the joints will show gaps.
Assemble the frame
Mark the top of each leg and the direction of its splay. Make two matching end assemblies by positioning a short rail between a pair of legs, with the rail’s top edge about 1½ inches below the leg tops. Predrill through the legs into the rail, then use two exterior screws per end. Predrilling matters: screws driven into the end grain of a narrow rail can split it, especially near an edge.
Join the two end assemblies with the long rails. Check that the frame is square by measuring diagonally from corner to corner; the two measurements should be within about ⅛ inch. Clamp the frame and correct any twist before tightening the screws. A frame that is merely “close” can still rock after the slats are attached. If the legs are slightly uneven, trim their feet together on a flat surface after assembly rather than shortening one leg by eye.
Fit the slatted top
Lay the six slats across the rails, leaving roughly ⅜ inch between them for drainage and seasonal movement. Center the overhang at each end. Predrill two holes at each rail crossing and fasten each slat with exterior screws; keep holes at least ⅜ inch from the slat edge to reduce splitting. Do not pull a bowed slat flat with screws alone. Reject it or use it where the bow is slight and can be held without straining the frame.
Round exposed edges lightly with 120-grit sandpaper, then smooth to 180 grit. Sharp corners chip more easily and are uncomfortable against bare legs. Check for rocking on a level floor and inspect every screw head. A screw driven too deep can collect water; one left proud can snag clothing.
Finish and maintain it outdoors
Apply an exterior-rated penetrating oil or outdoor finish according to its label. A penetrating exterior wood oil is easy to refresh, though it needs periodic reapplication and will not stop wood from changing color. A film-forming finish can provide more surface protection but may peel if water gets beneath it. Coat end grain and the undersides of the slats, not just the visible top.
Let the finish cure fully before putting the stool outside. Set it on a surface that drains, and store it under cover during long wet periods. If it starts to wobble, check for loose screws and uneven feet before adding braces. A small diagonal brace can stiffen a frame, but it is usually better to fix a loose joint or twisted assembly first.
Common beginner mistakes
The most frequent failure is mismatched leg angles: the stool looks symmetrical but rocks because one foot lands early. Cut one leg as a test, then use it as a template for the other three. Another is placing rails too low, which leaves a tall unsupported section above the joints; keep the rail tops close to the top of the legs. Finally, avoid leaving narrow gaps between slats. Water and debris need room to drain, and wood expands when damp. If you want a painted stool, use an exterior primer and paint system, but remember that paint makes later repairs and finish removal more work.