What's inside
As an Amazon Associate I earn from qualifying purchases. This post may contain affiliate links at no extra cost to you.
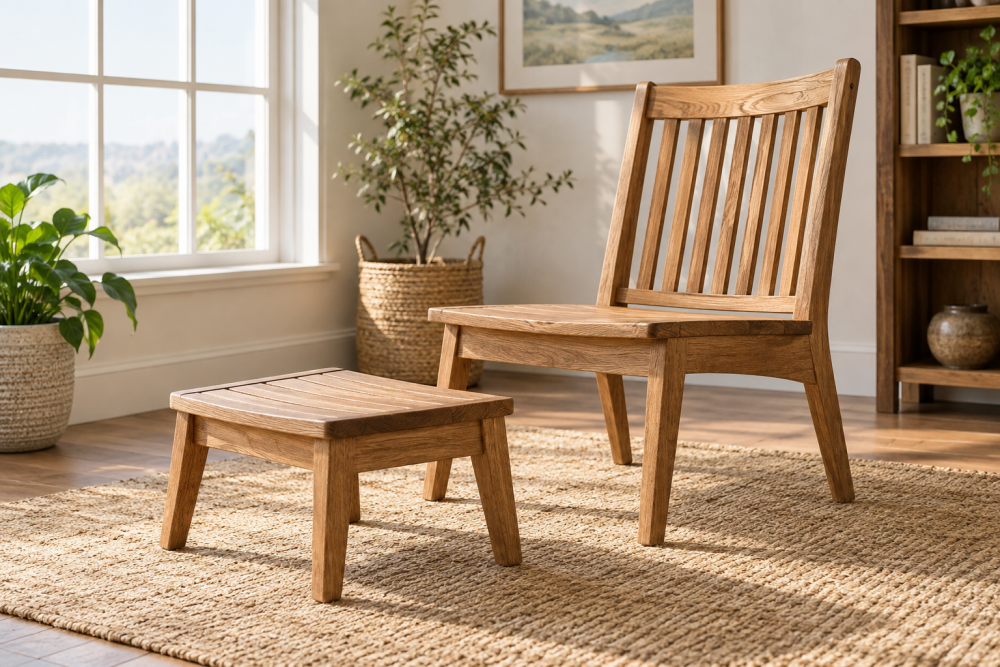
A wooden patio footrest is a manageable weekend project: it needs only a few cuts, basic joinery and an outdoor finish. The design below is a low, slatted stool that can also serve as a small seat or side table. It measures about 18 inches wide, 14 inches deep and 12 inches high—large enough to rest both feet on, but small enough to move around a patio.
Plan on four to six hours of work, plus drying time for glue and finish. The main decision is lumber: inexpensive construction lumber can work, but it needs careful selection and more sanding. Cedar costs more and is easier to handle outdoors.
Contents
Plan the size and choose materials
Keep the footrest low enough to use comfortably with your patio chair. A finished height of 11 to 13 inches suits many standard outdoor chairs; check the distance from the ground to your seat before cutting. If the chair seat is unusually low or high, adjust the legs while keeping the footrest stable.
Use rot-resistant wood where practical. Cedar is light and naturally suited to outdoor use, though it dents more easily than harder species. Pressure-treated lumber is durable but often wet and prone to twisting; let it dry before building, and do not use it for a surface where bare feet will rest. Kiln-dried pine is the cheapest reasonable option for a sheltered patio, provided you seal it and maintain the finish.
| Material | Cost and handling | Best fit |
|---|---|---|
| Cedar | Higher cost; light and easy to cut, but softer | Open patios and easier carrying |
| Kiln-dried pine | Lower cost; readily available, needs regular sealing | Sheltered patios and budget builds |
| Pressure-treated lumber | Often inexpensive; can be damp, heavy or warped | Use only after it dries and is checked for movement |
For the build, buy two 1-by-4 boards for the top slats, one 2-by-2 board for the frame and legs, exterior-rated screws about 1 1/2 inches long, and an outdoor wood finish. Actual board sizes are smaller than their nominal names: a 1-by-4 is typically about 3/4 by 3 1/2 inches. A box of exterior wood screws is worth buying instead of using indoor drywall screws, which can rust and snap.
Cut list and tools
Cut four top slats to 18 inches. Cut two side rails to 12 1/2 inches and two end rails to 10 inches from the 2-by-2 stock. Cut four legs to 11 1/4 inches. The frame fits beneath the slats, leaving a small overhang. With 3/4-inch-thick slats, the completed height is about 12 inches.
You will need a saw, tape measure, square, drill, 1/8-inch drill bit for pilot holes, clamps and sandpaper. A circular saw makes repeat cuts straightforward, but a handsaw is adequate for this short cut list. If you lack a drill, borrow one before buying a large tool for a single project. A cordless drill-driver kit is useful if you expect to build or repair other outdoor projects.
Saturday: assemble the frame
Choose straight boards without large knots at screw locations. Sight down each piece before cutting; a bowed leg can make the footrest rock even when the cuts are equal. Mark the four legs, rails and slats, then cut them square. Check the first cut against your mark before repeating it.
Set the rails into a rectangle, with the shorter end rails between the longer side rails. Position each leg inside a corner, flush with the top of the frame. Drill pilot holes through the rails into the legs, then fasten each joint with two screws. Keep the drill straight and stop when the screw head is snug. Driving too hard can split a 2-by-2, especially near its end.
Measure the frame diagonally from corner to corner in both directions. If the measurements differ, nudge the frame square before tightening the screws fully. Set the assembly on a level floor and check that all four legs touch. Correct a small wobble by sanding the longest leg; do not force a twisted frame flat with the top slats.
Sunday: fit the slats and finish
Space the four slats evenly across the frame, leaving roughly 1/4 inch between them for drainage. Keep the outside slats aligned with the frame edges and leave about 3/4 inch of overhang at each end. Predrill through each slat into both side rails, then add one screw at each crossing. The pilot hole reduces splitting and makes it easier to keep the slats straight.
Round sharp edges with 120-grit sandpaper, then smooth the surfaces with 150- or 180-grit. Pay particular attention to the slat ends and corners, where bare feet may catch on splinters. Wipe off the dust and apply an exterior oil or outdoor-rated clear finish according to its label. Thin, even coats are safer than one heavy coat, which can remain sticky or peel. An exterior wood oil finish is easy to renew, but usually needs more frequent maintenance than a film-forming coating.
Let the finish cure for the time stated on the container before putting the footrest into service. If rain is forecast, work under cover and do not leave freshly finished wood outside to cure in damp conditions.
Check the build and avoid common failures
Press down on each corner and test the footrest on the patio surface where you will use it. A wobble usually points to an uneven leg or a frame pulled out of square. A loose joint calls for a fresh pilot hole and a correctly sized screw, not a longer screw driven blindly into the leg. If a top slat splits, replace it rather than relying on finish to hide the damage.
Keep the footrest out of standing water and let air circulate beneath it. Recoat when the wood looks dry or water stops beading on the surface. In winter, store it under cover if possible. Even cedar and treated lumber last longer when joints and end grain are not left wet for days.
Before building, check the intended use: this simple design is a footrest, not a rated step stool. Do not stand on it or use it as a seat unless you strengthen the frame and verify the joints for that load.