What's inside
As an Amazon Associate I earn from qualifying purchases. This post may contain affiliate links at no extra cost to you.
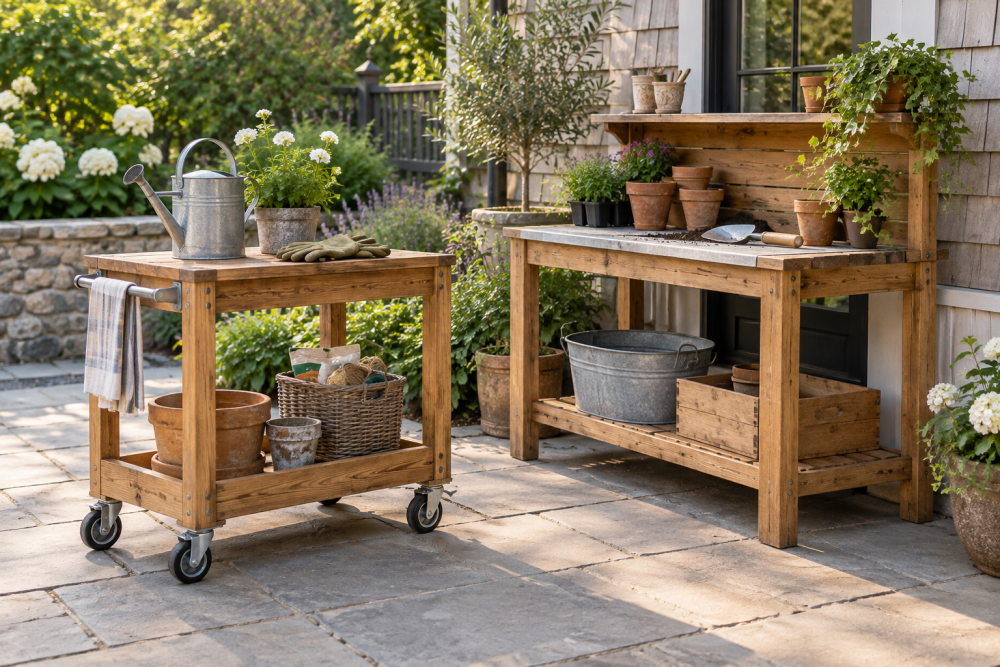
This bench gives you a waist-high place to pot plants without letting runoff soak the shelf or patio. Its slatted top drains into a removable tray, so you can empty it after watering and clean out spilled soil. The build uses common lumber and straightforward joinery; allow a weekend, including finish drying time.
Contents
Size and layout
The finished bench is about 36 inches wide, 18 inches deep, and 34 inches tall. That height suits standing work for many people; adjust the legs if you prefer a lower surface. The tray sits below the slats on support rails and slides out from the front. A 30-by-14-inch tray leaves clearance around its edges and enough room for routine potting spills.
Before buying materials, check the tray’s actual dimensions. Plastic utility trays vary, and some have a rolled lip that needs more clearance than the stated base size. The plan below assumes a tray no wider than 30 inches and no deeper than 14 inches.
Materials and tools
Use naturally durable cedar or pressure-treated lumber for outdoor exposure. Cedar is easier to cut and lighter to move; treated lumber is often cheaper and resists rot well, but can be wet, heavy, and prone to twisting as it dries. Avoid using fresh, wet boards for precise-fitting parts. For a sheltered patio and a low-cost build, ordinary construction lumber can work if sealed on all sides and kept off standing water, but expect more maintenance.
You’ll need four 2-by-2-by-34-inch legs; four 2-by-2 aprons, two cut to 33 inches and two to 15 inches; two 1-by-2 tray rails cut to 30 inches; and five 1-by-3 top slats cut to 36 inches. Add two 1-by-2 lower stretchers, each 33 inches long, to reduce racking. Lengths assume the 2-by-2 aprons fit between the legs. Buy roughly 10 percent extra lumber for defects and test cuts.
Gather exterior-rated screws, a drill, tape measure, square, saw, clamps, and sandpaper. A box of exterior wood screws is a sensible purchase; indoor drywall screws can rust and snap. A basic circular saw is enough for crosscuts, though a miter saw makes repeated cuts faster.
Choose a tray before building
The tray is the part most likely to need replacement, so measure it first. A shallow plastic mixing or utility tray is inexpensive and won’t rust, but can flex when full of wet soil. A metal tray is stiffer and durable, but may corrode if its coating is scratched. A custom plywood tray gives you a precise fit but needs careful waterproofing and periodic inspection.
| Tray type | Best for | Trade-off |
|---|---|---|
| Plastic utility tray | Low-cost, easy removal | Can flex or crack in sun and cold |
| Galvanized metal tray | Frequent potting and heavier loads | Edges can be sharp; damaged coating may rust |
| Sealed plywood tray | Unusual bench dimensions | More work, and leaks can go unnoticed |
For most home use, a rigid plastic tray is adequate. Search by measured dimensions rather than relying on a product label such as “potting tray.” A plastic potting tray is a practical starting point.
Build the frame
Cut the legs and frame pieces, then sand splinters from the cut ends. Assemble the two side frames first: place one 15-inch apron between a pair of legs, with the apron’s top edge about 3 inches below the leg tops. Pre-drill screw holes to reduce splitting, then fasten each joint with two exterior screws. Repeat for the other side.
Join the side frames with the 33-inch front and back aprons. Check that the frame is square by measuring diagonally from corner to corner; the two measurements should match within about ⅛ inch. Add the lower stretchers between the legs, 5 inches above the ground. These braces help prevent side-to-side wobble, especially on uneven patios.
Fit the tray supports
Mount the two 30-inch tray rails inside the long sides of the frame, directly below the aprons. Set their upper faces about 1½ inches below the apron tops, adjusting as needed so the tray slides in without catching. Keep the rails level and parallel. A tray that binds when dry may jam once grit or wet soil gets into the gap; leave about ⅛ inch of clearance on each side.
Do not slope the rails sharply to make water drain. The tray should sit flat so it doesn’t tip when pulled out. Instead, empty standing water after use. If you want a drain opening, drill a small hole at the tray’s back corner and place a bucket or outdoor-safe surface beneath it—but this makes the bench less portable and can leave runoff where you don’t want it.
Install the slatted top
Lay the five 1-by-3 slats across the frame, running left to right. Space them evenly with roughly ¼-inch gaps; use a scrap of plywood or a spacer block to keep gaps consistent. The openings let water escape while still supporting pots. Larger gaps drain faster but may catch small tools or allow narrow pot feet to drop through.
Center the slats with about 1½ inches of overhang at the front and back. Pre-drill each screw hole and fasten each slat to both long aprons with exterior screws. Keep screw heads flush, not deeply buried, where water can collect. A water-resistant exterior wood glue is optional for joints, but screws do the structural work and make repairs easier.
Finish and check the bench
Sand the edges and corners to remove splinters, then seal all faces, including the undersides and end grain, with an exterior-rated finish suitable for the wood. Follow its label for temperature and drying time. Don’t coat the tray, and avoid a slick film finish on the working surface if you’ll set wet pots there. Recoat when water stops beading or the finish begins to peel; inspect the legs and screw joints each spring.
Set the bench on a level surface and press down on each corner. If it rocks, adjust the feet or add a thin outdoor-rated shim rather than forcing the frame flat with screws. Slide the tray in and out several times, then test it with a few gallons of water. If the rails sag or the tray bows, add a center support beneath the rails or switch to a stiffer tray before loading the bench with heavy pots.