What's inside
As an Amazon Associate I earn from qualifying purchases. This post may contain affiliate links at no extra cost to you.
Fall is a good season for learning outdoor finishing because cooler temperatures slow the work down without making it impossible. You can see how wood reacts to moisture, how long finishes actually take to dry, and what happens when a surface is prepared poorly. Start with a small project rather than a full deck or fence. A planter box, porch bench, or pair of sawhorses gives you enough surface area to practice without wasting a gallon of finish.
As an Amazon Associate we earn from qualifying purchases at no extra cost to you.



Contents
Choose a Project That Matches the Weather
Read the finish label before cutting lumber. Most exterior stains and paints need the air and surface to stay above about 50°F, with no rain or heavy dew for the specified drying period. A clear finish may need 24 hours between coats, while a penetrating stain can be ready for a second coat in several hours. If daytime temperatures reach 60°F but the wood is cold and damp in the morning, the real working window may be much shorter.
| Project | Typical size | Best finish practice | Main risk |
|---|---|---|---|
| Planter box | 24 to 36 inches long | Exterior stain or paint; seal end grain | Standing water and soil against the finish |
| Porch bench | 36 to 48 inches long | Penetrating stain or exterior paint | Uneven sanding and lap marks |
| Garden sign | 12 by 18 inches | Primer, exterior paint, and topcoat if needed | Paint bleeding through soft wood |
| Outdoor sawhorses | 30 to 32 inches high | Simple paint or deck stain | Finish wear at feet and joints |
Project One: A Simple Planter Box
A planter box is the best first project if you want to practice end-grain sealing and finishing inside corners. Use 1-inch-thick cedar, redwood, or treated lumber. Cedar is easier to work and looks good under a penetrating stain, but it costs more than common pine. Pine is acceptable for a temporary planter if you keep it off wet ground and expect to refinish it every year or two.
Build a box roughly 24 inches long, 10 inches wide, and 10 inches high. Drill several 3/8-inch drainage holes in the bottom and attach four plastic or cedar feet so the base sits at least 1/2 inch above a porch or patio. Sand exposed faces to 120 or 150 grit. Do not polish the wood to 220 grit before a penetrating stain; an overly smooth surface can reduce absorption and leave the color uneven.
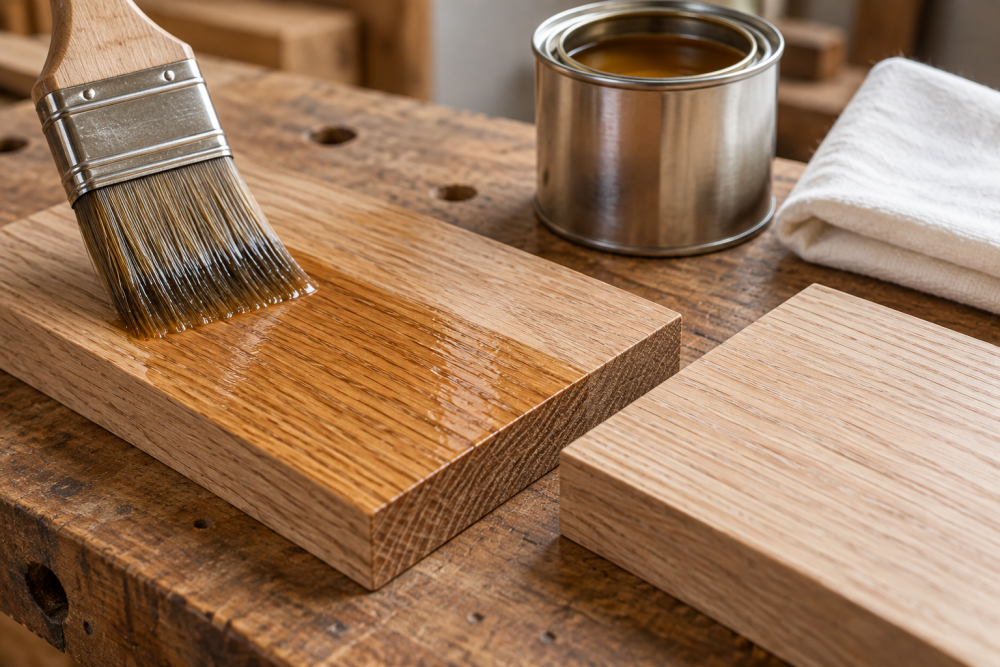
Brush finish onto every surface before assembly when possible, especially the end grain and the inside faces. For the inside, a water-repellent preservative or exterior stain is more useful than a thick film finish that may peel. You can compare exterior wood stains by coverage and recoat time rather than color alone. Wipe away puddles after 10 to 15 minutes. Puddled stain dries glossy, sticky, and darker than the surrounding wood.
Project Two: A Small Porch Bench
A basic bench teaches the finishing problems that show up on larger outdoor furniture. Use two-by-four stock for the legs and frame, with a seat made from three or four boards. A 42-inch-long bench is large enough to practice but still easy to move into a garage if rain arrives.
Round sharp edges with a router or sanding block. A small 1/8-inch radius is enough; finish does not stay on a knife edge for long. Sand to 120 grit, then remove dust with a vacuum and a barely damp cloth. Avoid soaking the surface, since damp wood can make stain absorption unpredictable.
Penetrating stain is the forgiving choice for a first bench. It will still show some sanding differences, but it is less likely to crack and peel than a thick paint film. Exterior paint gives better color and hides mismatched boards, but it requires primer and careful edge coverage. If using paint, apply one coat of exterior wood primer and two thin coats of exterior acrylic paint. Give each coat the full label dry time; cool fall air can double the advertised recoat interval.
Use exterior wood primer and quality paint brushes if you choose paint. A cheap brush is fine for a rough sawhorse, but its loose bristles and poor edge control become frustrating on a bench. Do not paint the bottoms of legs and then set them on a wet floor. Put each leg on small painter’s pyramids or scrap blocks and coat the end grain separately.
Project Three: A Garden Sign
A garden sign uses little lumber and lets you practice masking, lettering, and touch-up work. Cut a 1-by-8 board to 18 inches, ease the edges, and sand it through 150 grit. Prime both faces and all edges. Soft pine knots can bleed brown through light paint, so spot-prime knots with a stain-blocking primer before applying the general coat.
Paint the background first, then let it dry fully. Use exterior-rated stencil paint or lettering paint for the words. Keep coats thin: heavy paint under a stencil creeps beneath the edges and forms ridges. Remove masking tape while the final coat is still slightly soft, pulling it back at a low angle. A clear exterior topcoat is optional. It can add protection, but some clear products amber, attract dirt, or eventually peel. For a sign that can be touched up easily, leaving off the clear coat is often the cheaper and better choice.
Project Four: Outdoor Sawhorses
Sawhorses are not decorative, which makes them ideal for learning coverage and durability without worrying about perfect appearance. Build a pair from construction-grade two-by-fours, checking each board for severe cracks and twist. Paint or stain the parts before assembly, then touch up cut ends and screw holes afterward.
Deck stain is usually enough for sawhorses. It penetrates reasonably well, hides dirt, and is easy to renew. If the horses will sit on gravel or soil, add replaceable sacrificial feet from treated lumber or plastic. The feet wear faster than the rest of the project, so designing for replacement matters more than applying an expensive finish. For application, a paint pad or foam brush for exterior stain can be faster than a small brush on broad faces, though a brush is better for corners and screw heads.
A Fall Finishing Checklist
Before opening the can, check the forecast for at least 24 hours. Measure the wood’s moisture only if it has recently been rained on; visibly dry lumber can still hold moisture in end grain. Work in shade when possible, but avoid finishing late in the day when dew is likely to settle before the product cures.
Stir finishes slowly rather than shaking them, which can introduce bubbles. Test the color on an offcut or the underside of the project. Apply thin, even coats and keep a wet edge to prevent lap marks. If a finish feels tacky after the label’s stated cure time, do not add another coat. Move the project somewhere warmer and ventilated, then wait. Most outdoor finishing failures come from trapped moisture, dirty surfaces, over-thick application, or rain arriving before the film has cured—not from choosing the cheapest acceptable product.