Key takeaways
- A step-by-step method for diagnosing and correcting a miter saw that will not cut square, using the five-cut test, a good square and feeler gauges.
What's inside
- Step 1: Gather the right measuring tools first
- Step 2: Check the fence and table before the blade
- Step 3: Square the blade to the fence (the miter setting)
- Step 4: Square the blade to the table (the bevel setting)
- Step 5: Verify with the five-cut test
- Common mistakes that keep a miter saw out of square
- Frequently asked questions
- What to do after the saw is square
- Related Guides
- Step 1: Gather the right measuring tools first
- Step 2: Check the fence and table before the blade
- Step 3: Square the blade to the fence (the miter setting)
- Step 4: Square the blade to the table (the bevel setting)
- Step 5: Verify with the five-cut test
- Common mistakes that keep a miter saw out of square
- Frequently asked questions
- What to do after the saw is square
- Related Guides
As an Amazon Associate I earn from qualifying purchases. This post may contain affiliate links at no extra cost to you.
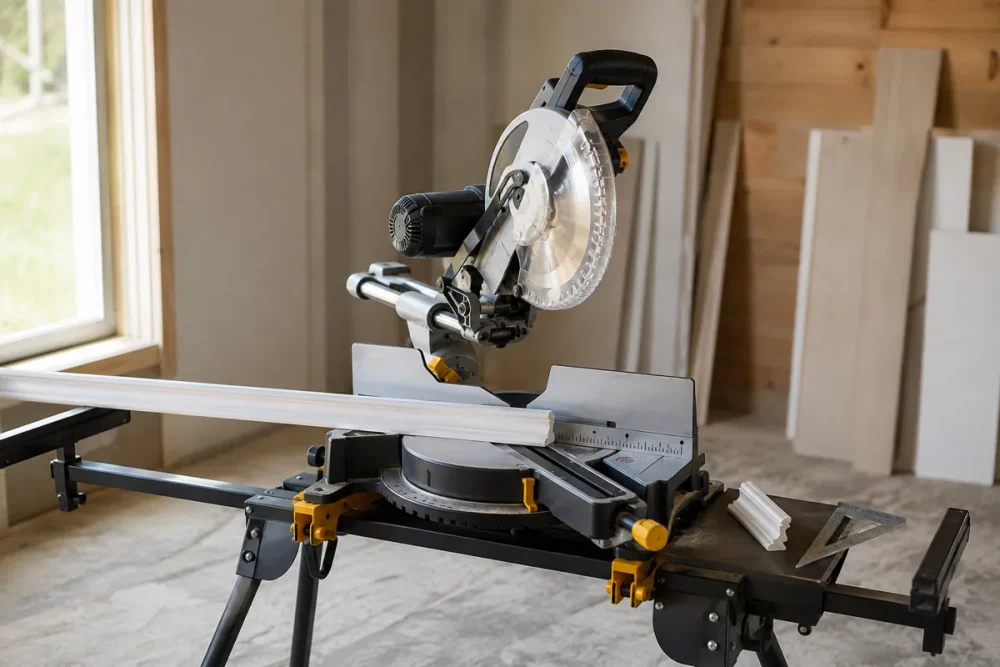
You cut four pieces at 45 degrees, clamp the frame together, and one corner shows a gap you could slide a business card into. If your miter saw not cutting square is the reason your picture frames, boxes and door casings keep opening up at the joints, the saw is almost never broken. It is out of alignment, and alignment is a thing you can measure and correct in about half an hour with tools you probably already own.
There are three separate squareness problems that people lump together, and fixing the wrong one wastes an afternoon. A saw can be off in the horizontal plane (the miter angle, blade to fence), off in the vertical plane (the bevel angle, blade to table), or the material can be moving during the cut even though the saw is perfect. This guide walks each one in order, because the order matters: fence and table geometry come first, blade angles second, technique last.
As an Amazon Associate we earn from qualifying purchases at no extra cost to you. Product prices and availability are accurate as of the date shown and are subject to change.



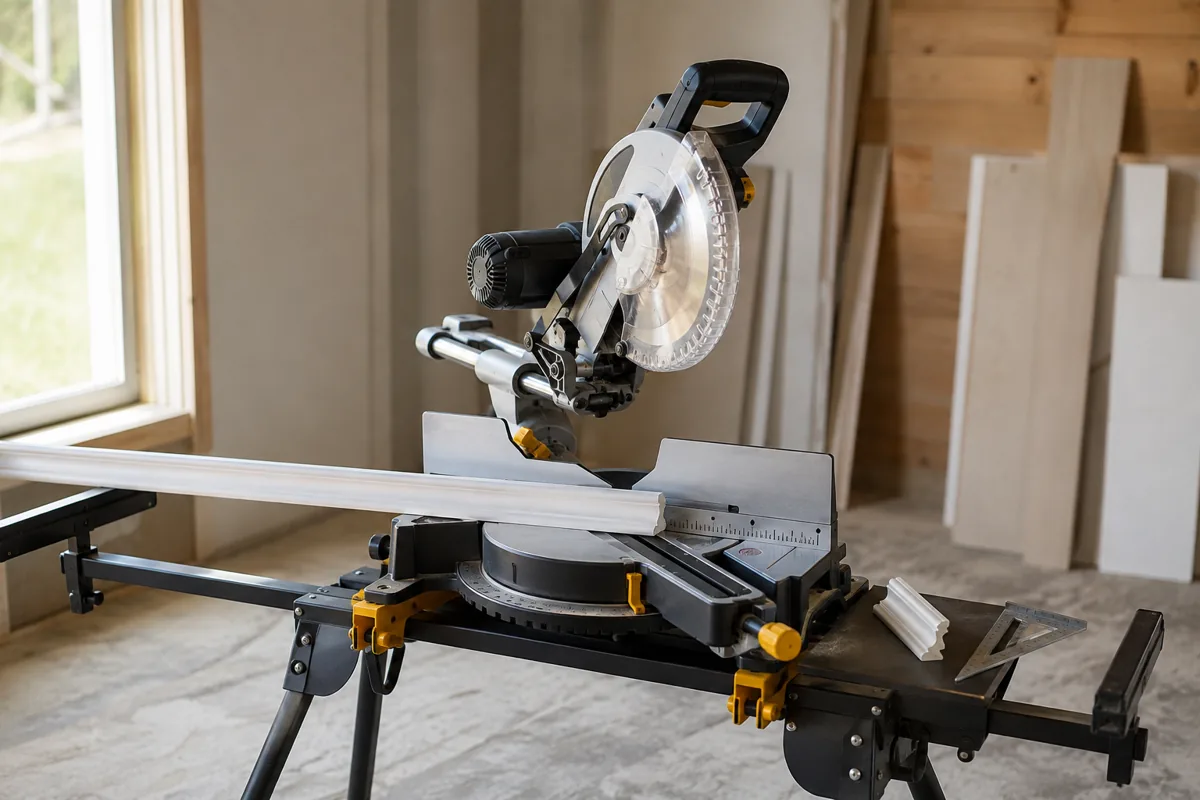
Step 1: Gather the right measuring tools first
You cannot align a saw with the little cast pointer and the printed scale on the miter detent plate. Those scales are reference marks, not instruments. Before you touch a single bolt, put these on the bench.
| Tool | What it does | What to look for | |
|---|---|---|---|
| Machinist or engineer’ | s square | Checks blade to table (bevel) | 4 to 6 in blade, ground edges, steel not stamped tin |
| Framing or large combination square | Checks blade to fence (miter) | At least 12 in on the long leg | |
| Feeler gauge set | Measures the actual gap in thousandths | 0.0015 to 0.035 in range | |
| Straightedge, 24 in or longer | Checks fence and table flatness | Machined or known-good level | |
| Scrap plywood or MDF, 12 x 24 in | Five-cut test stock | Flat, void-free, factory edge on one side | |
| Dial or digital calipers | Reads the five-cut error | 0.001 in resolution |
Why a real square and not the framing square from your truck: a square that has been dropped is a square that lies. Test yours before you trust it. Set the square against the factory edge of a piece of plywood, draw a line, flip the square end for end on the same edge, and draw a second line over the first. If the two lines diverge at all, your square is out and you are about to transfer its error into your saw.
Machinist Square Set for Saw Setup
A hardened steel square set in the 2 to 6 inch range is the single highest-value purchase for tool alignment. Look for a stated squareness tolerance on the packaging and a case that keeps the reference edges from banging around in a drawer. Skip anything cast, painted or sold as a “combination square” for this job.
Step 2: Check the fence and table before the blade
This is the step almost everyone skips, and it is why some people adjust the same saw four times. If the fence is not straight, or the two fence halves are not coplanar with each other, no blade adjustment will ever make the cut square. You are chasing a moving target.
1. Lay the straightedge across both fence halves. With the head lowered out of the way, hold the straightedge flat against the left and right fence sections at the same time. Look for light under it. A gap at one end means one fence half is proud of the other. Most fences have bolts in slotted holes; loosen them, seat both halves against the straightedge, and retighten while holding pressure. This is normal maintenance, not a defect.
2. Check the fence for square to the table. Stand your machinist square on the table with the blade of the square against the fence face. Any lean in the fence tilts every workpiece you clamp against it. On sliding saws, check the tall upper fence sections separately from the lower ones, since they are usually adjustable and often shipped loose.
3. Run the straightedge across the table and the extension wings. If the wings sit low, long stock sags away from the fence during the cut and the offcut ends up out of square at the far end. Shim or adjust the wings until a straightedge rocks on nothing.
4. Clean out the sawdust. Packed dust behind the fence, in the miter detents, and under the kerf plate is a real source of error. A quarter inch of compacted dust behind a workpiece will absolutely put a degree into your cut. Blow it out or vacuum it before you measure anything.
Step 3: Square the blade to the fence (the miter setting)
Now you can adjust the saw. Work at the zero-degree detent, because that is the position you cut in most often and every other angle is referenced from it.
1. Unplug the saw. You are going to put your hands and a steel square against the blade. This is not optional.
2. Set the miter to zero and lock it. Let it drop into the detent, then engage the lock lever. Do not fight the detent to “help” it.
3. Lower the head and hold it down. Use the travel lock pin so the blade sits at full depth without you supporting it.
4. Place the framing square against the fence and the blade body. Reference the flat plate of the blade, not the carbide teeth. Teeth are set wider than the plate and they will read a false angle. Slide the square in until it touches at the front of the blade, then look for light at the back.
5. Measure the gap with feeler gauges. A 0.010 in gap over a 6 in blade contact length is a real, visible error in a mitered joint. Write the number down so you know whether your adjustment moved things the right direction.
6. Adjust the detent plate, not the blade. Loosen the bolts that hold the miter detent plate to the base, usually four hex bolts on the front of the table. Nudge the plate until the square shows no light, then tighten in a cross pattern and recheck. On most saws the head itself is fixed; the plate is what moves.
7. Reset the pointer last. Only after the cut is right should you loosen the pointer screw and move the needle to read zero. The pointer follows the truth; it does not define it.
Step 4: Square the blade to the table (the bevel setting)
A saw can be dead-on in the miter plane and still ruin a box, because the cut face is leaning. This shows up as a joint that closes on the outside but opens on the inside face, or crown molding that will not sit flat.
1. Set the bevel to zero and lock it. With the saw still unplugged and the head down, stand your machinist square on the table with its blade flat against the saw blade plate.
2. Check at two heights. Read the gap near the table and again near the top of the blade. Use feeler gauges again rather than eyeballing.
3. Find the bevel stop bolt. It is typically a set screw or a bolt with a locknut at the pivot on the back of the saw. Back off the locknut, adjust the stop, tighten the nut, and reseat the head against the stop before you re-measure.
4. Repeat for the 45 degree bevel stop if your saw has one. Same procedure, different stop screw. Many saws have independent stops at 0, 33.9 and 45 degrees.
Feeler Gauge Set
A basic 32-blade feeler gauge set turns “looks close” into an actual number, which is the difference between adjusting and guessing. Get one with both inch and metric markings and a locking pivot so the leaves stay put while you slide them into the gap.
Step 5: Verify with the five-cut test
Eyeballing a square against a blade gets you close. The five-cut test multiplies your remaining error by four so you can actually see it, and it tests the whole system: fence, table, blade and your own hold-down technique together.
1. Take a piece of plywood or MDF about 12 by 24 in with one known-straight factory edge. Label the edges 1, 2, 3, 4 going clockwise.
2. Place edge 1 against the fence and trim edge 2. Take a light cut, about 1/16 in.
3. Rotate the panel clockwise so edge 2 is now against the fence, and trim edge 3. Repeat for edges 4 and 1. You now have four cuts, each one referencing the last.
4. Make a fifth cut, about 1 in wide, off the last edge you trimmed. This is your test strip.
5. Measure the strip at both ends with calipers. If it is 1.000 in at one end and 1.000 in at the other, your saw is square. Any difference is four times your actual error, so divide the difference by four to know how far off you really are.
For furniture and cabinet work, a taper of less than about 0.004 in across a 20 in test strip is generally not worth chasing further. For rough framing, a fair bit more is fine. Know which one you are doing before you spend an hour on the last thousandth.
- ✔ The five-cut test catches errors a square cannot see
- ✔ It tests fence, blade and technique as one system
- ✔ Costs one scrap panel and about ten minutes
- ✔ Gives you a number to compare against after each adjustment
- ✘ Needs a flat, void-free panel to be meaningful
- ✘ Requires calipers or a very good rule to read the result
- ✘ Will not tell you which component is off, only that something is
Common mistakes that keep a miter saw out of square
Referencing the teeth instead of the blade plate. Carbide teeth stick out past the plate by design. Set your square against them and you build error in from the start.
Checking with a dull or warped blade. A blade with pitch buildup, a bent tooth or a warped plate will not cut square no matter how well the saw is aligned. Clean the blade, spin it slowly and look for wobble. A thin-kerf blade left in a hot cut can also deflect. If the saw passes the square test but fails the five-cut test, suspect the blade.
Letting the workpiece drift. Pushing sideways on the stock during a cut, or holding a narrow piece with a thumb instead of a clamp, moves the material into the blade. Clamp anything under about 8 in long and let the blade reach full speed before it touches wood.
Cutting against a crowned edge. If the edge against the fence is bowed, the cut faces will be square to nothing. Joint or rip one straight reference edge first, then miter.
Riding the blade back up through the cut. Lifting the head while the blade is still spinning inside the kerf shaves the face on the way out and leaves a slightly out-of-square end. Let the blade stop, or at least clear the workpiece cleanly, before raising it.
Trusting the detents forever. Detents wear and the head takes bumps in the back of a truck. Recheck zero every few months, and any time a joint surprises you.
Frequently asked questions
Why do my 45 degree miters have a gap even though my saw cuts square at zero? A miter joint doubles any error, so half a degree at the saw becomes a full degree in the corner. Check the fence halves for coplanarity first, then cut both halves of a test corner and see whether the gap is at the inside or outside of the joint. A gap at the inside means the angle is slightly over 45; a gap at the outside means it is under. Fine-tune by shifting the workpiece a hair rather than fighting the detent, or use a shooting board to trim the final fraction with a hand plane.
Do I need a digital angle gauge to align a miter saw? No. A trustworthy machinist square plus feeler gauges plus the five-cut test will get you tighter than most digital gauges resolve, because you are measuring the actual cut rather than the tool’s position. A digital gauge is convenient for setting odd bevels like 22.5 or 33.9 degrees, but it is a convenience, not a requirement.
Can a bad blade make a well-aligned saw cut out of square? Yes, and it is one of the most common hidden causes. Resin buildup, a warped plate, worn carbide or a blade with too few teeth for the material will all deflect during the cut. A general-purpose 60 to 80 tooth blade in a 10 or 12 in saw handles crosscuts in hardwood and trim cleanly. Clean the blade with a dedicated blade cleaner, check for runout, and retest before you loosen another bolt.
What to do after the saw is square
Write down the date and the five-cut number somewhere on the saw base or in a shop notebook. Alignment drifts, and having a baseline means you can tell the difference between a saw that moved and a technique problem that showed up today. Recheck after any transport, any blade change that involved forcing the arbor bolt, and any time you notice joints going soft. Add a zero-clearance kerf plate and a sacrificial fence facing once the geometry is right, since both improve cut quality without affecting the angles you just dialed in.
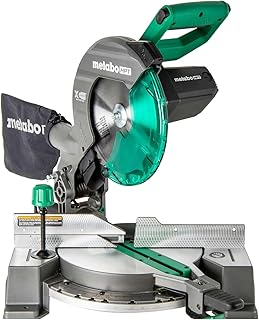
If your saw fails these checks and has no adjustment left in the detent plate or bevel stops, that is the point where the hardware, not the setup, is the limit. Sliding compound saws with a solid rail system and a rigid fence hold alignment far longer than light single-bevel saws, which matters more than any spec on the box.
Check prices on Amazon →