Key takeaways
- A step-by-step guide to setting up and using a miter saw for cutting crown molding, including exact angle settings, coping, and common mistakes.
What's inside
- What Kind of Miter Saw For Cutting Crown Molding You Actually Need
- Step 1: Measure the Spring Angle of Your Molding
- Step 2: Choose Nested or Flat Cutting
- Step 3: Dial in the Compound Angle Settings
- Step 4: Cut Test Pieces Before Touching Real Molding
- Step 5: Cope Inside Corners Instead of Mitering
- Common Mistakes That Ruin Crown Joints
- Frequently Asked Questions
- Related Guides
- What Kind of Miter Saw For Cutting Crown Molding You Actually Need
- Step 1: Measure the Spring Angle of Your Molding
- Step 2: Choose Nested or Flat Cutting
- Step 3: Dial in the Compound Angle Settings
- Step 4: Cut Test Pieces Before Touching Real Molding
- Step 5: Cope Inside Corners Instead of Mitering
- Common Mistakes That Ruin Crown Joints
- Frequently Asked Questions
- Related Guides
As an Amazon Associate I earn from qualifying purchases. This post may contain affiliate links at no extra cost to you.
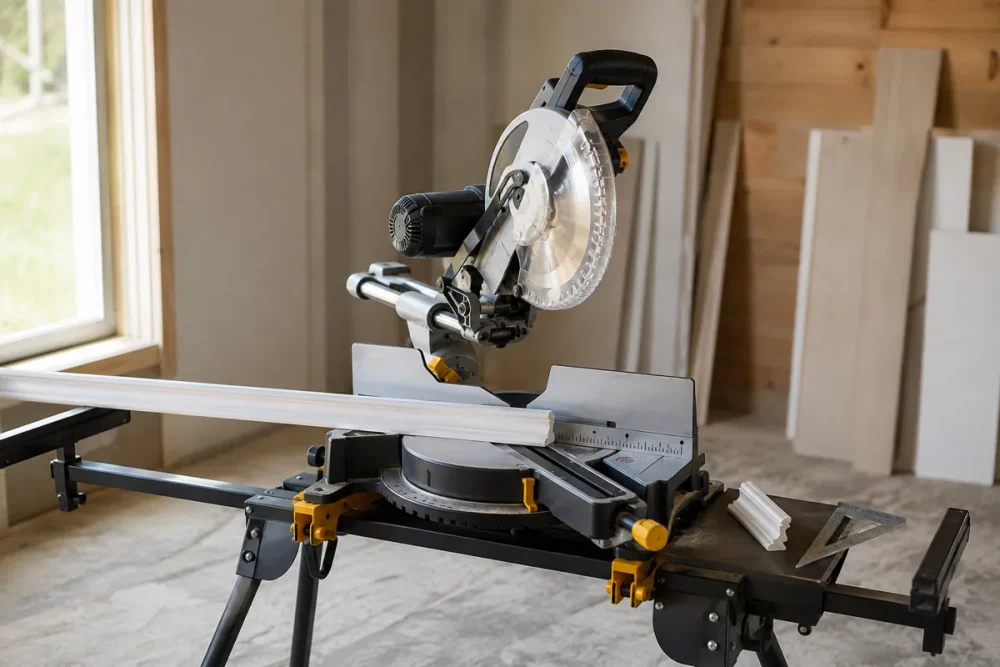
Crown molding punishes guesswork. The corners of a room are almost never a true 90 degrees, the molding sits against the wall at an angle rather than flat, and a joint that is off by one degree leaves a gap you can see from across the room. Choosing and setting up a miter saw for cutting crown molding is less about buying the most expensive saw and more about understanding what the molding is actually doing in three dimensions before the blade ever touches it.
This tutorial walks through both cutting methods, the actual dial settings you need, how to verify your corners, and the specific mistakes that cause most first-time crown installations to look homemade. Read the whole procedure before you cut anything, because the choice you make in Step 2 determines every setting after it.
As an Amazon Associate we earn from qualifying purchases at no extra cost to you. Product prices and availability are accurate as of the date shown and are subject to change.




What Kind of Miter Saw For Cutting Crown Molding You Actually Need
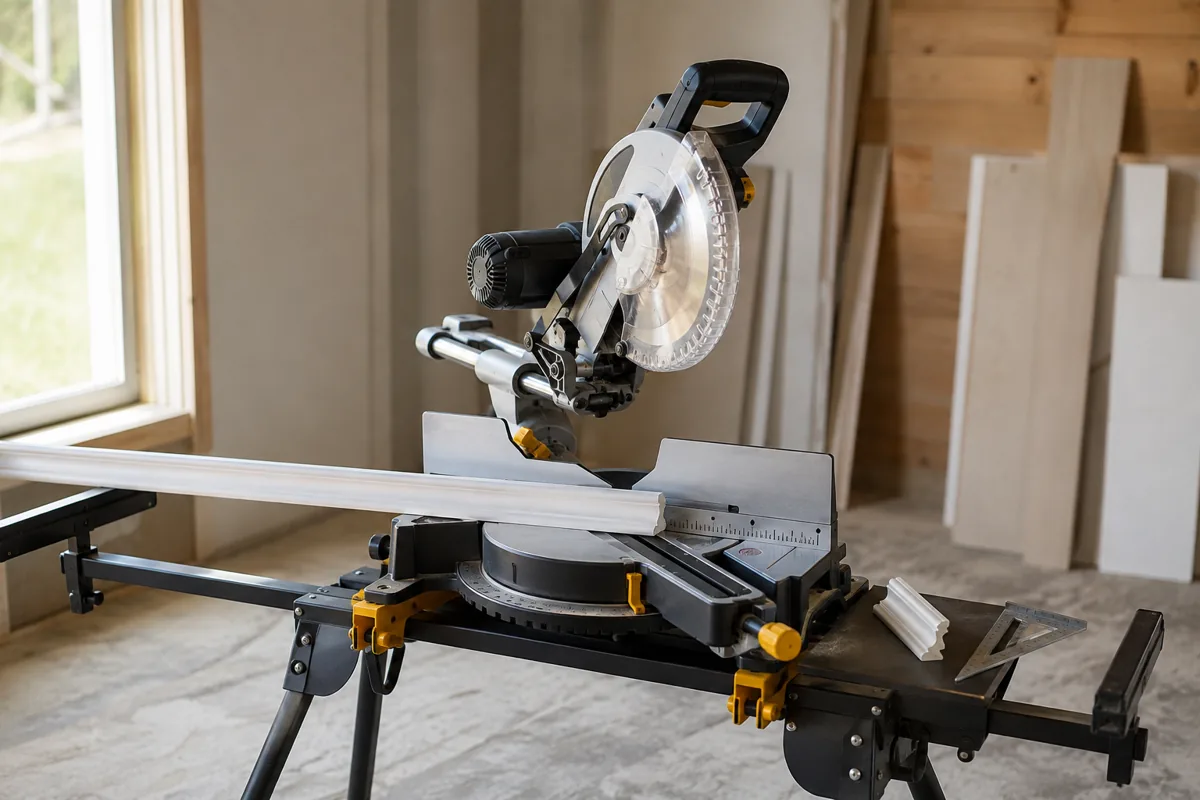
Crown molding places two demands on a saw. First, capacity: you need to cut material that stands up against a fence or lies flat at an angle, which eats cutting width fast. Second, precision in two planes at once, which means a compound or sliding compound saw if you plan to cut molding flat on the table.
A single-bevel compound saw tilts one direction only, so you flip the workpiece for opposing cuts. A dual-bevel saw tilts both ways, which means you can leave a long piece of molding in place and just change the bevel. On a long run of crown in a room with eight corners, dual bevel saves real time and reduces the chance of a flipped-piece error.
| Saw type | Crown capacity | Best use case | Trade-off |
|---|---|---|---|
| 10 in. compound miter | Small crown nested, up to roughly 3.5 in. | Occasional single-room jobs | Limited crosscut width |
| 12 in. compound miter | Nested crown to roughly 5.5 in. | Most residential crown work | Heavier, larger blade deflection |
| 10 in. sliding compound | Wide flat cuts, nested to about 4 in. | Flat-cutting method, wide baseboard too | Costs more than fixed head |
| 12 in. dual-bevel slider | Widest capacity both methods | Whole-house trim, tall crown | Price and bench footprint |
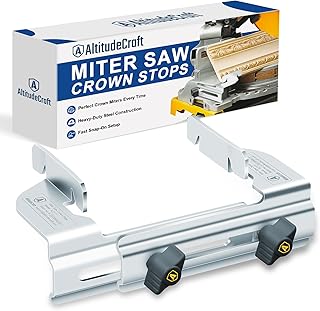
Blade choice matters as much as saw choice. A general 24 to 40 tooth framing blade will tear the delicate profile edges. For crown, use a fine-finish crosscut blade in the 60 to 80 tooth range on a 10 inch saw, or 80 to 100 tooth on a 12 inch saw, with a negative or low positive hook angle. This single change fixes more chipping problems than any other adjustment.
12 in. Dual-Bevel Sliding Compound Miter Saw
If you are cutting crown in more than one room, dual bevel earns its price back in avoided mistakes, not in speed. Look for positive detents at 31.6 and 33.9 degrees on the miter scale, a bevel scale you can actually read, and a fence tall enough to support nested crown. Cordless platforms like DeWalt XR, Milwaukee FUEL and Makita LXT all offer capable saws now, but corded still runs cooler through long production days.
Step 1: Measure the Spring Angle of Your Molding
Spring angle is the angle at which the molding leans away from the wall. It is not the same as the profile shape. Most US crown molding is either 38 degrees or 45 degrees spring angle, and every published miter and bevel chart assumes one or the other. Guess wrong and your joints will be off by roughly two degrees, which is very visible.
To find it, hold a short offcut in the corner the way it will install, so the top and bottom edges both touch drywall and ceiling. Trace the profile onto a piece of cardboard, then measure the angle between the wall line and the back of the molding with a protractor or an angle finder. A 38 degree spring angle molding sits with more of its face showing on the wall; 45 degree splits the difference evenly between wall and ceiling.
Write the number on a scrap and keep it at the saw. You will reference it for every cut in the room.
Step 2: Choose Nested or Flat Cutting
Nested means the molding is held against the fence in its installed position, upside down, with the ceiling edge on the saw table. The bevel stays at zero and you only change the miter angle. It is faster, easier to keep repeatable, and less mentally taxing. The catch is capacity: your saw’s fence must be tall enough to support the molding, and wide crown will exceed it.
Flat means the molding lies face up flat on the table and you set both miter and bevel. This works for any width your saw can crosscut, which is why sliders exist, but it requires the compound angle settings and it is far easier to cut the wrong direction.
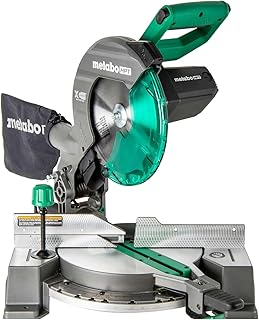
For nested cutting, add an auxiliary fence: a piece of 3/4 in. plywood 8 to 10 in. tall clamped or bolted to your saw’s fence. This gives tall crown something to lean against and makes the whole method repeatable. Cut a shallow relief kerf into it so the blade has clearance.
Step 3: Dial in the Compound Angle Settings
These are the standard settings for a true 90 degree corner. They are the reason miter saws include detents at 31.6 and 33.9 degrees, numbers that look bizarre until you know they come from crown geometry.
| Spring angle | Method | Miter setting | Bevel setting |
|---|---|---|---|
| 38 degrees | Flat on table | 31.62 degrees | 33.86 degrees |
| 45 degrees | Flat on table | 35.26 degrees | 30.00 degrees |
| 38 degrees | Nested against fence | 45 degrees | 0 degrees |
| 45 degrees | Nested against fence | 45 degrees | 0 degrees |
Notice that nested cutting always uses 45 degrees for a square corner regardless of spring angle. That simplicity is the real argument for nesting whenever your capacity allows it.
Now the important caveat: your corners are not 90 degrees. Check each one with a digital angle finder or a bevel gauge. A corner that measures 91 degrees needs a 45.5 degree miter, not 45. The rule for nested cutting is simple, take the measured corner angle and divide by two. For flat cutting, use a crown angle calculator app or the chart printed in your saw manual for non-square corners, because the compound math does not scale linearly.
Step 4: Cut Test Pieces Before Touching Real Molding
Cut two 12 in. scraps of the same molding and dry-fit them in the actual corner. Hold them up and look at the joint from where people will stand, not from six inches away. If the miter gaps at the front edge, your angle is too open. If it gaps at the back, too closed. Adjust in quarter-degree increments, not full degrees.
This step feels like a waste of material and it is the single highest-value habit in trim carpentry. Twelve inches of scrap is cheaper than a 16 ft. stick of primed crown.
- ✔ Nested method needs only one setting change per cut
- ✔ Fine-finish blade eliminates most profile chipping
- ✔ Test scraps catch out-of-square corners before the real cut
- ✔ Auxiliary tall fence makes results repeatable all day
- ✘ Flat cutting is easy to reverse if you rush
- ✘ Cheap saws drift out of calibration mid-job
- ✘ Wide crown quickly exceeds 10 in. saw capacity
- ✘ Angle charts assume square corners that rarely exist
Step 5: Cope Inside Corners Instead of Mitering
Professional trim carpenters rarely miter inside corners on crown. Wood moves, corners are rounded with drywall mud, and a mitered inside joint opens up over the first heating season. A coped joint hides that movement.
Butt the first piece straight into the corner. On the second piece, cut a 45 degree inside miter on the saw to reveal the profile line, then use a coping saw to remove the material behind that line, following the profile exactly and back-cutting slightly. Clean up with a round file and 120 grit sandpaper folded over a dowel. The result is a joint that scribes to the first piece and stays tight.
Outside corners still get mitered, and those are where your angle finder earns its keep. Outside corners on drywall are frequently 89 or 91 degrees because of corner bead buildup.
Digital Angle Finder and Protractor
The tool that improves crown results most is not a better saw, it is knowing your actual corner angles. A digital angle finder reads the corner and often displays the miter angle directly. Look for one that holds a reading and reads to 0.1 degree. This is a small purchase relative to how much molding it saves.
Common Mistakes That Ruin Crown Joints
Assuming 45 degrees. Square corners are the exception in framed houses. Measure every corner.
Confusing spring angle with miter angle. They are different numbers doing different jobs.
Letting the molding shift during the cut. Nested crown wants to slide down the fence. Clamp it or add a stop block along the table.
Cutting on a saw you never calibrated. Check your saw’s 90 and 45 degree stops against a machinist square before starting. Detents drift, especially on saws that have been moved around a truck.
Cutting all pieces before dry fitting any. Cut, fit, then cut the next. Work around the room in order.
Sanding the miter face to close a gap. This rounds the edge and makes the gap worse. Recut instead.
Frequently Asked Questions
Do I need a sliding miter saw for crown molding? Not necessarily. If you nest the molding against a tall auxiliary fence, a 12 in. non-sliding compound saw handles most residential crown up to roughly 5.5 in. wide. You need a slider mainly for the flat-cutting method or for crown wider than your fence can support.
Why does my saw have detents at 31.6 and 33.9 degrees? Those are the miter and bevel settings for cutting 38 degree spring angle crown flat on the table in a 90 degree corner. Manufacturers include them because that combination is by far the most common in US homes.
Can I cut crown molding with a circular saw or a jig? You can for a single short piece using a crown-cutting jig, but repeatability suffers. Compound angles need a fixed, calibrated reference. If you are trimming an entire room, a compound miter saw pays for itself in reduced waste and cleaner joints.
Crown molding rewards patience over horsepower. Measure the spring angle, measure every corner, choose nested cutting if your capacity allows, cut test scraps, and cope your inside corners. Do those five things and a mid-range saw produces joints that look better than an expensive saw used carelessly.
Check prices on Amazon →