What's inside
As an Amazon Associate I earn from qualifying purchases. This post may contain affiliate links at no extra cost to you.
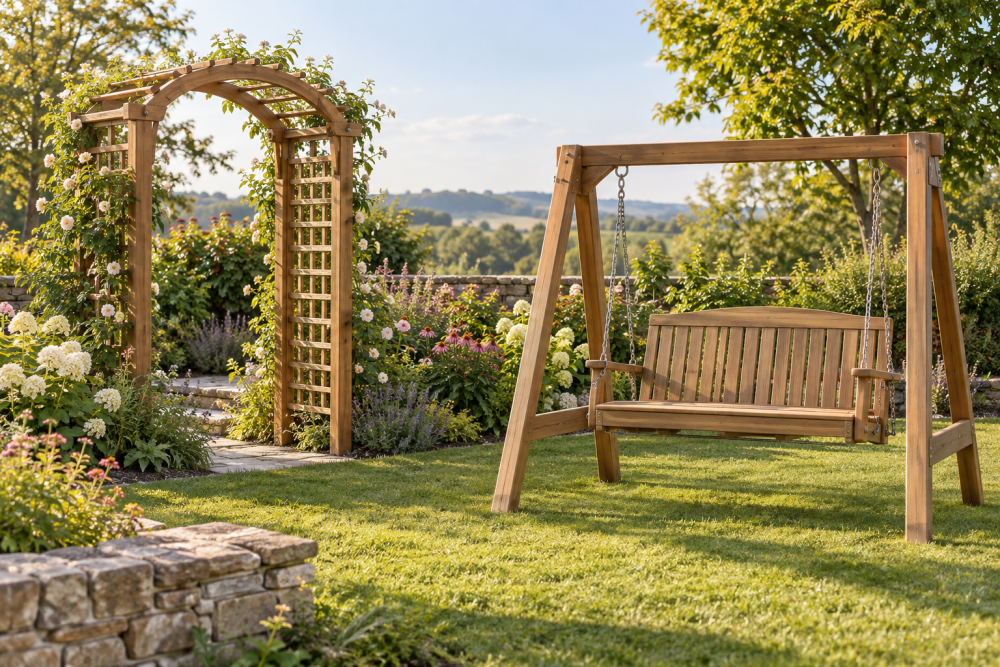
A small wooden arbor is a manageable first outdoor build if you keep the shape square and use braced side panels instead of delicate lattice. The braces help the frame resist side-to-side racking, the wobble that can loosen joints in wind. A practical starter size is about 4 feet wide, 2 feet deep, and 7 feet tall, with the top sized to suit the opening.
Contents
Choose a plan before buying lumber
Decide where the arbor will stand and whether it is decorative or meant to support a climbing plant. Measure the path or garden entrance, then leave at least 2 inches of clearance on each side. A 4-foot opening suits most garden paths; for a narrow bed, a 3-foot opening may be enough. Check overhead clearance too: a 7-foot frame can feel low if the approach is sloped or the ground will be built up later.
For a beginner, use four posts, two side frames with diagonal braces, and a simple slatted top. A useful post size is 4-by-4 inches. Use 2-by-4s for rails and braces, and 1-by-3s or 2-by-2s for top slats. These are nominal lumber dimensions: a 4-by-4 is usually about 3½ inches square, and a 2-by-4 about 1½ by 3½ inches.
Choose pressure-treated lumber for posts that will contact soil, or set the posts in metal bases above concrete. Cedar is easier to handle and naturally resists decay, but it costs more and can still deteriorate if water sits in joints. For a painted arbor, treated lumber is a reasonable budget choice; let it dry before painting, and follow the treatment label for any finishing or handling guidance.
Materials and trade-offs
| Choice | Best for | Trade-off |
|---|---|---|
| Pressure-treated pine | Low-cost builds and ground-contact posts | Can warp as it dries; paint may not adhere well while damp |
| Cedar | Lighter handling and a natural finish | Higher cost; select straight pieces, since boards still vary |
| Concrete footings | Freestanding frames in windy or exposed areas | More digging and mixing; local frost depth may dictate footing depth |
| Post bases on a slab | Patios or existing concrete | Only as strong as the slab and anchors; not a fix for a thin or cracked surface |
Buy straight stock rather than assuming every board will be true. Sight down each piece in the lumber aisle, and reject twisted posts or rails with large knots near planned joints. A box of exterior-rated 3-inch deck screws is useful for the frame. For joints that carry the top, use bolts or structural screws rated for outdoor framing rather than drywall screws, which can snap under movement.
Build the braced side panels
Cut four posts to the same length, typically 7 feet above the planned ground or base. Assemble each side panel flat on a level surface: two posts with upper and lower rails between them. Set the lower rail about 8 to 12 inches above grade, and place the upper rail near the post tops. A 2-foot distance between the outer faces of the side frames makes a compact arbor that is still easy to assemble.
Measure diagonally from corner to corner before fastening the rails completely. If the measurements differ, push the panel until they match; this squares the frame. Then fit a diagonal 2-by-4 brace between each post and rail, with the brace ends cut at roughly 45 degrees. A brace around 18 to 24 inches long is usually practical on a small panel. Pre-drill near board ends to reduce splitting, and use two fasteners at each brace end. A cordless drill-driver makes this work easier, but a corded drill is fine if you have access to power.
Do not leave a panel dependent on screws driven into end grain alone. Keep the rail ends tight against the posts, and use a through-bolt or rated structural fastener at each rail-to-post connection. If the lumber is wet, avoid overtightening: it can crush the fibers, then loosen as the wood dries. Braces should meet their rails and posts snugly; a visible gap makes the joint weaker and traps water.
Set the posts and add the top
For a freestanding arbor in soil, dig four holes and set the posts in concrete or use concrete footings with suitable post bases. Hole size and depth depend on soil, frost, and local rules; as a starting point, many small garden structures use holes about 10 to 12 inches wide, but do not treat that as a universal code detail. Check local requirements, especially in frost-prone areas. Keep the frame plumb in both directions while the concrete sets, and brace it temporarily with scrap wood.
On an existing slab, use bases and anchors made for that surface. Before drilling, confirm the slab is thick and sound enough for the anchor system. A loose anchor or shallow footing is a common reason an arbor starts leaning after the first storm.
Connect the side panels with two cross rails across the top, then add slats at 8- to 12-inch spacing. A modest overhang of 2 to 4 inches looks finished without making the top unnecessarily heavy. Check both diagonals across the assembled frame and confirm the posts are plumb before adding all the slats. If the frame is out of square, the top boards will pull it further out rather than correcting it.
Finish and check the arbor
Round sharp exposed corners with sandpaper, and seal cut ends of treated or cedar boards with an exterior product compatible with the wood. If you plan to paint treated lumber, wait until it is dry enough for the coating specified by its manufacturer. Water beading on the surface is a simple warning that paint may not bond yet.
Before planting a vine, push the upper frame gently from each side. It should not sway noticeably. Tighten loose fasteners and recheck the frame after a few weeks, then once each season. Keep climbing plants trimmed so their weight does not turn a small arbor into a wind-catching sail. The design is suitable for light vines and garden use, not for supporting a swing or a person climbing on the top.