What's inside
As an Amazon Associate I earn from qualifying purchases. This post may contain affiliate links at no extra cost to you.
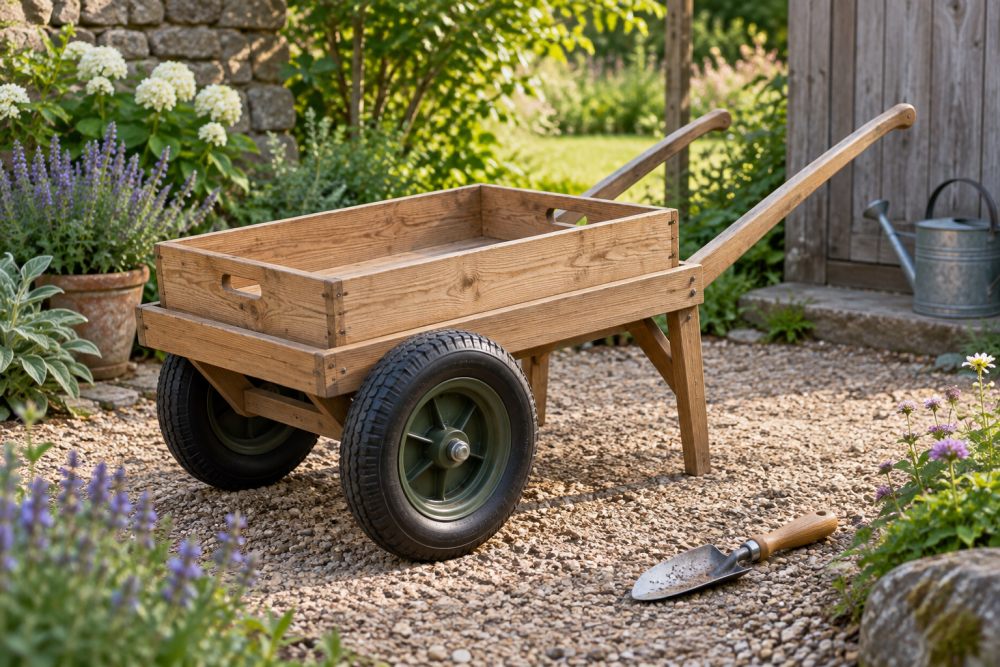
This wooden garden cleanup cart is a simple spring and fall project for moving weeds, branches, leaves, mulch, and hand tools around the yard. Its two large carrying handles make it easier to lift into a truck or empty over a compost pile than a standard wheelbarrow. The design uses a plywood box, two solid handles, and a single wheel, so it is within reach of a confident beginner with basic saw and drill skills.
The cart is sized for useful garden loads without becoming awkward: about 30 inches long, 24 inches wide, and 14 inches deep. That gives roughly 5.8 cubic feet of interior space before allowing for a load piled above the rim. Build it from exterior-grade plywood and seal every cut edge. If you only need to carry light leaves, cheaper construction lumber can work, but it will twist and rot sooner when left outdoors.
Contents
Materials and Buying Choices
| Part | Recommended material | Cheaper alternative | Trade-off |
|---|---|---|---|
| Box panels | 1/2-inch exterior plywood | 1/2-inch CDX plywood | Exterior plywood has fewer voids and cleaner faces; CDX needs more edge sealing. |
| Handles | 2×4 construction lumber, ripped or left full width | 1×4 boards doubled together | Solid 2×4 handles resist bending better under wet loads. |
| Wheel | 16-inch pneumatic wheel | 12-inch pneumatic wheel | The larger wheel rolls over roots and gravel more easily but raises the front. |
| Fasteners | 1-1/4-inch exterior screws | Drywall screws | Drywall screws are cheaper but brittle and prone to rust; avoid them outside. |
You will need one 4-by-4-foot sheet of 1/2-inch plywood, two 8-foot 2x4s, a 16-inch wheel with axle, four 2-1/2-inch exterior screws for the handle mounts, 1-1/4-inch exterior screws, two fender washers, wood glue rated for exterior use, and exterior paint or deck finish. A 16-inch pneumatic wheel with axle is the best choice for uneven garden paths. A solid rubber wheel will not go flat, but it transmits more shock to the cart and is usually harder to pull over soft soil.
Cut List and Layout
Cut the plywood into one bottom measuring 30 by 24 inches, two side panels measuring 30 by 14 inches, and two end panels measuring 23 by 14 inches. The end panels fit between the sides, leaving the finished outside width close to 24 inches. Cut the top corners of the side panels at a shallow angle if you want a lower front edge. Keeping all panels rectangular is faster and gives the cart more capacity.
Cut two handles at 72 inches long. Use straight-grained 2x4s. The handles should extend about 24 inches behind the box so you can lift and steer it, with roughly 12 inches projecting forward to support the wheel and front of the box. Round over the handle edges with a router, rasp, or sanding block. Sharp 2×4 corners become uncomfortable quickly when the cart is loaded.
Build the Box
Sand the plywood faces lightly and remove splinters. Apply glue to the bottom edges of the side panels, set them on the 30-inch edges of the bottom, and drive 1-1/4-inch exterior screws every 6 to 8 inches. Drill 1/8-inch pilot holes near plywood edges to reduce splitting. Add the end panels between the sides, checking that the box is square by measuring both diagonals. The diagonals should be within 1/8 inch of each other.
For a stronger bottom, install two 2×4 crosspieces underneath, running across the 24-inch width. Position one 4 inches from the front and the other 4 inches from the rear. Glue and screw them to the plywood with 2-1/2-inch screws from inside the box, taking care that the screw points do not protrude. These crosspieces spread a heavy load and give the axle and handle mounts something solid to bear against.
Seal the inside corners with a bead of exterior paintable caulk. This is not structural, but it keeps wet leaves from sitting in the plywood seams. Finish all exposed plywood edges with two coats of exterior primer or a dedicated exterior wood primer and paint. Pay special attention to the bottom edges, which stay dampest.
Install the Handles and Wheel
Turn the box upside down and place the handles along the outside of the side panels. The handles should sit about 5 inches apart at the rear ends and spread to roughly 18 inches apart near the wheel. This flare gives your hands clearance while keeping the load centered. Clamp both handles in place, then check that their ends are level and parallel. An uneven handle layout makes the cart pull to one side.
Use two bolts or long exterior screws through each handle into the bottom crosspieces and side panels. If using bolts, 5/16-inch galvanized carriage bolts with washers work well. Do not rely on screws driven only into the plywood edge. The handles take the full lifting force when the cart is tipped, and that joint is a common failure point.
Mount the axle between the forward sections of the handles, approximately 6 inches ahead of the box front. Drill matching holes through both handles, slide the axle through, and fit the wheel with washers and retaining nuts. The wheel should spin freely without side-to-side wobble. If the wheel rubs the box, add spacers or move the handles outward slightly. A 5/16-inch galvanized carriage bolt hardware set is suitable for the handle mounts and resists outdoor corrosion.
Test and Use It Safely
Before loading the cart, push it empty over gravel, a lawn, and a doorway threshold. Then add about 50 pounds of material and repeat the test. If the handles flex, add a second pair of bolts or short plywood gussets between the handles and crosspieces. If the front digs into soft ground, shift the axle forward 1 or 2 inches. If the cart tips backward when lifted, move the axle rearward or keep heavy material toward the front.
Inflate a pneumatic tire to the pressure printed on its sidewall. Overinflation makes the cart bouncy; underinflation increases rolling resistance and can pull the tire off the rim. Check the axle nuts at the start of each season. Store the cart under cover when possible, and repaint exposed edges as soon as they begin to swell.
For routine garden cleanup, keep loads below about 100 pounds. Wet soil, stones, and firewood can exceed that quickly and place excessive leverage on the handles. The cart is most useful when loaded with many light items rather than one dense, unstable pile.