What's inside
As an Amazon Associate I earn from qualifying purchases. This post may contain affiliate links at no extra cost to you.
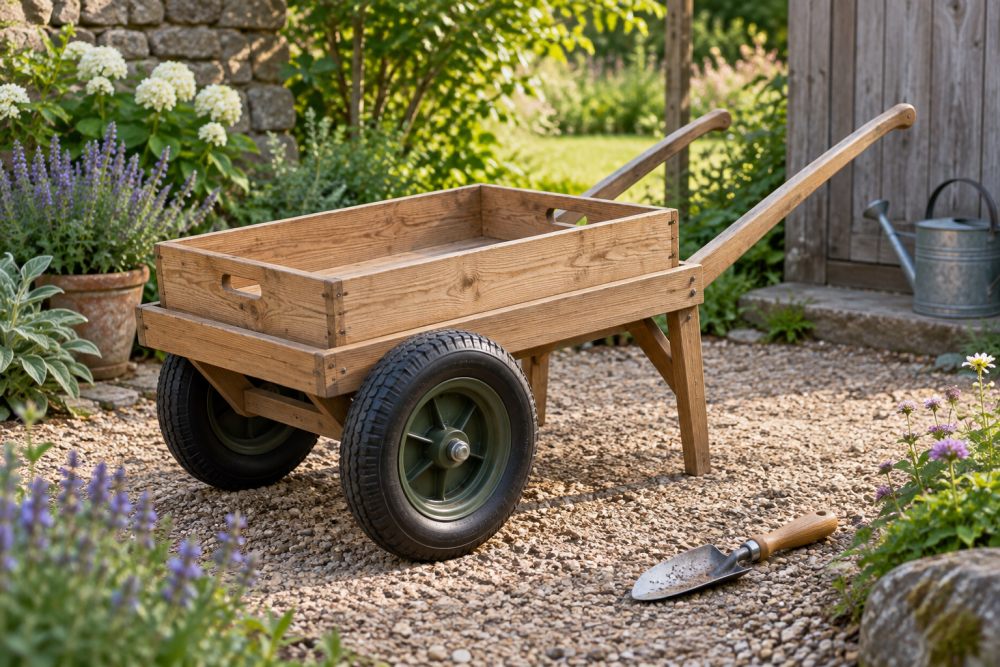
A wooden garden cart with bicycle-style handles is easier to control than a wheelbarrow when you are hauling compost, firewood, tools, or bags of soil. The two long handles let you pull from the center, while a single front wheel tracks over narrow paths. This build uses common lumber, one pneumatic wheel, and a simple box with a hinged or removable tailgate.
Contents
Plan the Cart and Gather Materials
Build the cart about 30 inches wide, 40 inches long, and 18 inches deep. That is large enough for garden work but narrow enough for most paths and gates. Keep the finished load below about 150 pounds; a wooden cart and small wheel are not suited to moving masonry or very wet soil in large quantities.
Use pressure-treated lumber for parts that may stay damp, or exterior-rated untreated lumber sealed on all faces. Standard 2x4s are suitable for the frame. Use 1/2-inch exterior plywood for the floor and 3/4-inch plywood for the side panels. A 16-inch pneumatic wheel with a 5/8-inch axle is a good compromise between rolling resistance and maneuverability. A 16-inch pneumatic cart wheel and axle is usually easier to source than a wheel designed specifically for a garden cart.
| Component | Recommended choice | Trade-off |
|---|---|---|
| Wheel | 16-inch pneumatic, 5/8-inch axle | Rolls well on soil but can go flat |
| Wheel | Solid rubber or plastic | No punctures, but harsher over roots and stones |
| Handles | Two 2x4s, about 48 inches long | Strong and inexpensive, but heavier |
| Floor | 1/2-inch exterior plywood | Light and adequate when supported every 12 inches |
| Fasteners | 3-inch exterior screws and 1/4-inch bolts | Bolts cost more but resist handle movement |
You will also need exterior wood glue, four 1/4-inch by 3-inch carriage bolts, washers and locknuts, two 3/8-inch or 1/2-inch axle retainers, and exterior paint or deck sealer. A box of exterior wood screws is preferable to interior screws, which rust quickly and often snap under outdoor movement.
Cut and Prepare the Parts
Cut two 40-inch side rails from 2x4s and two 27-inch end rails. These form the rectangular lower frame. Cut three 27-inch floor supports. Cut the plywood floor to 30 by 40 inches, then cut two side panels 40 by 18 inches and front and rear panels 27 by 18 inches.
Cut the handles from straight 2x4s, each 48 to 54 inches long. Longer handles give better leverage but make the cart harder to store. Round over the gripping ends with a rasp or router and sand all edges. Do not leave sharp plywood corners; they catch clothing and split easily.
Before assembly, dry-fit the wheel between the front ends of the side rails. Mark the axle center about 5 inches behind the front edge. The wheel should sit low enough that the cart floor is roughly 8 to 10 inches above the ground. A higher floor clears obstacles better but makes a loaded cart more likely to tip.
Build the Lower Frame
Set the two side rails parallel and screw the end rails between them. Check both diagonals; they must match within 1/8 inch or the box will sit crooked. Add the three floor supports between the side rails, spacing them evenly. Apply glue to the joints, drill pilot holes, and drive two 3-inch screws through each side rail into every crosspiece.
Position the plywood floor on top and fasten it with 1-1/4-inch exterior screws every 8 to 10 inches. Predrill near the edges to prevent splitting. If you expect frequent heavy loads, use 3/4-inch plywood instead of adding unnecessary metal brackets.
Install the Front Wheel
Clamp the wheel between the front ends of the frame and mark the axle holes. Drill through both side rails in one setup if possible so the holes stay aligned. Install the axle, washers, and locknuts, leaving enough clearance for the wheel to spin freely. Do not overtighten against the bearings or bushings.
Spin the wheel and check for side-to-side wobble. A small amount of movement is acceptable, but more than about 1/8 inch indicates a bent axle, oversized holes, or missing spacers. Add flat washers or metal spacers so the wheel cannot rub the wood. If you choose a solid wheel, the cheaper option is fine for short, paved trips, but pneumatic tires are noticeably better on mulch, grass, and uneven ground.
Attach the Box Sides
Stand the side and end panels on the floor and clamp them in place. Keep the panels square and flush with the frame. Drive screws through the panels into the rails and floor supports, spacing them about 8 inches apart. Add a 1×2 cleat along each inside corner if the plywood flexes or if the cart will carry dense loads.
For a removable tailgate, screw two short blocks to the inside of the rear side panels and rest the rear panel between them. Secure it with removable pins or bolts. A fixed rear panel is stronger and simpler, but a removable one makes unloading leaves, mulch, and firewood much easier.
Fit the Bicycle-Style Handles
Place the handles under or alongside the rear half of the frame, extending forward past the wheel and back toward the operator. The handle ends should be about 30 to 34 inches apart, measured center to center, and roughly 34 to 38 inches above the ground at the grips. This gives a natural pulling position without forcing you to bend.
Trim the front ends so they meet the frame squarely. Bolt each handle through the side rail with two 1/4-inch carriage bolts, washers, and locknuts. Use large washers under the nuts; screws alone commonly loosen when the cart jolts over roots. Add a 2×4 crossbar between the handles about 8 inches behind the rear panel. This prevents the handles from spreading and gives you a place to mount a simple hand grip.
Test the balance before final tightening. With an empty cart, the handles should carry light downward pressure but should not lift the wheel off the ground. If the handles feel too heavy, move the axle slightly rearward or shorten the rear overhang. If the cart tips backward under load, move the heaviest items forward and add a front stop inside the box.
Finish, Test, and Maintain It
Sand exposed edges to 120 or 150 grit, then seal every face, especially plywood edges and end grain. Apply two coats of exterior paint, deck stain, or water-repellent sealer. A water-repellent exterior wood sealer is enough if appearance is not important. Let the finish cure before loading the cart.
Test with 25 pounds, then 75 pounds, checking for handle flex, wheel rubbing, and loose fasteners. Inflate the tire to its sidewall rating, not above it. Store the cart under cover, drain it after rain, and inspect the axle and handle bolts each season. Replace a cracked handle or split frame member immediately; those failures can happen suddenly when the cart is loaded.