What's inside
As an Amazon Associate I earn from qualifying purchases. This post may contain affiliate links at no extra cost to you.
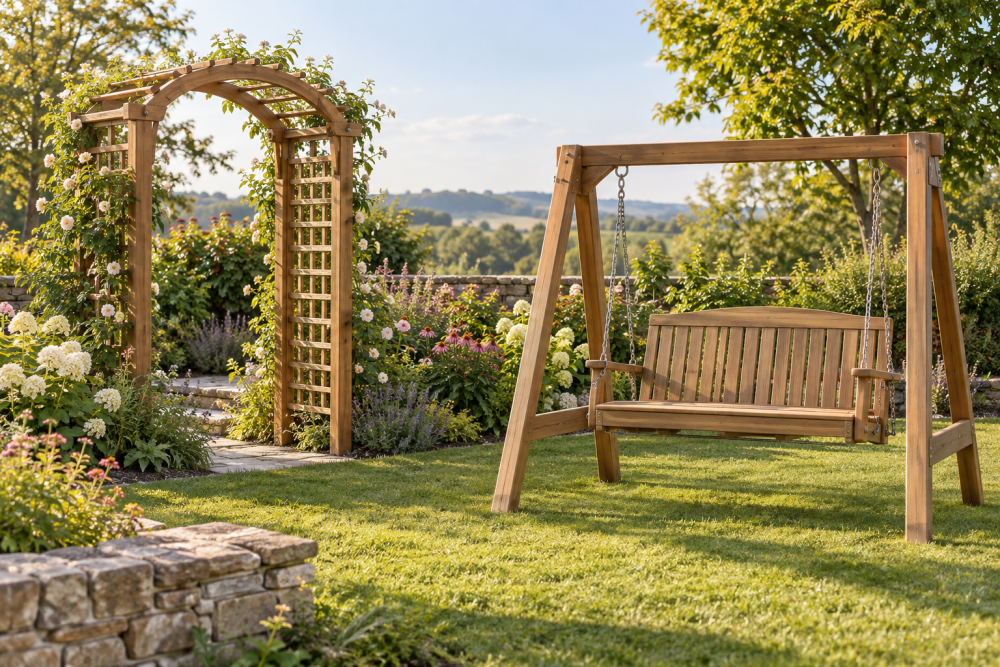
A garden arch looks light, but its curved rails have to resist wind, weather, and the leverage of climbing plants. Laminating thin wood strips over a form makes a smoother, more reliable curve than trying to bend a thick board—and it’s manageable with basic shop tools. This plan makes an arch about 7 feet tall and 4 feet wide, sized for a path or garden entrance.
Contents
Plan the arch and choose materials
Build two matching side frames, each with a pair of laminated curved rails joined by short crosspieces. Set the finished frames about 40 inches apart. The rails described here are roughly 7 feet long, with a curve rising about 18 inches above the ends; adjust the form to suit your space, but keep both sides identical.
For each curved rail, laminate three straight-grained strips of rot-resistant wood, each 1/4 inch thick, 1 1/2 inches wide, and about 8 feet long. Three layers make a rail about 3/4 inch thick. Use cedar, redwood, or durable exterior-rated lumber. Avoid knots, short-grain defects, and construction lumber that is wet or twisted. You’ll also need exterior-rated adhesive, screws, four posts or straight legs, and crosspieces. Buy extra strip stock: a defect or split can spoil a lamination.
Wood choice is a trade-off. Cedar is light and easy to work but dents more readily; a durable hardwood can last, but costs more and is heavier. For an ordinary garden arch, straight, sound cedar is usually adequate if the base stays out of soil and the finish is maintained.
| Rail approach | What it involves | Best fit |
|---|---|---|
| Laminated strips | Several thin layers glued over a form | Repeatable curves and a clean appearance |
| Steam-bent stock | Heat and bend thicker wood with a strap and form | Experienced builders with bending equipment |
| Cut curve from a wide board | Trace and cut an arch from solid stock | Simple builds where waste and short grain are acceptable |
Cutting a curve from a wide board is cheaper if you already have suitable stock, but the curve can expose short grain and weaken the rail. For a loaded or exposed arch, lamination is the more predictable choice.
Make a bending form
Draw the rail curve full-size on 3/4-inch plywood. A shallow arc is easier to clamp than a tight bend. For a rail 7 feet long, mark its ends 6 feet apart and place the midpoint 18 inches above a straight line between them. Use a flexible batten to draw a fair curve through the marks; avoid a kink at the crown.
Cut the shape with a jigsaw, staying just outside the line, then sand to the line. Screw the plywood template to a second layer of plywood or to a sturdy bench-backed frame. Add blocks along the curve every 6 to 8 inches. Their faces should follow the template closely. A form that flexes or has gaps will produce a lumpy rail.
Glue and clamp the rails
Rip strips slightly wider than the finished rail and plane or sand them to a consistent 1/4-inch thickness. Thin, even strips bend more readily; strips much thicker than 1/4 inch may spring away from a broad curve or crack. Dry-bend each set around the form before opening the glue. If a strip resists, replace it rather than forcing it.
Use an adhesive labeled for exterior exposure, such as a suitable waterproof structural or marine wood glue. Check its temperature and open-time requirements; outdoor-rated does not mean it can be applied in any weather. Spread an even film across each mating face, stack the three strips, and clamp from the center outward. Add clamps every 6 to 8 inches, using cauls where needed to distribute pressure. The stack should contact the form continuously without being crushed out of shape.
Leave the assembly clamped for the adhesive maker’s stated time, then allow it to cure fully before removing it. Rushing this step can leave a rail that springs open or separates later. Make four rails this way. After curing, trim them to matching length and sand the edges. If the glue line has visible gaps, a split opened during bending, or the rail is badly twisted, remake it; filler won’t restore strength.
A weather-resistant exterior wood adhesive is a sensible purchase for this joint. Don’t substitute ordinary interior glue where rain can reach the rail.
Assemble the side frames
Lay two rails parallel on a flat surface, one above the other, with their curves aligned. Join them with three or four crosspieces, placed near the ends and across the middle. A rail spacing of about 18 to 24 inches looks balanced and leaves room for plants. Pre-drill screw holes to reduce splitting, then fasten with exterior-rated screws. Use screws long enough to get solid purchase without breaking through the far face.
Repeat for the second frame, checking against the first before fastening. Install straight legs below each frame if the arch will stand on ground anchors or a firm patio. Keep wood end grain off damp soil: use metal post bases or set durable posts in properly drained concrete, rather than burying a laminated rail end.
Connect the two side frames with crosspieces across the top and, if desired, near the lower sides. Check that the arch is square by measuring diagonals; equal measurements mean the frame is not racked. Add a temporary brace if it shifts during assembly. For windy sites or heavy vines, anchor the legs to ground spikes or post bases. A free-standing arch can tip even when its joints are sound.
Finish, install, and maintain
Sand sharp corners, especially at exposed rail edges, and apply a finish intended for exterior wood. A penetrating exterior oil is easy to refresh but offers less film protection; paint or a solid stain blocks more sunlight but can peel if moisture gets behind it. Follow the label and coat end grain carefully. Leave drainage gaps and avoid trapping water against joints.
Install the arch where the legs can sit level and be anchored. Keep climbing plants pruned so they don’t become a heavy, wind-catching mass. Inspect the glue lines, screws, and anchors each spring and after severe storms. Tighten loose hardware and replace any rail showing separation or decay before adding more plant weight.
For an occasional arch in a sheltered garden, basic clamps and careful assembly are enough. If you’re buying clamps for this project, 24-inch woodworking bar clamps are useful beyond this build; borrow or rent them if you won’t use them again. The important part is even pressure along the curve, not an expensive brand.