What's inside
As an Amazon Associate I earn from qualifying purchases. This post may contain affiliate links at no extra cost to you.
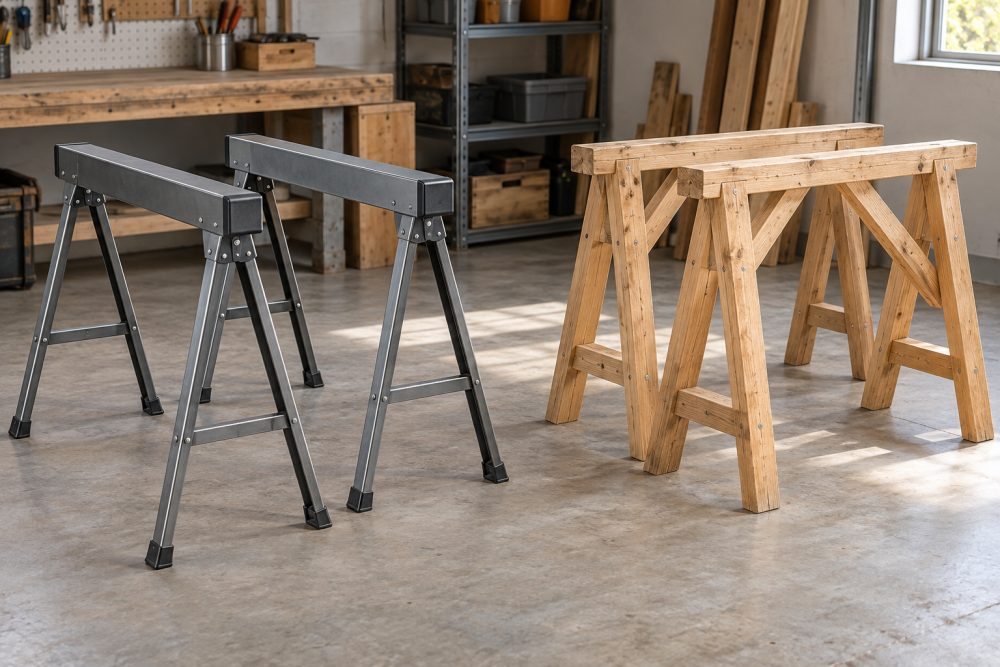
A pair of cross-braced sawhorses is a useful first shop project: the cuts are simple, the materials are inexpensive, and the finished stands can support lumber, sheet goods, or a work surface. This plan makes two horses about 29 inches tall, a comfortable height for many people to cut stock by hand or with a circular saw. Adjust the leg length if you need a different working height.
Contents
Materials and dimensions
For two horses, buy four straight 8-foot 2×4s and one 8-foot 1×4 for the braces. Actual 2×4 dimensions are about 1½ by 3½ inches. Choose dry, reasonably straight stock; a slight bow is manageable, but twisted boards make the legs harder to fit evenly. If the horses will live outdoors, use pressure-treated lumber and compatible exterior-rated fasteners, though it can be wetter and less pleasant to cut.
Each horse has a 36-inch top beam, four legs cut to 32 inches, and two cross-braces cut to fit between the legs. The 32-inch legs are attached with their tops flush to the top beam, putting the beam’s upper face about 29 inches above the floor. The feet angle outward, so the stance is wider than the top. For braces, start with two 1×4 pieces about 30 inches long; you’ll trim their ends to fit after the legs are assembled.
A tape measure, pencil, square, saw, drill, and clamps are enough. A circular saw is quick for repeated cuts; a handsaw works too, especially for this small quantity. If buying a saw for this project, compare a circular saw with a handsaw: the power saw saves time on repeated cuts, but the cheaper hand tool is fine if you already own one and don’t mind slower work.
Cut list for a pair
| Part | Quantity | Starting length |
|---|---|---|
| Top beams, 2×4 | 2 | 36 inches |
| Legs, 2×4 | 8 | 32 inches |
| Cross-braces, 1×4 | 4 | About 30 inches; fit to the assembled legs |
Each horse uses roughly 12 feet of 2×4, so four 8-foot boards leave some allowance for imperfect cuts. The 1×4 brace stock may need more trimming than expected; don’t cut all four braces to final length before fitting the first one.
Make and mark the cuts
Cut the beams and legs to length, checking each cut with a square. Mark matching parts together and stack them to compare lengths. A leg that is an inch short can leave a horse rocking; small differences are easier to correct now than after assembly.
To make the feet sit flat, bevel the bottom of each leg to match its outward lean. One straightforward method is to set the legs against the beam, mark the angle where each foot meets the floor, and cut to that line. Aim for about 10 degrees of outward splay. If you don’t have a bevel gauge, use a scrap board as a marking guide and keep the legs in their final positions while marking. A square-bottomed leg can still work on a smooth floor, but it may rock or concentrate load on one edge.
Attach the legs
Lay a beam on a flat surface with its 3½-inch face vertical. Set two legs against one side of the beam, one near each end, with their tops flush to the beam’s upper edge. Angle the feet outward and leave about 2 inches of beam beyond each leg. Clamp the parts, check that the legs lean evenly, then drill pilot holes to reduce splitting.
Drive two 3-inch construction screws through the beam into each leg. Keep the screws centered across the beam face and spaced vertically; avoid placing one close to the edge of the leg. Repeat on the opposite side of the beam with the other two legs. The leg pairs should mirror each other. Use structural or construction screws rather than brittle drywall screws, which can snap under side load. A box of 3-inch construction screws is a sensible buy if you don’t have suitable fasteners; for a one-off build, use a small pack rather than a large bulk box.
Fit the cross-braces
With the horse standing on a level surface, measure the gap between the legs on each side at roughly mid-height. Cut a brace to that length, then hold it in place and mark its end angles so it sits flat against both legs. The braces should run diagonally in opposite directions on the two sides, forming an X when viewed from the end. They resist the side-to-side racking that makes an unbraced horse wobble.
Fasten each brace with two 2-inch screws at each end, drilling pilot holes first. Keep the screws away from the brace’s edges to limit splitting. Repeat for the second horse. If a brace is slightly short, don’t pull the legs inward to force a fit; that changes the stance and can make the feet uneven. Cut a replacement or add a snug wood shim at the joint.
Check the pair before loading
Set both horses on the same flat floor and press down on each corner of the top. If one rocks, mark the high foot and trim it cautiously, checking again after each small cut. Push sideways on the beam: noticeable movement usually means a loose screw, a poor brace fit, or legs that aren’t evenly splayed. Tighten or refit the joint before use.
These are general-purpose shop supports, not rated lifting stands. Don’t climb on them, use them to support a vehicle, or assume they can safely carry a heavy concentrated load. For cutting sheet goods, space the horses so the panel is supported near its edges and keep the saw path clear of the top beams. A replaceable scrap strip on top can protect the beam from saw cuts. If you want a wider, more stable stance, use longer legs and braces; the trade-off is more material and a taller horse that may be awkward for low work.