What's inside
As an Amazon Associate I earn from qualifying purchases. This post may contain affiliate links at no extra cost to you.
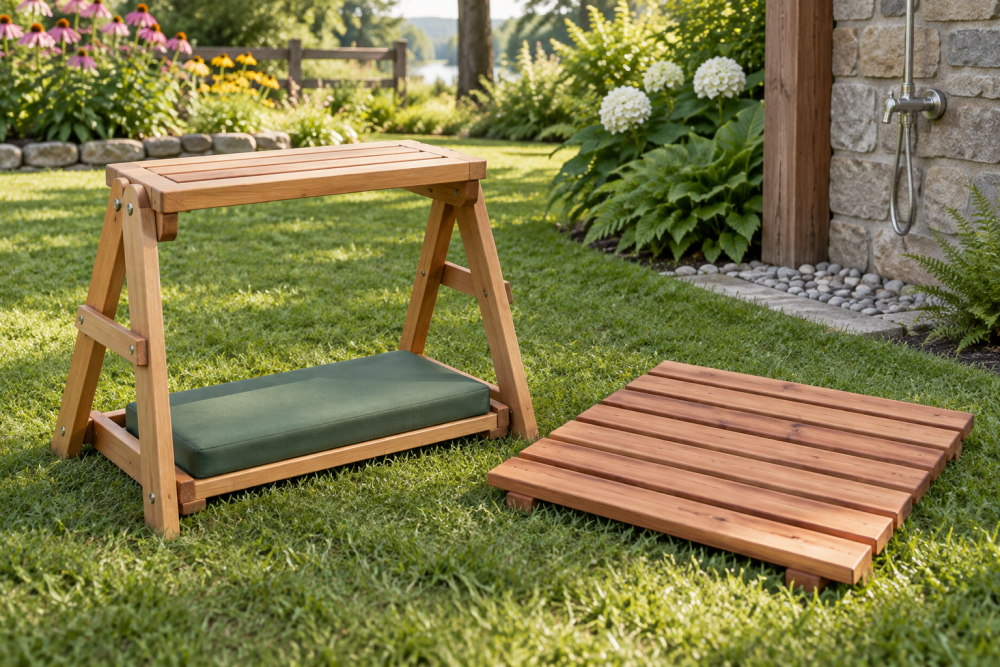
A cedar shower mat is a simple project, but it needs to do more than look good. It must drain quickly, stay stable on wet ground, and leave enough clearance underneath for air to dry the wood. This version is a freestanding platform made from cedar slats fastened to two or three underside rails. You can set it beside a pool, outside a cabin, or under a rinse shower without anchoring it to the ground.
Contents
Plan the Mat Before Cutting
A practical finished size is 24 inches wide by 36 inches long. That gives one person enough standing room without making the platform unnecessarily heavy. For a larger outdoor shower, use 30 by 36 inches, but add a third underside rail to reduce flex.
Use cedar decking, fence boards, or clear cedar stock between 1/2 and 3/4 inch thick. Decking is stronger and usually flatter; fence boards cost less but may be rough, cupped, or inconsistent in thickness. Choose boards that are reasonably straight and discard pieces with deep cracks around knots.
| Material | Advantages | Drawbacks | Best use |
|---|---|---|---|
| Cedar decking | Strong, consistent, easy to sand | Costs more | Long-lasting daily-use mat |
| Cedar fence boards | Cheap and widely available | More warping, thinner stock | Seasonal or occasional use |
| Composite decking offcuts | Does not rot and needs little maintenance | Heavier and harder to cut cleanly | Very wet locations |
For a 24-by-36-inch mat, plan on eight to ten slats approximately 3 1/2 inches wide, with 1/2-inch drainage gaps. The exact count depends on the actual board width. Buy about 10 percent extra material so you can reject warped pieces and have a replacement slat later.
Materials and Tools
You will need the slats, two or three underside rails, exterior-rated stainless steel or ceramic-coated screws, a drill, a 1/8-inch drill bit, a countersink bit, a circular saw or miter saw, a tape measure, a square, and sandpaper. A pair of stainless steel exterior wood screws is worth the small extra cost. Cedar tannins and constant moisture can stain wood around ordinary steel screws, and rust eventually weakens the connection.
Use 1 1/4-inch screws for 3/4-inch slats mounted over 3/4-inch rails. If your slats are only 1/2 inch thick, use 1-inch screws. The screws should pass through the slat and penetrate the rail by roughly 1/2 inch without poking through.
For the rails, use cedar, pressure-treated lumber, or plastic/composite strips. Cedar keeps the whole assembly consistent, but treated lumber is fine underneath because it is not normally touched by bare feet. Do not use untreated pine for the rails; it commonly rots first.
Cut and Prepare the Parts
Cut the slats to 36 inches, or to the length you selected. Cut two rails to about 20 inches so they sit 3 inches in from each end of the 24-inch-wide mat. If the mat will support heavier users, add a third rail centered between them. The rails run across the width, underneath the slats.
Lay the slats side by side on a flat work surface and arrange them with the best-looking faces up. Check that the ends line up. A 1/2-inch gap is a good starting point: it drains well while remaining comfortable under bare feet. Wider gaps drain faster but can catch toes and small objects.
Ease every exposed corner with sandpaper. Start with 80- or 100-grit paper to remove splinters, then finish with 150 grit. A small round-over from a router is optional, not necessary. Spend extra time on the long edges and end grain, where cedar commonly splinters after repeated wetting and drying.
Assemble the Platform
Turn the rails so their wide faces sit flat on the workbench. Position them parallel to each other and square to the slats. Put a scrap spacer between slats to maintain consistent gaps; a 1/2-inch piece of plywood works well. If your boards vary slightly in width, keep the overall layout centered rather than forcing every outside edge to match perfectly.
With the slats held in position, mark the screw locations. Each slat gets one screw into each rail, about 3/4 inch in from each side edge. Pre-drill every hole. Cedar splits easily near the ends, and pre-drilling also prevents the screw from pulling a slat out of alignment.
Drive the screws until the heads are flush or just below the surface. Do not crush the cedar around the screw head. If you are using a third rail, install it after checking that the two outside rails are square. A simple check is to measure diagonally from opposite corners; adjust until both diagonal measurements are equal.
Improve Stability and Drainage
The mat should sit on a firm, reasonably level surface. Grass and loose soil allow the platform to rock and hold moisture against the underside. A small bed of compacted gravel, pavers, or a concrete shower pad is better. If the shower drains directly onto soil, keep the platform at least 1 inch above the surrounding grade so water can escape.
For extra grip, attach four rubber or plastic feet to the underside of the rails. Choose feet at least 1 inch tall and use outdoor-rated hardware. This creates an air gap, but it also raises the mat and can make it less stable on uneven ground. On a flat paver base, feet are useful; on soft ground, broad rails usually sit more securely.
Rubber strips can reduce sliding, but they also trap grit and slow drying. Use them only where the mat moves on a smooth surface. A rubber anti-slip foot set is a reasonable add-on if the platform will sit on concrete or tile.
Finish and Maintain the Cedar
Leave the cedar unfinished if you prefer a natural gray appearance. It will weather, but unfinished wood dries more readily than a heavy film finish. If you want to preserve the reddish color, apply a penetrating exterior oil made for decks. Avoid glossy paint or thick polyurethane on the walking surface; standing water and grit will make it slippery, and repairs become difficult.
Rinse the mat occasionally to remove soap, hair, and sand. Lift it once a week during heavy-use months and clean underneath. Inspect for loose screws, raised grain, and soft spots at least twice a season. Replace a cracked slat rather than trying to glue it. Keep a spare slat from the original build if the mat is used daily.
The most common failure is not cedar decay; it is poor drainage. Tight gaps, rails sitting directly in wet soil, and a platform left flat against concrete all extend drying time. Build the mat so water can fall through, allow air underneath, and move it to a dry location for winter storage. Those small choices matter more than applying an expensive finish.