What's inside
As an Amazon Associate I earn from qualifying purchases. This post may contain affiliate links at no extra cost to you.
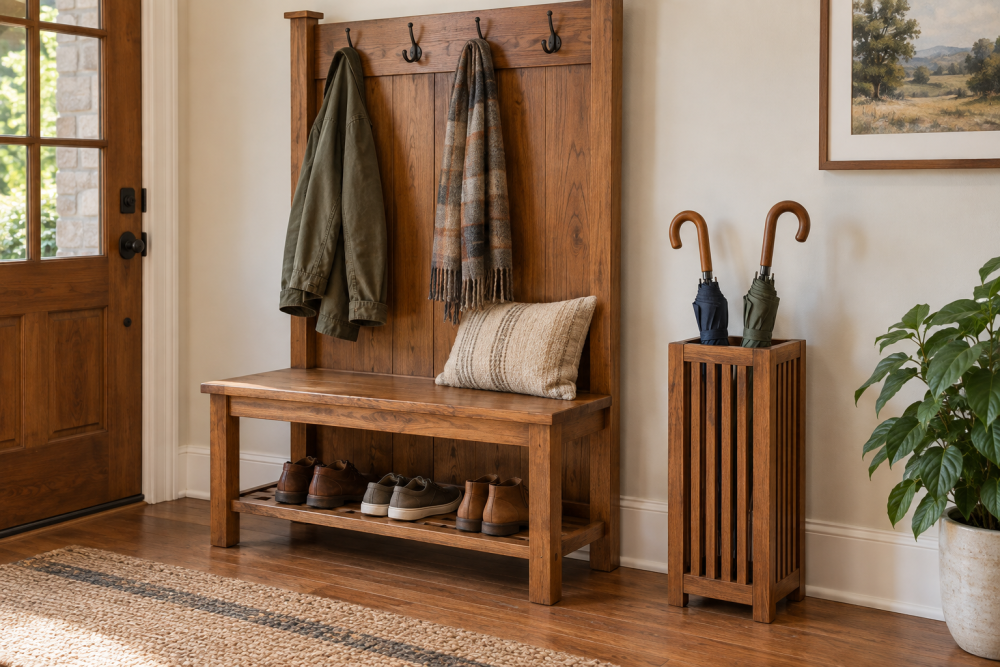
An entryway umbrella stand has one job: keep wet umbrellas upright while protecting the floor underneath. A simple wooden box with a removable drip tray does that better than a tall, narrow container that tips over. This version is sized for about six to eight umbrellas, uses common lumber, and is suitable for a beginner with a drill, saw, and sander.
Contents
Project overview
The finished stand is approximately 12 inches wide, 8 inches deep, and 24 inches tall. The lower 3 inches hold a removable plastic or metal tray. The upper compartment stores umbrellas. A slatted or open back improves airflow, which helps the wood dry between wet seasons.
| Material | Advantages | Drawbacks |
|---|---|---|
| Clear pine | Cheap, easy to cut, widely available | Dents easily and needs careful sealing |
| Poplar | Straight, smooth, paints well | Costs more than pine; not especially attractive with clear finish |
| Oak or maple | Hard, durable, good for clear finishing | More expensive and harder to drill and sand |
For a painted indoor stand, pine is the sensible choice. Spend more on hardwood only if the stand will receive heavy use or you want it to match existing furniture. Before shopping, check the available space beside the door. Leave at least 2 inches of clearance around the stand so umbrellas can be removed without catching on trim or walls.
Materials and tools
You will need one 1-by-10 board, 6 feet long, for the sides, bottom, and top; one 1-by-4 board, 3 feet long, for the front and back rails; and one 1-by-2 board, 3 feet long, for the back slats and feet. Actual 1-by lumber is about 3/4 inch thick, so account for that when measuring.
Also buy 1 1/4-inch exterior-rated pocket-hole screws or trim-head screws, wood glue, 120- and 180-grit sandpaper, and a finish suited to your plan. A small plastic boot tray is a cheap, practical insert. Choose one no more than 10 1/2 inches wide and 6 1/2 inches deep. A tray that is too large will prevent the stand from sitting squarely.
Required tools include a tape measure, square, pencil, drill, countersink bit, clamps, and a saw. A pocket-hole jig makes assembly faster, but ordinary screws driven through the sides work as well if you drill pilot holes and fill the openings later. If you prefer a cleaner painted result, a pocket-hole jig is useful, though it is not essential for one stand.
Cut list
Cut the following pieces:
- Two side panels: 24 by 8 inches
- One bottom panel: 10 1/2 by 8 inches
- One top panel: 12 by 8 inches
- One front lower rail: 10 1/2 by 3 inches
- One back lower rail: 10 1/2 by 3 inches
- Three back slats: 10 1/2 by 3 inches, ripped or cut from 1-by-4 stock
- Four feet: 2 by 2 inches
The 10 1/2-inch panels fit between the two 3/4-inch-thick sides. Measure your actual boards before cutting. Lumber dimensions vary slightly, and forcing a nominally correct part into a tight opening can make the case twist.
Build the case
Sand the inside faces and all edges of the side panels before assembly. It is easier to reach these surfaces now. Mark a line 3 inches up from the bottom of each side. The bottom panel will sit on this line, leaving space below for the drip tray and front rail.
Apply glue to the bottom panel edges and clamp it between the sides, flush with the marked lines. Check that the sides are parallel, then drive two screws through each side into the panel. Drill pilot holes first; pine splits easily near an end. Wipe away squeezed-out glue immediately.
Install the front lower rail between the sides, with its bottom edge aligned with the bottom panel. This rail hides the tray and strengthens the front. Install the back lower rail at the same height. Leave the upper back open, then attach the three back slats vertically or horizontally with approximately 1-inch gaps. These gaps allow damp umbrella fabric to dry rather than trapping moisture against the wood.
Set the top on the case so it overhangs the sides by 3/4 inch on each side and is flush with the front. A small overhang helps shed drips and makes the stand look less like a plain box. Attach it with screws from inside the case or with countersunk screws through the top. If you use a clear finish, plug or fill the screw holes for a cleaner appearance.
Add the feet and tray
Glue and screw the four 2-by-2-inch feet under the bottom, one near each corner. Keep them at least 1 inch in from the edges so they are not easily kicked. Feet raise the wood above a wet floor and make it easier to slide the tray out for cleaning.
Test-fit the tray before finishing. It should slide in without rubbing, but it should not have enough side-to-side movement to rattle. If the opening is tight, remove material from the rail edges with a sanding block. Do not rely on flexible plastic to compensate for a badly square case; a tray can buckle when full of water.
Sand and finish
Sand the exterior with 120-grit paper, then 180 grit. Ease every exposed corner, especially the top front edge. A sharp corner is easy to damage and unpleasant in a narrow hallway.
For a painted stand, apply a stain-blocking primer followed by two coats of durable interior enamel. Paint the inside, bottom edges, and feet as carefully as the visible surfaces. For a natural finish, use two or three coats of polyurethane, lightly sanding between coats. Water-based polyurethane dries faster and stays clearer; oil-based polyurethane gives pine a warmer color but produces stronger odor and takes longer to cure.
A water-based polyurethane is sufficient for normal indoor use. You do not need marine varnish unless the stand will regularly sit in standing water, which indicates a tray or maintenance problem.
Prevent common problems
The most common failure is a swollen or stained bottom panel. Keep the tray inside the stand, empty it weekly during rainy weather, and wipe spills instead of allowing water to sit overnight. If your entryway floor is uneven, add thin rubber pads under the feet rather than shimming the case with loose wood.
A tall stand can tip when a heavy golf umbrella is pulled out at an angle. If children or pets use the entryway, anchor the stand to the wall with a small furniture anti-tip strap. Finally, do not store closed umbrellas while they are dripping heavily. Shake them outside first; the tray is a backup, not a substitute for basic drying.
Seasonal maintenance
At the end of the wet season, remove the tray, vacuum grit from the bottom, and wipe the wood with a damp cloth followed by a dry one. Inspect the feet and lower corners for worn finish. Touch up exposed wood before autumn. Store the tray separately if the stand will hold walking sticks or other dry items during summer.