What's inside
As an Amazon Associate I earn from qualifying purchases. This post may contain affiliate links at no extra cost to you.
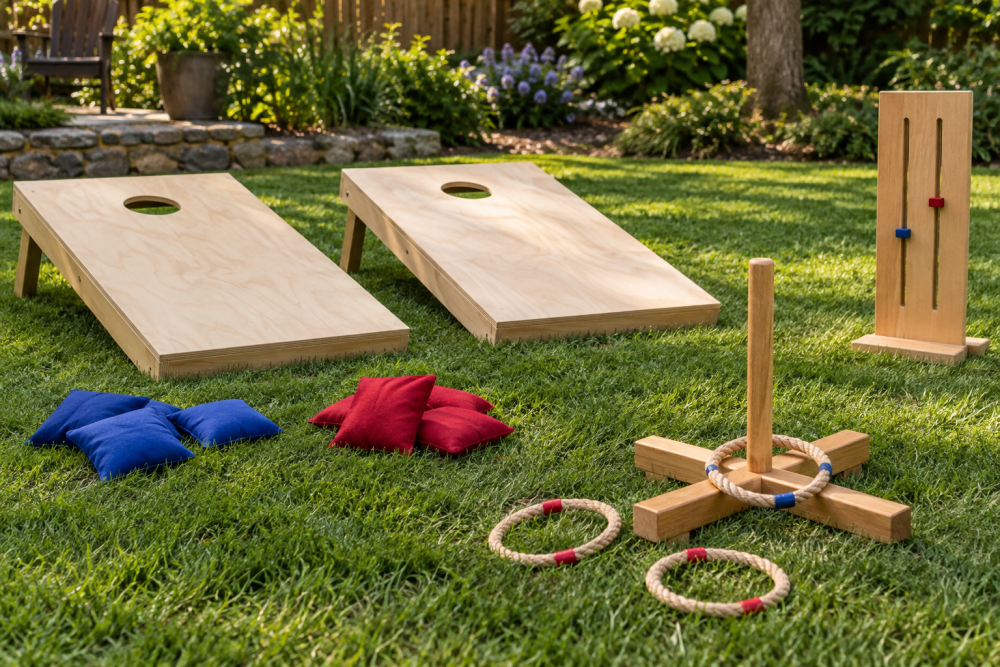
A backyard cornhole set is a manageable weekend project: two plywood platforms, folding legs and a durable finish. The main challenge is not the hole—it is keeping the frames square and sanding the edges smooth without rounding them unevenly. The dimensions below follow common tournament-size boards, but check local rules if you plan to use the set in a league.
Contents
Dimensions and materials
Each finished board is 24 inches wide by 48 inches long. Cut a 6-inch-diameter hole, centered across the width and with its center 9 inches down from the top end. Use 1/2-inch exterior-grade plywood for the top and 1-by-4 lumber for the frame. Avoid warped plywood and framing lumber with large knots, especially where the leg bolts will go.
For two boards, buy two 2-by-4-foot plywood panels, enough 1-by-4 stock for two 48-inch sides and two 21-inch end pieces per board, plus leg stock. You will also need exterior screws, wood glue rated for outdoor use, two carriage bolts per board, washers and locknuts. A 6-inch hole saw can cut the opening, though a jigsaw works with less specialized gear.
Tools to choose before you start
| Tool | Best for | Trade-off |
|---|---|---|
| Jigsaw | Occasional builds and flexible cut locations | Needs a steady hand; sand the cut smooth afterward |
| 6-inch hole saw | A consistent round hole in suitable plywood | Requires a drill with enough torque and careful backing support |
| Random-orbit sander | Fast, even sanding on broad surfaces | Can leave swirl marks if you skip grits or press too hard |
| Sandpaper and sanding block | Low-cost finishing and edge touch-ups | Slower, but entirely adequate for two boards |
A basic circular saw, drill, measuring square and clamps are enough for the rest. A random-orbit sander saves time on the plywood, but hand sanding is fine if you are patient.
Cut the tops and holes
Mark each plywood panel at 24 by 48 inches and cut it square. Check the diagonals; if they differ, correct the layout before building the frame. Measure the hole center 9 inches from the top edge and 12 inches from either side. Draw the circle with a compass or use a template.
For a jigsaw, drill a starter hole inside the circle and cut slowly, keeping the blade vertical. For a hole saw, clamp scrap plywood beneath the panel to reduce tear-out and support the cutout as it breaks free. Do not force the saw: a hot, binding hole saw can damage the cut and strain the drill. Sand the hole edge with 80-grit paper wrapped around a curved block, then finish with 120 grit.
Build square frames
Cut two 48-inch side rails and two 21-inch end rails for each board. The 21-inch pieces fit between the sides, making a frame 24 inches wide. Dry-fit the pieces beneath the plywood, then check that the frame corners are square. Apply a thin line of exterior-rated glue at each joint and fasten with two 2-inch exterior screws per corner. Pre-drill near board ends to reduce splitting.
Set the plywood top on the frame with its edges flush. Drill pilot holes and fasten it with screws about every 6 inches around the perimeter. Keep screw heads slightly below the surface, not so deep that they crush the plywood veneer. Wipe away squeezed-out glue before it hardens.
Make folding legs
Cut two legs per board from straight 2-by-4 stock. A common finished leg length is about 12 inches, but the exact cut depends on your frame and pivot position. Set the board on a level surface with the hole end raised; the top surface should be about 12 inches high at the back and 3 to 4 inches at the front. Test one leg before cutting the second, and trim as needed so both feet sit flat.
Round the top of each leg to a semicircle so it can rotate inside the frame. Drill a bolt hole through the rounded end, then mark matching pivot holes in the frame about 3 1/2 inches down from the top edge and centered on each side. Use carriage bolts, washers and locknuts; tighten until the legs stay put but still fold by hand. Check that folded legs fit inside the frame. A stop block or short crosspiece can prevent legs from swinging too far, but leave enough clearance for storage.
Smooth the edges and finish
Start with 80-grit sandpaper to remove saw marks, then use 120 grit and finish with 180 grit on the playing surface. Sand the plywood edges and frame corners by hand. Ease sharp outside edges with a few light passes; do not round them deeply, which can expose more plywood layers and make the top look uneven. Check for splinters by running a cloth over the edges—snagging threads mean more sanding is needed.
Fill shallow screw holes if you want a cleaner painted finish. Seal every face, including the underside, hole edge and leg ends, with an exterior paint or clear finish suitable for outdoor wood. Bare plywood edges absorb moisture quickly and can delaminate. Follow the product’s recoat and cure times; a finish that feels dry may still be too soft for beanbags. Outdoor coatings slow weather damage but do not make the boards permanently waterproof, so store them under cover.
Test and maintain the set
Place both boards on a flat surface and check for rocking. Fix uneven feet by trimming carefully or adding a thin outdoor-rated shim. Toss a few bags before applying any decorative slick coating: a surface that is too slippery changes play and can be difficult to correct. Inspect screws and leg bolts after the first few sessions, then tighten them as needed. If the top starts to feel rough, lightly sand it and recoat rather than sanding through the plywood veneer.