What's inside
As an Amazon Associate I earn from qualifying purchases. This post may contain affiliate links at no extra cost to you.
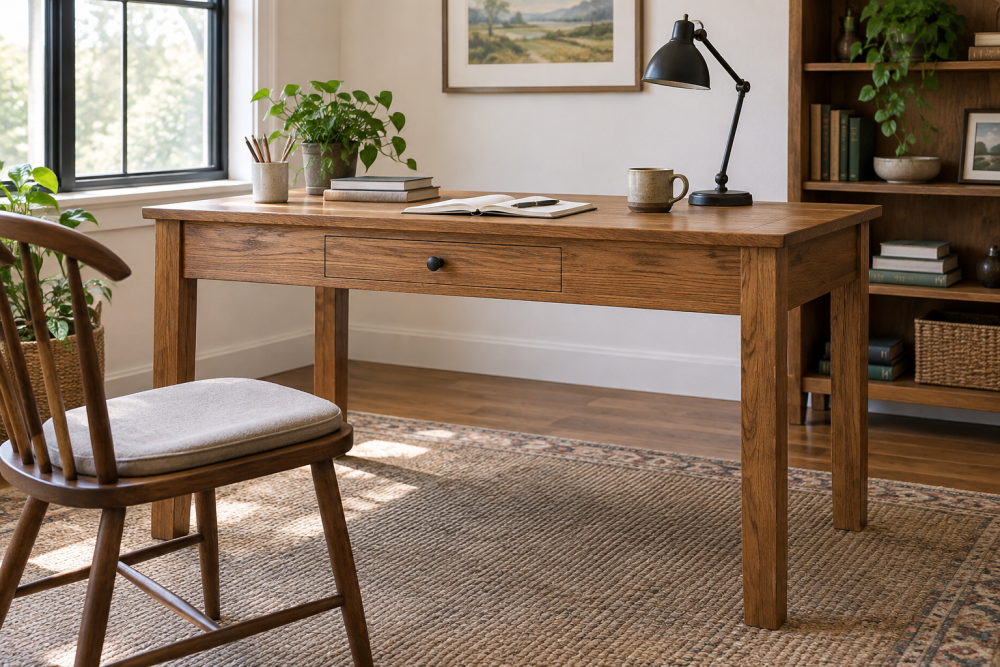
This desk is sized for a laptop, notebook, and a cup of coffee—not a full desktop setup. Its 30-by-20-inch top fits a small room, while four solid-wood legs keep the build simple and repairable. The plywood top stays flatter and costs less than a glued-up hardwood panel, but its exposed edges need a clean treatment.
Contents
Dimensions and materials
Finished size: 30 inches wide, 20 inches deep, and about 29 inches high. That height suits many adults; check a desk you already find comfortable before cutting the legs. To change the height, adjust the leg length and keep the apron dimensions the same.
Use 3/4-inch plywood for the top and 2-by-2 solid wood for the legs. The apron is made from 1-by-3 lumber, which measures about 3/4 by 2 1/2 inches. Choose straight, dry boards without large knots near the joints. Pine is an inexpensive option, though it dents more easily than maple or oak. For the top, cabinet-grade birch plywood is a practical choice; construction plywood can work, but its rougher face and voids may take more filling and sanding.
| Choice | Good for | Trade-off |
|---|---|---|
| 3/4-inch cabinet-grade plywood | A smooth, stable desk top | Costs more than construction plywood |
| Construction plywood | A painted, budget build | More surface defects and uneven edges |
| Pine legs | Low-cost, easy-to-cut parts | Dents and dings show readily |
| Hardwood legs | Greater dent resistance and a refined look | Higher material cost; harder to work |
Buy one 2-by-4-foot sheet of plywood, two 8-foot 1-by-3 boards, and enough 2-by-2 stock for four legs cut to 28 1/4 inches. Add wood glue, 1 1/4-inch pocket-hole screws, finish, and a handful of 1-inch screws for attaching the top. A pocket-hole jig makes the apron joints straightforward, but a drill and regular screws can do the job if you predrill carefully.
Tools and cut list
You’ll need a saw that can make square cuts, a drill/driver, tape measure, square, clamps, and sandpaper or a sander. A circular saw and guide are enough to cut the plywood; a handsaw or miter saw can cut the narrow boards. If you lack a reliable way to cut a full sheet, ask the lumberyard to make the initial 30-by-20-inch cut. Verify the size before leaving, since store cuts are not always exact.
Cut the plywood top to 30 by 20 inches. Cut two long aprons to 24 inches and two short aprons to 14 inches. These lengths leave room for the legs at the corners: the aprons fit between the legs, with the long aprons running across the 30-inch width. Cut all four legs to 28 1/4 inches. With a 3/4-inch top, the desk finishes at 29 inches.
Assemble the base
Mark the inside faces of the legs so the apron sits flush with the top ends. Drill pocket holes at both ends of each apron, following the jig’s setting for 3/4-inch stock. Dry-fit the pieces on a flat floor or workbench. The long aprons go along the front and back; the short aprons fit between them at the sides. The outside of each apron should align with the outside edges of the legs.
Apply a thin film of glue to each apron end, clamp it against a leg, and drive the screws. Check each corner with a square before tightening fully. Then attach the other legs and aprons. Measure diagonally across the base from corner to corner; the two measurements should match within about 1/8 inch. If they don’t, loosen a joint and shift the frame before the glue sets. A base that dries out of square makes the top harder to position and can rock.
Pocket holes are quick, but they require a jig and leave visible holes on the inside of the apron. If you don’t own one, screw through the leg into the apron from the outside, using two screws per joint and a countersink. Predrill to reduce splitting, especially near the ends of the apron. The screw heads will show unless you fill them.
Prepare and attach the top
Sand the plywood face with 120-grit paper, then 180 grit. Don’t press hard or linger on one spot: the face veneer can be thin, and sanding through it leaves an obvious patch. Ease the sharp corners with a few light passes. For a plywood edge that looks finished, glue on iron-on veneer edging or attach a hardwood strip. A veneer edge-banding roll is inexpensive and simple to apply with a household iron, though it can lift if the edge is dusty or the iron is too cool.
Center the base under the top, leaving 3 inches of overhang at the front and back and 3 inches at each end. Drill pilot holes through the apron for the top screws. Keep the holes centered in the apron’s width, and make them slightly larger than the screw shanks; plywood and solid wood move differently with humidity. Do not drive long screws into the top face. Use 1-inch screws through the apron, snug but not overtightened. Tight screws can strip the plywood or pull the top out of position.
Sand and finish
Fill small gaps or screw holes with a filler that suits your planned finish. Sand the legs and apron to 120 grit, then 180. Wipe away dust and apply a water-based polyurethane, oil-based polyurethane, or paint. Water-based finish dries faster and keeps light wood lighter; oil-based finish adds a warmer tone but takes longer to cure. Follow the container’s drying and recoat times, and test the finish on an offcut first. Two or three thin coats are less likely to sag than one heavy coat.
Let the finish cure before loading the desk. If the desk rocks, set it on a flat floor and identify the short leg rather than tightening the top screws harder. Add a felt pad or trim the leg carefully. For a desk that will hold a heavy monitor, check the apron joints and use a thicker or well-supported top; this compact design is intended for ordinary writing and laptop use, not a large equipment load.