What's inside
As an Amazon Associate I earn from qualifying purchases. This post may contain affiliate links at no extra cost to you.
Contents
Project overview
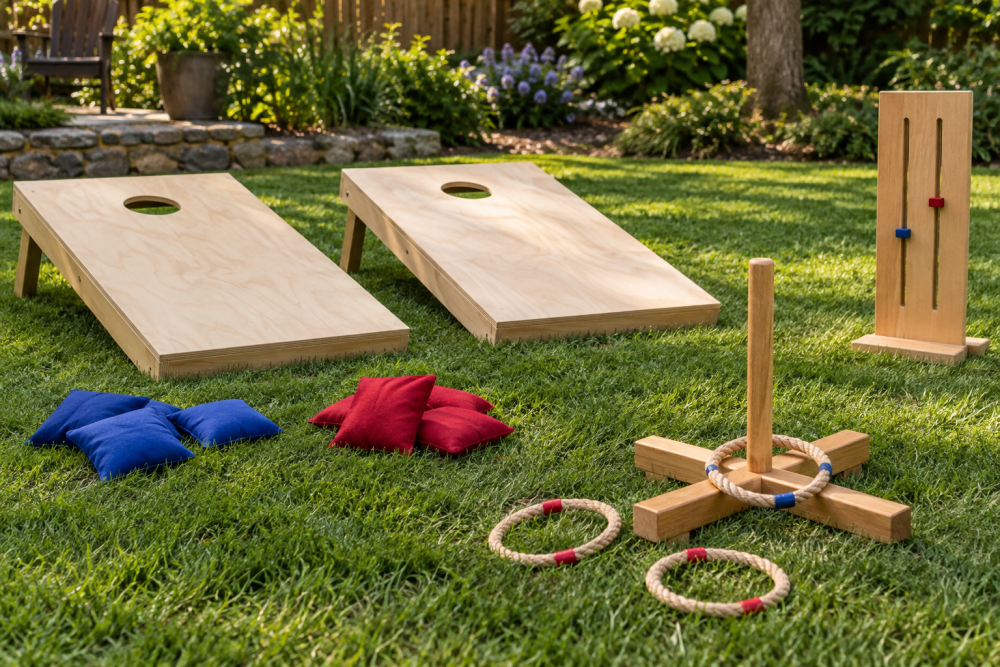
This backyard ring toss game uses a low wooden base with a center peg and four corner pegs. The base is also the carrying case: the pegs store upright in holes when it’s game time and lie flat in recessed slots for transport. It’s a manageable weekend project for a beginner who can drill straight holes and make accurate saw cuts.
The dimensions below make a compact game that works on grass or a patio. Ring toss distance depends on the players, so start around 6 feet from the target and move the throwing line as needed. A wider base is steadier but heavier; a base around 18 by 18 inches is a practical balance.
Materials and tools
Use a piece of 3/4-inch exterior plywood or outdoor-rated solid wood for the base, four small hardwood dowels for the corner pegs, and a larger hardwood dowel for the center target. Hardwood pegs resist wear better than softwood, but straight-grained pine dowels are inexpensive and adequate for casual play. For rings, use rope, plastic rings, or make simple rope rings with taped or glued joints.
- One 18-by-18-inch piece of 3/4-inch plywood
- One 1-1/4-inch-diameter hardwood dowel, about 12 inches long
- Four 3/4-inch-diameter hardwood dowels, about 6 inches long
- Wood glue, exterior finish, and optional small screws
- Drill, 3/4-inch and 1-1/4-inch bits, saw, square, tape measure, and sandpaper
A drill press makes perpendicular holes easier, but a hand drill works with a guide block and care. If you need a more controlled cut, a hand-drill guide can help keep the bit square. For the base, exterior plywood is stable and affordable; solid wood looks nicer but can move or split outdoors if it is not sealed well.
Choosing the base material
| Material | Advantages | Trade-offs |
|---|---|---|
| Exterior plywood | Flat, affordable, resists seasonal movement | Edges need sealing; exposed plies can look rough |
| Solid cedar or pine | Easy to cut and finish; cedar handles weather well | Can warp, check, or split around drilled holes |
| Pressure-treated lumber | Good moisture resistance | Often wet and heavy; not necessary for a portable game |
For most builds, exterior plywood is the sensible choice. Sand and seal every edge, especially the bottom, where water can sit on grass. Pressure-treated wood is not worth the extra weight here unless the game will live outdoors uncovered.
Cut and mark the base
Cut the base to 18 by 18 inches and smooth the corners with a small round-over or sandpaper. Mark the center of the board. Then mark four corner-peg locations, each 2 inches in from both adjacent edges. Keep the center target at least 4 inches from the nearest peg so the rings have room to land.
Before drilling, check that the layout is symmetrical and that no hole is too close to an edge. A hole near the edge can split the plywood, especially if the peg fits tightly. Clamp the board securely; plywood can tear out on the back when a bit exits. A backing scrap under the base reduces tear-out.
Drill and fit the pegs
Drill four 3/4-inch holes about 1 inch deep for the corner pegs. Drill the center hole 1-1/4 inches wide and about 1-1/2 inches deep. Test each dowel in scrap first. A snug fit is useful, but a peg that needs hammering can split the base or become difficult to remove. If the fit is loose, glue a thin strip of paper or veneer around the dowel rather than relying on a large amount of glue.
Cut the center target to 10 inches long and the four corner pegs to 5 inches. Ease the top edges with sandpaper so they don’t splinter. If you want the pegs removable, leave them unglued. If the center target should stay fixed during play, glue it in place after checking that it stands vertical.
Add carrying storage
To make the base carryable, add a shallow storage recess beneath it or attach a second, smaller panel as a cover. The simplest method is to screw a 17-by-17-inch panel beneath the base, leaving a 1/2-inch rim around the edge. Place the pegs flat inside this shallow cavity, then secure the cover with two small hinges and a latch. Leave enough room for the rings as well, or store them in a small fabric bag attached to the base with a strap.
A hinged cover adds parts and weight, but prevents loose pegs from falling out. For a lighter build, skip the cover and use a short webbing strap around the base and stored pieces. Choose an outdoor-rated simple draw latch if you add a cover; a basic hook-and-eye is cheaper and fine when the game is carried gently.
Finish and test the game
Sand the base and pegs to 120 or 150 grit, then apply two or three thin coats of exterior polyurethane, spar varnish, or outdoor paint. Follow the product’s recoat instructions and coat the edges and underside too. A film finish protects well but can chip; penetrating oil is easier to refresh but offers less protection from standing water.
Set the board on level ground and check that it does not rock. Toss rings from 6 feet away, then adjust the distance for younger players or a harder game. If pegs loosen during play, glue them in or add a thin wrap of tape at the bottom. If the board tips, add weight beneath the base or increase its thickness rather than making the pegs heavier. Keep the finished game dry between uses; no household wood finish makes plywood waterproof indefinitely.