What's inside
As an Amazon Associate I earn from qualifying purchases. This post may contain affiliate links at no extra cost to you.
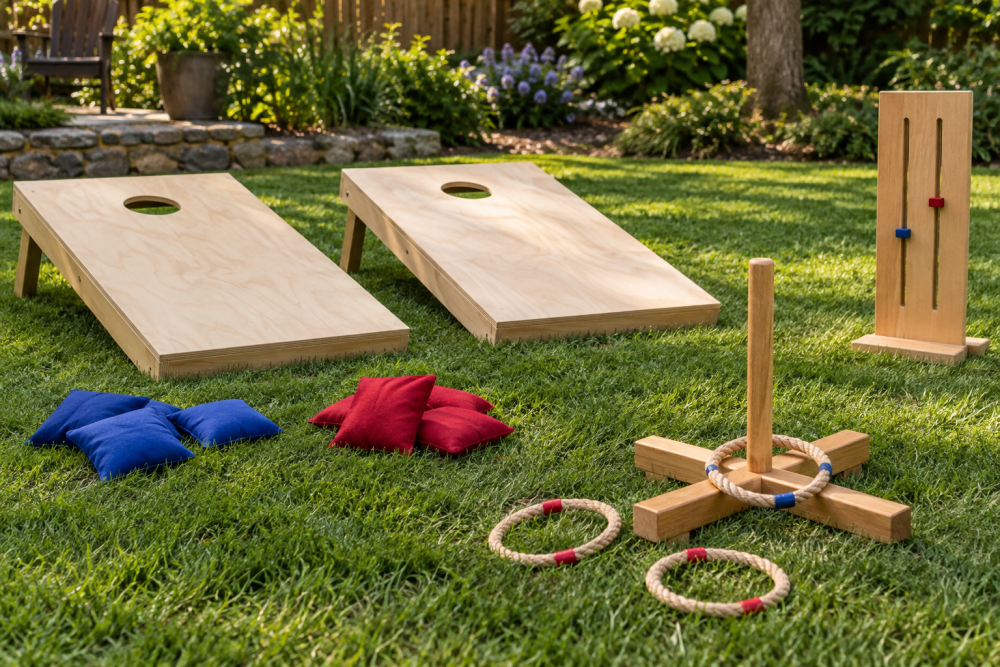
A sliding-marker scorekeeper is a simple outdoor upgrade for cornhole, bocce, horseshoes, or backyard games where players lose track of the score. Two markers travel along numbered tracks, so the score is visible from across the yard without chalk, loose counters, or a phone. This version uses a sealed wooden backboard, screws as track stops, and wooden sliders. It is sized for scores from 0 to 21; change the number of holes if your game uses a different limit.
Contents
Design and materials
Make the board about 24 inches long and 8 inches tall from ¾-inch exterior plywood or a stable hardwood board. Each player gets a horizontal row of numbered positions. The two rows sit far enough apart that markers cannot collide, and a screw at each end keeps them from sliding off. This is a beginner-friendly project, but accurate layout matters: crooked rows make the score harder to read and can cause sliders to bind.
For outdoor use, exterior plywood is generally the practical choice: it is affordable, easy to cut, and less prone to seasonal movement than a wide solid-wood panel. Choose a panel with smooth faces and sealed edges. Hardwood looks attractive, but it costs more and still needs weather protection. You will also need two small wood blocks for sliders, a saw, drill, ruler, pencil, sandpaper, exterior glue, screws, and outdoor finish. A search for exterior plywood can help compare suitable panel options.
Tools and layout
A circular saw or handsaw will cut the backboard; a jigsaw is useful for rounding its corners. Use a drill with a bit slightly larger than the screw shanks for the track stops. A tape measure and combination square are enough for layout. A basic wood drill-bit set is sufficient; there is no need for specialized hardware.
Mark two parallel lines along the board, about 3 inches apart vertically. Leave at least 1 inch above and below the rows, and keep the row ends 1½ inches from the board ends. For a 21-point track, mark 22 positions (0 through 21) at ¾-inch intervals. That makes each row 15¾ inches long. Check the total length before drilling: small spacing errors add up, and the last mark can end up crowded against the edge.
Build the board
Cut the panel to 24 by 8 inches and sand the faces and edges to 120 grit, then 180 grit. Ease the corners slightly so they do not splinter. Draw the two track lines and mark each score position. Use a square to keep the marks perpendicular to the tracks. Apply numbers with paint pen, stencil, or a printed transfer; keep them large enough to read from several feet away.
For each slider, cut a block roughly 1½ inches wide, 1 inch tall, and ¾ inch thick. Sand the underside flat and round its corners. Drill a centered hole through the block that is wide enough to clear the screw used as a stop. The slider should sit over the track and move freely between the end stops. Test it on scrap first: a hole that is too tight sticks after finishing, while an oversized hole lets the marker wobble.
Put a screw near each end of each row, leaving enough clearance for the slider to pass without catching. Choose screw length so the point does not emerge through the back of the board. If you want the marker to stay near its chosen score, add a small washer under each screw head to reduce the gap. Do not tighten the screws against the slider; it must move without force.
Finishing options
| Finish | Best for | Trade-off |
|---|---|---|
| Exterior paint | High contrast and easy numbering | Scratches may need touch-ups |
| Exterior water-based varnish | Visible wood grain and low odor | Needs periodic renewal outdoors |
| Oil-based exterior finish | Simple application and a natural look | Longer drying time; may darken wood |
Seal all faces, edges, and the backs of the sliders, not just the front. Moisture enters plywood most readily through exposed edges, which can swell or delaminate. Follow the finish label for drying and recoat times. Keep the board under cover when not in use; even a good exterior finish does not make plywood waterproof. A search for exterior wood finish offers several types, but a suitable leftover finish is fine if it is rated for outdoor exposure.
Mount and test
Attach the scorekeeper to a fence, game stand, or post using two screws through the board, spaced about 16 inches apart where possible. For a portable version, attach a small cleat or hook on the back instead. Avoid mounting it where rainwater collects or where a swinging bag or ball can hit the sliders.
Slide each marker from end to end before the finish is fully considered done. If it binds, check for a raised screw head, rough underside, or finish buildup around the hole. Sand the slider lightly and adjust the stops rather than enlarging the hole dramatically. If the marker drifts in wind, reduce the clearance beneath the screw heads or add a thin felt pad to the slider’s underside. A little drag is useful; too much makes score changes irritating.
Care and variations
Wipe off dirt with a damp cloth and let the board dry before storing it. Inspect the edges and screw holes once a season; touch up bare wood before water gets underneath the finish. If you need scores above 21, extend the board or use ½-inch spacing, but narrower spacing makes the numbers harder to read and the sliders less forgiving. For a quick, inexpensive build, painted plywood and plain wood blocks work well. Spend extra on hardwood or decorative joinery only if appearance and long service life matter more than cost.