What's inside
As an Amazon Associate I earn from qualifying purchases. This post may contain affiliate links at no extra cost to you.
Contents
Why Angled Wall Mounts Work
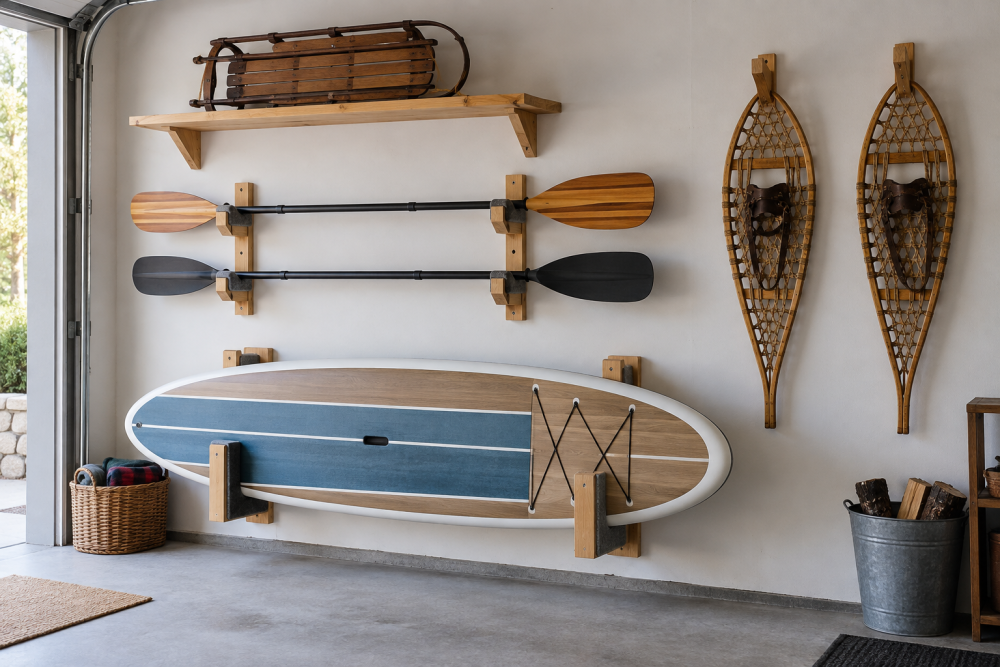
A flat, horizontal rack looks clean but it fights gravity. Paddles creep, slide out, and end up on the floor when someone bumps the wall. Angling the cradles up at 25 to 30 degrees solves that with no straps or bungees. Gravity keeps the shaft seated in the notch, and you can lift the paddle straight up and out with one hand.
This design holds two to four paddles on a single 32-inch backboard. Each paddle sits in its own pair of angled arms. The backboard spreads the load across two studs, which matters because a carbon or fiberglass paddle is light, but a wooden Greenland paddle can be 2.5 to 3 pounds and you will inevitably hang wet PFDs or spray skirts on the same rack.
Mount it 60 to 66 inches off the floor so blades clear the ground but you don’t need a stepladder. In a garage, leave at least 4 inches of clearance from the ceiling if you store paddles vertically above the rack.
Materials and Cut List
Use hardwood for the arms and a stable board for the back rail. Pine works for a garage-only rack, but the narrow arms can dent and split along the grain under load. If you want it to last outdoors or in an unheated shed, white oak or ash is worth the extra cost.
| Part | Material | Size | Qty |
|---|---|---|---|
| Backboard | 3/4″ hardwood or Baltic birch plywood | 32″ x 5-1/2″ x 3/4″ | 1 |
| Mounting cleat (optional but recommended) | 3/4″ plywood | 32″ x 3-1/2″ with 45-degree bevel | 1 |
| Cradle arms | Hardwood (oak, ash, maple) | 6″ x 2″ x 3/4″ | 6-8 (2 per paddle) |
| Spacers / felt | Self-adhesive felt or cork | 1″ strip | As needed |
| Hardware | #10 x 2-1/2″ wood screws, #10 x 1-1/4″ screws | – | 12-16 |
For a two-paddle rack you need 4 arms, for three paddles 6 arms, for four paddles 8 arms. Cut one extra arm as a test piece for your angle and notch.
Other consumables: wood glue, 120 and 180-grit sandpaper, and exterior finish if the rack will see moisture.
Tools You Need
You don’t need a full shop. A miter saw or circular saw with a straight edge, a jigsaw or bandsaw for the notches, a drill/driver, and a sander will do it. A forstner bit set makes the cleanest paddle notches, but a 1-1/4″ spade bit followed by a jigsaw works if you clean up with a file.
To hit studs reliably, use a stud finder rather than guessing. The most common failure with these racks is pulling out of drywall because the builder used plastic anchors. Paddles lever outward, so even light weight creates pull-out force. You need at least two #10 screws into solid studs or a continuous French cleat screwed to studs.
Clamping helps while the glue sets. A pair of bar clamps 12 inch is enough to hold the arms to the backboard for pilot drilling.
Cutting the Angled Cradles
The cradle is where most people go wrong. Too shallow and the paddle rolls out, too deep and you have to wrestle it free.
Start with blanks at 6″ long and 2″ wide. Rip them to 3/4″ thick. On each blank, mark the notch center 2-1/4″ from the tip. Drill a 1-1/4″ diameter hole for standard kayak shafts (most are 1 to 1-1/8″). For oversized bent shafts or Greenland paddles with oval looms, go to 1-3/8″. Then cut a 3/8″ wide entry slot from the top edge down to the hole with a jigsaw. This creates a keyhole shape that captures the shaft but lets you lift it straight out.
Now angle the bottom of each arm. Set your miter saw to 30 degrees and trim the butt end that will meet the backboard. This angle tips the entire arm upward once mounted. Dry-fit one arm against the backboard and test with an actual paddle. If the paddle sits without touching the wall and doesn’t slide forward when nudged, the angle is right. At 20 degrees paddles still creep on varnished shafts. Over 35 degrees they sit too steep and hit the wall with the blade.
Ease all edges with 120-grit, then 180-grit. Hard edges will dent carbon shafts over time. Line the inside of the notch with thin felt or cork. Glue alone will hold felt, but a single staple on the underside keeps it from peeling in heat.
Assembly and Wall Mounting
Lay the backboard flat and mark stud spacing. Most walls are 16″ on center. Mark arm pairs so paddles are spaced 10 to 12 inches apart on center. This prevents blades from overlapping and banging together. For blade-up storage, stagger the height: alternate cradles 1 inch higher so wide blades nest without touching.
Attach arms with glue and two #10 x 1-1/4″ screws from the back of the backboard into each arm. Pre-drill everything. Hardwood splits without a pilot, especially within 3/4″ of the end grain. Drive screws, then clamp and let the glue cure for an hour before handling. Do not rely on glue alone; the angled load puts constant shear on the joint.
For mounting you have two solid options. Direct screw is simplest: drill countersunk clearance holes in the backboard at stud locations and drive #10 x 2-1/2″ screws into studs. The better option for drywall or if you want to remove the rack in winter is a French cleat. Screw one half of the cleat to studs, the other to the back of the rack. It holds 75+ pounds when screwed to two studs and keeps the rack perfectly level.
Before final tightening, check for level and test load. Hang the heaviest paddle you own and pull outward with about 10 pounds of force. If you see the backboard flex away from the wall, you missed a stud or need a longer screw. Add a third stud connection rather than switching to toggle bolts if you can.
Finishing for Durability
Finish matters more than wood species if the rack lives near saltwater or in a damp garage. Raw wood will raise grain and transfer moisture to paddle grips.
| Finish | Best For | Coats | Trade-off |
|---|---|---|---|
| Spar urethane (oil-based) | Unheated garage, shed, outdoor wall | 3 thin coats | Highest water and UV resistance, slower dry, amber tint |
| Water-based polyurethane | Indoor garage, basement | 2-3 coats | Clear, low odor, less water resistance than spar |
| Tung oil / Danish oil | Show piece in living space | 2 coats, reapply yearly | Natural feel, easy repair, needs maintenance, minimal moisture protection |
You do not need epoxy unless the rack is fully exposed to weather year-round. For most people, the cheaper water-based poly is fine indoors and will not yellow light maple or ash.
Apply finish before lining the notches with felt, and keep finish out of the notch interior where felt will bond. Lightly scuff between coats with 220-grit. If you use pine and leave it outdoors, expect to recoat spar urethane every 12 to 18 months. Hardwood with the same finish can go two to three years.
Common Mistakes to Avoid
The rack fails for the same three reasons every time. First, arms spaced too close together, so paddle blades clash and you stop using half the slots. Second, screws only into drywall, which will eventually elongate and drop a paddle on a car roof. Third, a notch cut too tight. A 1-inch notch looks tidy but it binds on drip rings and foam grips. Drill the full 1-1/4″ and let the felt take up the slack.
If you want to hold paddles with drip rings or large ferrules, cut the entry slot 1/2″ wide instead of 3/8″. It is easier to widen a slot than to remake an arm after a paddle gets stuck.
Once mounted, keep metal paddle clips away from this rack. They seem like an upgrade but they scratch shafts and require two hands to release. The angled wood cradle is simpler, quieter, and holds better without hardware that fatigues.