What's inside
As an Amazon Associate I earn from qualifying purchases. This post may contain affiliate links at no extra cost to you.
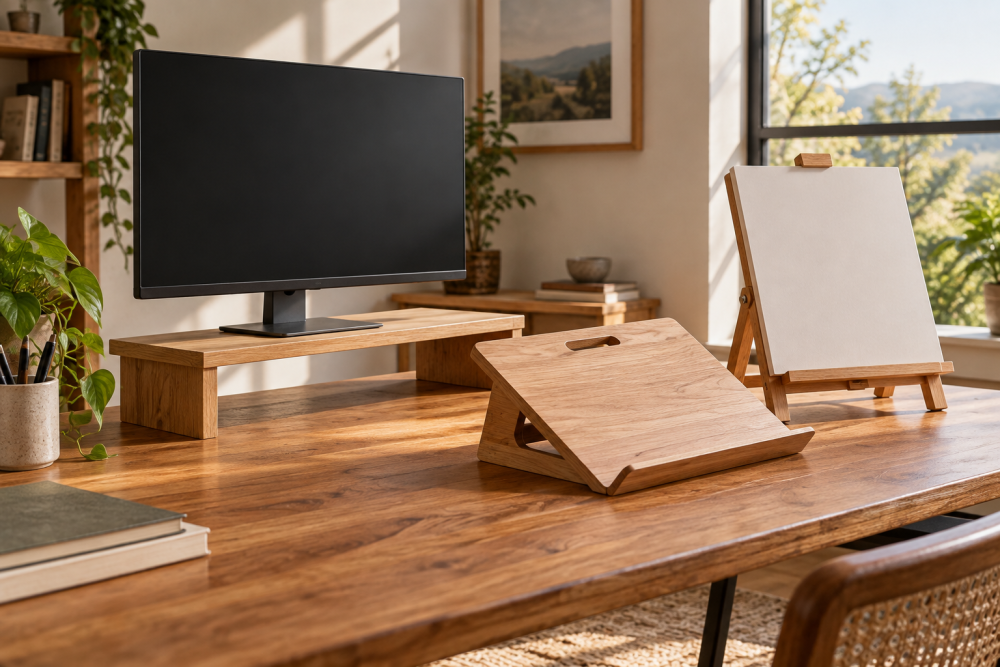
A wooden monitor stand with a shelf raises your screen and creates a spot for a keyboard, notebook, or small accessories. This straightforward build uses a flat top, two side supports, and a lower shelf. It needs only basic cuts, but accurate measurements matter: a stand that rocks or sits too high is more annoyance than upgrade.
Contents
Plan the size before buying wood
Measure your monitor’s base, then decide how much room you want beside it. A useful starting size for one monitor is a top about 24 inches wide, 10 inches deep, and 4 inches high. Adjust the width to suit your desk and monitor; leave at least an inch of overhang beyond the base on each side. Check that the top is deep enough for the entire base, not just the screen.
Set the stand’s height by sitting at your desk and looking straight ahead. Ideally, your eyes meet the upper part of the screen without tipping your chin up. If the monitor is already at a comfortable height, build lower rather than copying a standard dimension. Allow around 2½ to 3 inches between the supports for a lower shelf, but check that your keyboard will still slide underneath if you want it to.
Materials and tools
For a compact stand, buy a straight board around ¾ inch thick for the top and shelf, plus stock for two supports. Pine is inexpensive and easy to cut; birch plywood is more stable across wider panels, though its exposed edges need attention. Solid hardwood costs more and looks good, but it is not necessary for a stand carrying a monitor. A ¾-inch birch plywood panel is a practical choice if you want a smooth surface and predictable dimensions.
You’ll also need a saw, drill/driver, measuring tape, square, clamps, wood glue, screws, and sandpaper. A box of 1¼-inch wood screws will suit many builds from ¾-inch stock, but confirm the screw length against your actual parts. A countersink bit helps keep screw heads flush. Wear eye protection, and support the work securely when cutting.
Choose a joinery method
There are two sensible ways to attach the shelf and top. Screws driven through the supports are simple and strong enough for this small project. Pocket holes hide the fasteners on the inside faces, but require a jig and careful positioning. Glue adds stiffness with either method; screws alone can loosen over time, especially in soft pine.
| Method | What you need | Trade-off |
|---|---|---|
| Face screws | Drill, pilot bit, countersink | Cheapest and easiest; screw heads remain visible unless filled. |
| Pocket holes | Pocket-hole jig and suitable screws | Cleaner outside faces; extra setup and hardware cost. |
| Glue and screws | Wood glue, clamps, either screw method | Good all-around strength; parts must be held square while glue sets. |
For a first build, face screws and glue are fine. A pocket-hole jig is worth buying only if you expect to use it on other projects.
Cut the parts
For a 24-by-10-inch top and a 20-by-8-inch shelf, cut the top and shelf from ¾-inch stock. Cut two supports 4 inches high and 8 inches deep. These dimensions leave a 2-inch top overhang at each end and keep the supports under the shelf edges. If your monitor base is wider than 20 inches, increase the top width and reposition the supports so the ends remain supported.
Before cutting, check that the board is flat and not twisted. Mark each cut with a square and measure twice. A circular saw with a straightedge gives clean, repeatable cuts; a handsaw also works, though the edges may need more sanding. Dry-fit the pieces on a flat surface. If the supports rock or the shelf sits at an angle, correct the cuts now rather than trying to pull the assembly square with screws.
Assemble the stand
Mark matching shelf heights on the inside faces of both supports. A shelf set about 1½ inches above the desk leaves space for small items while keeping the stand compact. Apply a thin, even layer of glue along the shelf ends. Clamp the supports around the shelf, check that both supports are square to the shelf, then drill pilot holes and drive two screws through each support into the shelf. Pilot holes reduce splitting, especially near the ends of pine boards.
Center the supports beneath the top, keeping the front and back edges flush or slightly inset as you prefer. Glue the top edges of the supports, clamp the top in place, and check for equal overhang at both ends. Drill pilot holes from the top and drive screws into the supports. If you do not want visible holes, use pocket holes on the inside faces instead. Wipe away squeezed-out glue before it dries.
Sand and finish
Sand cut edges and corners with 120-grit paper, then smooth visible surfaces with 180-grit. Ease sharp corners lightly; a small round-over is less likely to chip than a crisp edge. Fill visible screw holes with wood filler if you plan to paint, or use a filler matched to the wood for a closer color match. Filler rarely disappears completely under a clear finish.
For a simple finish, apply two thin coats of water-based polyurethane, sanding lightly between coats after the first has dried. Follow the product’s label for drying and cure times. Paint is cheaper and hides mismatched wood, but it can chip at exposed edges; prime first and avoid setting the monitor on the stand until the finish has cured.
Check stability before use
Set the stand on your desk and press down gently at each corner. If it rocks, check for a twisted board, uneven support bottoms, or a desk that is not level. Sand a high corner carefully or add a thin furniture pad; do not leave a wobble under a valuable monitor. Put the monitor on the stand and confirm that its feet sit fully on the top, with no overhang that could tip the load. Keep heavy items off the lower shelf unless the shelf and fasteners are sized for them.
If the screen feels too high, the safest fix is usually a shorter support, not a stack of loose objects beneath the stand. For a wide or unusually heavy display, add a center support or use thicker stock and test the assembled stand gradually before placing the monitor on it.