What's inside
As an Amazon Associate I earn from qualifying purchases. This post may contain affiliate links at no extra cost to you.
A wooden toy garage is a useful beginner woodworking project: it can be built from one small sheet of plywood, uses mostly straight cuts, and gives children ramps, parking bays, and a play surface they can use with toy cars. This version has three levels, two parking bays, and a wide rear ramp. It is sized for cars up to about 3 inches wide, but the dimensions can be adjusted.
Contents
Project overview
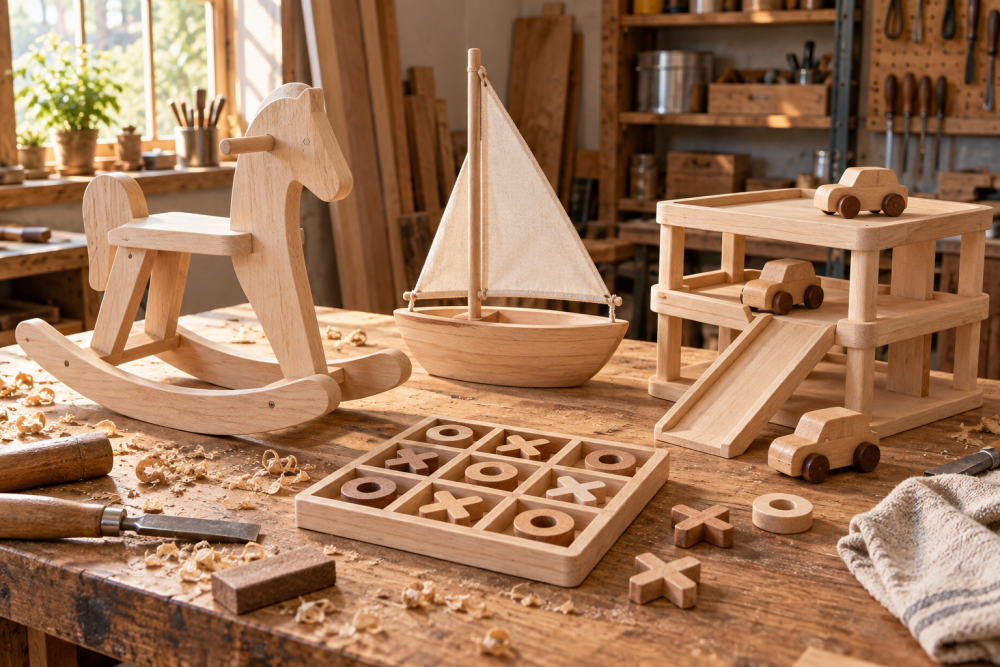
The garage measures approximately 24 inches wide, 16 inches deep, and 16 inches tall. Each deck is 4 inches above the one below it. The front remains open so children can park cars from the front, while the rear ramp connects the upper levels. Keep the structure broad and low; a tall, narrow garage is more likely to tip when a child leans on it.
| Part | Quantity | Finished size |
|---|---|---|
| Side panels | 2 | 16 × 16 inches |
| Parking decks | 3 | 24 × 16 inches |
| Parking dividers | 4 | 4 × 4 inches |
| Rear ramp | 2 | 16 × 4 inches |
| Front bumper rails | 3 | 24 × 1 inch |
Materials and tools
Use 1/2-inch birch plywood for the decks and side panels. It is flatter and cleaner than construction plywood, and its multiple layers hold screws well. Sanded pine plywood is cheaper and acceptable if you inspect it for voids and splinters. A full 2 × 4-foot sheet is usually enough, with offcuts left for dividers and rails.
You will also need wood glue, 1-inch screws, a pencil, a square, clamps, and paint or water-based finish. A random orbital sander speeds up the preparation, but folded sandpaper works for this small project. A circular saw with a guide makes accurate cuts; a table saw is convenient but not necessary.
For a child’s toy, use a water-based child-safe wood finish or leave the wood unfinished. Check the product label for its intended use and curing time. “Non-toxic” does not mean wet finish is safe to handle, so allow the coating to cure fully before giving the garage to a child.
Cut and sand the parts
Cut three decks at 24 × 16 inches and two side panels at 16 × 16 inches. Mark the side panels before cutting the ramp openings. On each panel, draw two sloping openings: one from the rear edge of the bottom deck up to the middle deck, and another from the rear edge of the middle deck up to the top deck. Leave at least 3 inches of solid material at the front and top edges.
The easiest option is to leave the sides solid and attach the ramps inside the garage. This is stronger and safer than cutting large holes, especially if you do not have a jigsaw. If you do cut openings, drill a starter hole at each corner and use a jigsaw, then round every inside corner.
Sand every edge with 120-grit paper, followed by 180-grit. Pay particular attention to plywood corners and the ends of the ramp boards. Run a cloth over the parts; if it catches, sand again. Children will find rough edges that adults miss.
Assemble the main frame
Place the two side panels on their edges, 24 inches apart. Position the bottom deck flush with the lower edges. Apply glue to the plywood edge, clamp the deck in place, and drive 1-inch screws through the side panels into the deck. Drill pilot holes first to reduce splitting.
Install the middle deck 4 inches above the bottom deck and the top deck another 4 inches above it. Use a scrap block cut to exactly 4 inches as a spacer. Check that each deck is square to the sides before driving the screws. A small error at the bottom becomes obvious when the upper levels are installed.
If the garage rocks, check the bottom corners on a flat surface. Minor unevenness can be corrected by sanding the low edge. Do not rely on thick paint to hide a rocking base.
Add ramps and parking bays
Cut two ramp boards at 16 × 4 inches. Set each ramp from the rear of one level to the level above it, with approximately 1 inch of overlap at each end. A 4-inch rise over a 16-inch run creates a gentle slope that most small toy cars can climb. Secure the ramps from underneath with glue and screws, or add triangular plywood brackets beneath both sides.
Test the ramp with the actual cars before finishing. If the cars stop at the transition, the problem is usually a sharp lip. Sand the leading edge or add a thin 1/4-inch transition strip. Do not make the ramp so steep that cars launch off the upper deck.
Create two parking bays on each deck using 4 × 4-inch divider blocks. Leave at least 4 inches between dividers for a typical toy car, and leave the front edge open. Glue and screw the dividers down, checking that screws cannot reach through the deck. If your child uses wider vehicles, make the bays 5 inches wide instead.
Add a 1-inch front bumper rail to each deck if cars frequently roll off. A low rail stops cars without blocking a child’s hand. Round its top corners and glue it in place; screws from below are preferable because they leave no exposed screw heads on the play surface.
Finish and safety check
Paint the garage before installing small accessories. Apply two thin coats rather than one heavy coat, sanding lightly with 220-grit paper between coats. Thick paint can remain soft in corners and make ramps sticky. Mask the ramp surfaces if cars need to roll freely, or apply a clear water-based coat after the color has cured.
Inspect every joint for exposed screw tips, lifted plywood layers, sharp corners, and loose dividers. Shake the garage firmly and test it with more weight than a toy car. If it moves, add a 24-inch-wide base board underneath or screw the garage to a heavier platform. Do not add loose small parts for children who still put toys in their mouths.
Where to save money
Birch plywood is worth paying for when you want a clean painted surface and predictable edges. Sanded pine plywood is fine for a workshop toy, especially if you plan to cover it with paint. A basic set of woodworking clamps is more useful here than specialty jigs. If you already own a drill and saw, spend the remaining budget on good paint and careful sanding rather than decorative hardware.
For a no-paint version, use higher-grade plywood and ease all edges with sandpaper. For younger children, omit removable signs, flags, and parking tokens. The ramps, bays, and sturdy open frame provide plenty of play value without parts that can break off.