What's inside
As an Amazon Associate I earn from qualifying purchases. This post may contain affiliate links at no extra cost to you.
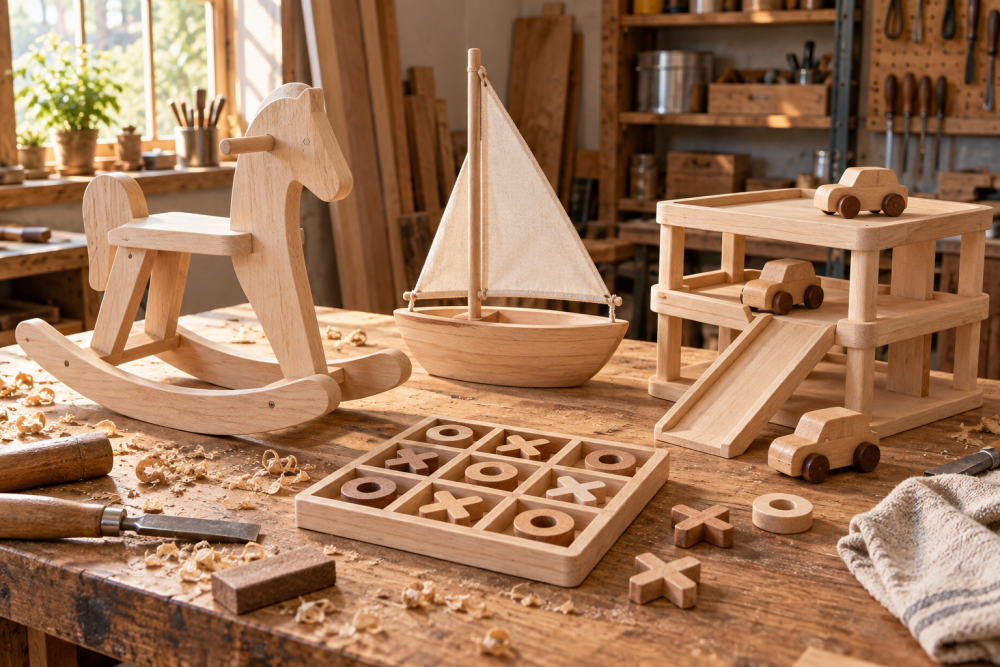
A wooden toy car garage is a useful weekend project for a child’s playroom: it stores small vehicles, adds ramps for active play, and gives every car a parking place. This version has three parking bays on the ground floor, a raised deck, and two ramps. It is sized for most 1:64-scale toy cars, but you can adjust the bay width for larger wooden vehicles.
Contents
Project overview and dimensions
The finished garage is approximately 24 inches wide, 16 inches deep, and 14 inches tall. Each parking bay is 7 inches wide by 6 inches deep. The upper deck sits about 6 inches above the floor, leaving enough clearance for small cars while keeping the structure compact.
| Part | Quantity | Finished size |
|---|---|---|
| Side panels | 2 | 14 × 16 inches |
| Floor and upper deck | 2 | 24 × 16 inches |
| Parking dividers | 4 | 6 × 6 inches |
| Ramps | 2 | 6 × 18 inches |
| Front and rear rails | 2 | 24 × 2 inches |
Use 1/2-inch plywood for the large panels. It is flatter and more stable than solid boards at this size. For the dividers and rails, 1/2-inch pine or plywood works well. A sheet of sanded plywood is usually the simplest option if you do not already have suitable offcuts.
Materials and tools
You will need wood glue, 1 1/4-inch screws, sandpaper in 120- and 180-grit, and paint or water-based clear finish. Use a drill, countersink bit, tape measure, square, pencil, and a saw. A circular saw makes the large cuts quickly, while a jigsaw is helpful for rounding ramp corners. If you do not own one, a basic compact circular saw is sufficient for this project; precision matters more than motor power.
For a child’s toy, avoid sharp metal hardware where hands will frequently land. Drive screws from the outside or countersink them below the surface. Choose water-based paint labeled for interior use, and allow every finish to cure fully before handing over the garage.
Cut and prepare the parts
Cut the two side panels, floor, deck, ramps, dividers, and rails to size. Mark the deck height at 6 inches on both side panels. Use a square so the marks line up; a deck that slopes or twists will make the ramps difficult to fit.
Round the two front corners of each ramp with a cup or small container as a tracing guide. You can leave the ramps rectangular, but rounded corners reduce snagging and make the garage look less boxy. Sand all cut edges before assembly, starting with 120-grit paper and finishing with 180 grit.
Do not skip this preparation. Rough plywood edges are the most common failure on simple children’s furniture. They can cause splinters, and filler or paint will not reliably hide a torn edge unless it is sanded first.
Assemble the garage frame
Place the two side panels parallel to each other, 24 inches apart. Apply glue to the ends of the floor panel, position it between the sides, and clamp it flush with their bottoms. Drill pilot holes, then install two screws through each side. Pilot holes matter near plywood edges because the thin layers can split.
Install the upper deck in the same way, with its top surface 6 inches above the floor. Check both diagonals before the glue sets. If the diagonal measurements differ by more than 1/8 inch, push the frame into square and recheck. A square frame makes the parking bays and ramps fit cleanly.
Add the front rail at the front edge of the upper deck. Make it 2 inches high, leaving enough visibility for play but preventing cars from rolling straight off. Add the rear rail if the garage will sit away from a wall. If it will be placed against a wall, the rear rail can be omitted, although it adds useful stiffness.
Create the parking bays
Mark three equal bays across the lower floor. With a 24-inch-wide floor and 1/2-inch dividers, space the dividers so each opening is close to 7 inches. Glue and screw each divider to the floor and underside of the deck. Use a square at both ends; even a small angle can make a car appear to roll downhill.
For larger wooden cars, increase the openings to 8 or 9 inches and reduce the number of bays. This is the main trade-off: three narrow bays hold more small cars, while two wider bays are easier for younger children to use. Measure the actual vehicles before cutting if the garage is intended for a particular toy collection.
Fit and test the ramps
Lean one ramp from the floor to the upper deck. An 18-inch ramp gives a gentle slope of roughly 20 degrees when the deck is 6 inches high. Leave a small gap between the ramp and the deck edge so the ramp can be removed for storage, or glue it permanently if you want a rigid structure.
Secure each ramp with glue and two screws driven from below or through a small support block. Add a 1/2-inch-wide side strip along each ramp if cars frequently fall off. Side strips improve containment but slightly reduce the usable driving width. Test several cars before fixing the strips in place.
Watch for two failure points: a ramp that ends above the floor creates a bump, and a ramp that is too steep makes cars launch instead of roll. If needed, lengthen the ramp or add a small landing block at the bottom.
Sand, finish, and safety-check
Break every exposed corner with a few passes of 180-grit sandpaper. Run a clean cloth over the surface; if it catches, sand again. Fill screw holes with wood filler, let it dry, and sand flush.
Paint the garage in two thin coats rather than one heavy coat. Thick paint can remain soft in corners and obscure the fit of ramps. A water-based interior wood paint is the practical choice for quick cleanup. Let the finish cure according to its label, not merely until it feels dry.
Before use, tug firmly on the ramps, dividers, and rails. Confirm that no screw tip protrudes, the garage does not rock, and the structure cannot tip when a child pushes a car into it. If it will be used by a toddler, keep the design low, avoid detachable small parts, and supervise play. The finished garage should be sturdy enough to roll cars on, but it is not climbing furniture.