What's inside
As an Amazon Associate I earn from qualifying purchases. This post may contain affiliate links at no extra cost to you.
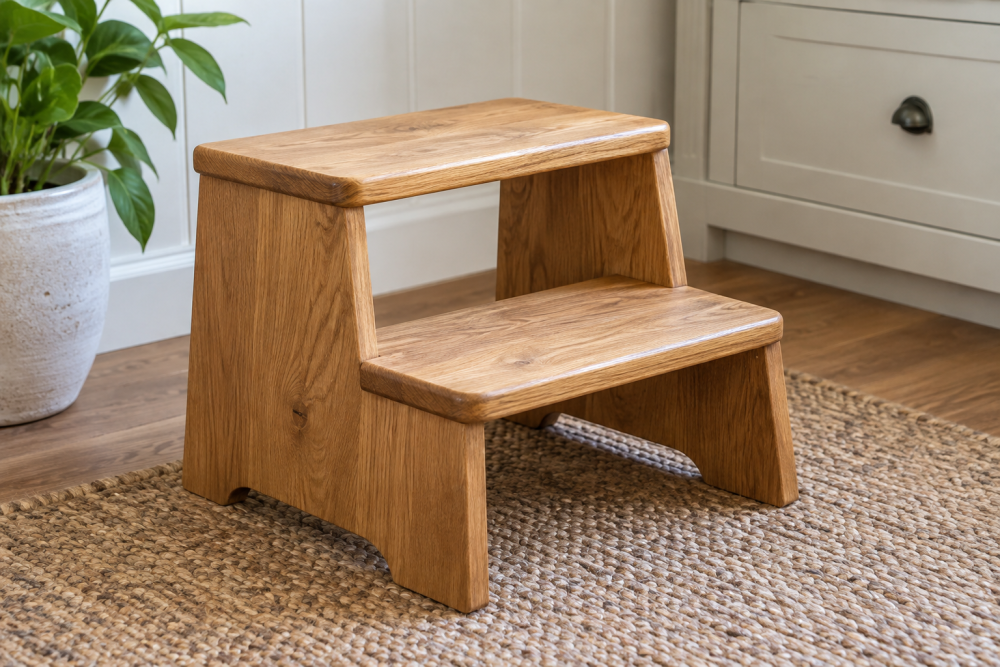
A small step stool is useful anywhere you need another 8 to 12 inches of reach, but a narrow stool can feel unstable before it actually tips. This version uses a wide tread, splayed legs, and a lower stretcher to make a compact stool that is easier to stand on and less likely to rock. It is a good weekend project for a beginner with accurate measuring and basic saw skills.
Contents
Design and materials
The finished stool is approximately 16 inches wide, 12 inches deep, and 10 inches high. The tread is 16 by 12 inches, giving you room to place both feet instead of balancing on a narrow strip. Adjust the height if needed, but keep the platform broad enough that the stool does not feel top-heavy.
| Part | Quantity | Finished size |
|---|---|---|
| Tread | 1 | 16 × 12 × 3/4 inches |
| Legs | 4 | 3/4 × 2 1/2 × about 10 1/2 inches |
| Long stretchers | 2 | 3/4 × 2 1/2 × 9 inches |
| End stretchers | 2 | 3/4 × 2 1/2 × 6 inches |
Use straight, dry pine, poplar, maple, or another solid wood. Construction lumber is cheap, but it often has knots, rounded edges, and moisture that can cause twisting. A 1-by-12 board is convenient for the tread; select the straightest piece you can find. For a painted stool, poplar or clear pine is a practical choice. For a natural finish, use a hardwood or a clear, knot-free softwood.
You will also need wood glue, 1 1/4-inch wood screws, 2 1/2-inch screws, sandpaper, and a finish. A set of non-slip rubber feet is worthwhile on smooth floors. A drill, countersink bit, square, tape measure, clamps, and a saw are enough. A circular saw works, though a miter saw makes repeated cuts faster.
Cut and prepare the parts
Cut the tread to 16 by 12 inches. Check both diagonals; if they are equal, the top is square. Lightly ease the top edges with 120-grit sandpaper. Do not round the edges aggressively, because a crisp edge helps keep a foot from sliding off.
Cut four legs at 10 1/2 inches. The exact length is less important than making all four identical. Label the legs so you do not accidentally mix a cut edge with an uncut edge during assembly.
For a stable stance, angle the legs outward slightly. The simplest approach is to cut a 5-degree bevel on the top and bottom of each leg, with the bevels facing in the same direction along the leg. If your saw cannot make a reliable bevel cut, keep the legs square and add wide rubber feet; a square-legged stool can still be stable, but it has less resistance to side loading.
Cut the stretchers next. The two long stretchers run between the front and rear leg pairs, while the two short stretchers run between the legs at each end. Dry-fit everything before drilling. The stretchers should sit about 3 inches above the floor, leaving enough clearance for toes while keeping the frame from flexing.
Assemble the base
Start with one side of the stool. Position two legs parallel to each other with their outside faces about 12 inches apart at the top. Place a long stretcher between them, 3 inches above the floor. Apply glue to the stretcher ends, clamp it in place, and drive one 2 1/2-inch screw through each leg into the stretcher. Drill pilot holes first; screws driven into the end grain of a stretcher can split it.
Build the second side in the same way. Measure from the floor to the top of each leg and correct any difference before the glue sets. A 1/8-inch mismatch can make the finished stool rock.
Connect the two side assemblies with the short stretchers. Keep the top edges of all four legs in the same plane. Use a square to check that each corner is close to 90 degrees, then measure the base diagonals. Equal diagonals indicate a square frame. Clamp the joints until the glue cures according to the label, usually at least 30 minutes for handling and several hours before heavy use.
Attach the wide tread
Center the frame under the tread, leaving approximately 2 inches of overhang on each long side and 1 1/2 inches at the ends. Mark the leg positions on the underside. Apply glue to the top of each leg, set the tread in place, and check the overhangs again.
Drive two 1 1/4-inch screws through the tread into each leg. Countersink the heads slightly so they do not scratch a floor or catch clothing. Do not use screws that are long enough to emerge through the top. If you prefer a clean top, attach the tread with screws from below through metal angle brackets, but the brackets add cost and are not necessary for a painted utility stool.
Wipe away squeezed-out glue before it dries. Hardened glue can interfere with stain and will show under some paints.
Sand, finish, and add grip
Sand the stool with 120-grit paper, then 180 grit on surfaces that will be touched. Round every exposed corner slightly, especially the front corners of the tread. A water-based polyurethane finish dries quickly and keeps the wood’s color fairly light. Two or three thin coats are better than one heavy coat. Paint is cheaper and hides mismatched wood, but it will not conceal movement caused by wet lumber.
Install rubber feet after finishing. If the stool will be used on carpet, flat rubber feet are usually enough. On tile, wood, or vinyl, choose feet with a broad contact patch. Adhesive pads are the inexpensive option and work fine for occasional indoor use, but screw-on feet are less likely to peel off.
Test for safety before use
Set the stool on a hard, level floor and press down on each corner of the tread. It should not rock. If it does, identify the short leg rather than sanding randomly; mark the high leg and remove only enough material to make all four feet contact the floor.
Stand on the center of the tread first, then shift your weight toward each edge. The frame should remain rigid and the tread should not creak. If a joint moves, add a pilot hole and another screw or replace the joint with fresh glue. Do not rely on finish nails for structural connections.
A stool this size is suitable for normal household standing, not as a ladder or seat for an adult. Keep both feet on the tread, place it on a clean floor, and never move it while standing on it. For a workshop stool exposed to heavier use, increase the tread thickness to 1 inch and use hardwood stretchers.