What's inside
As an Amazon Associate I earn from qualifying purchases. This post may contain affiliate links at no extra cost to you.
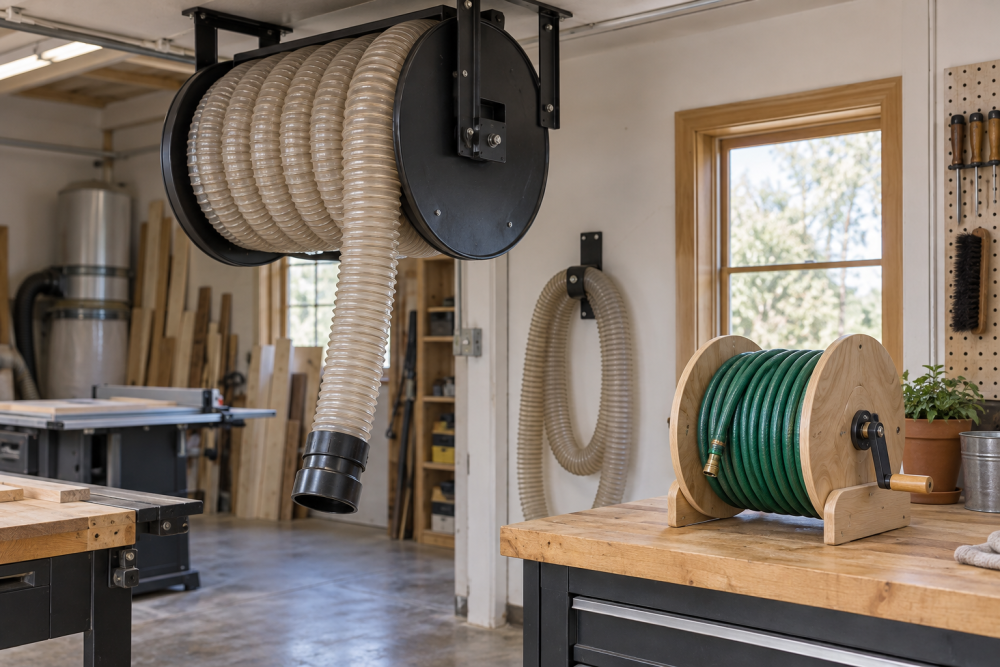
A wooden hose reel is a useful weekend project if you want something sturdier and better-looking than a plastic reel. This design uses a fixed wooden frame and a rotating drum mounted on a steel axle. It holds about 100 feet of 5/8-inch garden hose, depending on how tightly you wind it, and can be adapted for a shorter or larger hose.
Contents
Skill level, size, and design choices
This is an intermediate project. You need to make square cuts, drill accurately through both side supports, and protect the wood from constant outdoor moisture. The drum should rotate freely without wobbling, but the build does not require advanced joinery.
| Choice | Best for | Trade-off |
|---|---|---|
| 5/8-inch hose, 100 feet | Typical garden watering | Heavier drum and more winding effort |
| 1/2-inch hose, 50 to 75 feet | Small yards, patios, and raised beds | Less reach and lower flow |
| Wooden side flanges | Traditional appearance and easy repair | Need careful sealing to prevent splitting |
| Plywood side flanges | Quick construction and stable dimensions | Exposed edges must be sealed thoroughly |
For the cheapest workable version, use exterior plywood and a galvanized steel axle. Clear cedar costs more but resists rot and looks better. Pressure-treated lumber is durable, but it can be wet, heavy, and prone to movement while it dries. Let it dry before applying finish.
Materials and tools
Build the reel around a 16-inch-wide drum. Gather two 18-inch-diameter circular flanges, two 14-inch-long drum cleats, two 14-inch-long drum spacers, and two frame side supports about 24 inches long by 6 inches wide. Add a 24-inch-long, 2-by-4 base rail, a 3/4-inch-diameter galvanized steel rod or pipe for the axle, and four washers and locknuts that fit the axle.
The drum cleats and spacers form the barrel that the hose wraps around. Use four pieces around the circumference rather than a solid cylinder. This saves weight and allows water and dirt to drain. You will also need exterior screws, waterproof wood glue, exterior primer or finish, and two nylon or bronze bushings sized for the axle.
Useful tools include a circular saw, jigsaw, drill, 3/4-inch or matching axle bit, countersink bit, tape measure, square, clamps, and a compass or trammel for drawing the 18-inch circles. A box of exterior wood screws is worth buying; ordinary interior screws rust quickly and stain the wood.
Cut and prepare the parts
Cut the two flanges to 18 inches in diameter. Mark the center of each circle carefully. A 1/8-inch error between the two centers can create a noticeable wobble. Drill the axle holes before assembling the drum, using a drill guide if available. The holes should be centered and just large enough for the bushings or axle to pass through.
Cut the frame supports with their ends square. Mark the axle center 8 inches above the bottom of each support. This leaves room for the base and keeps the reel low enough to resist tipping. Drill both supports while clamped together so the axle holes line up. If the holes are slightly misaligned, the drum will bind even if each hole looks centered on its own.
Sand all cut edges to 120 grit. Round the outside edges of the flanges slightly with sandpaper or a router. Sharp plywood edges absorb water and splinter when the hose is pulled sideways.
Assemble the rotating drum
Lay one flange flat and position the four 14-inch drum pieces around it like the staves of a square-sided barrel. Space them evenly, leaving gaps between pieces. Apply exterior glue to the joints, then drive two screws through the flange into each end of every drum piece. Predrill the holes; screws driven into the end grain split easily.
Fit the second flange over the drum pieces and check that it is parallel to the first. Measure from flange to flange at several points before tightening the screws. Install the axle through the center to check alignment. The axle should turn without forcing the flanges apart or pulling them together.
Do not glue the axle into the drum. The axle should remain fixed to the frame while the drum rotates around it. If your bushings fit inside the flange holes, press them in after painting. A thin coating of exterior grease on the axle reduces squeaking and wear.
Build the frame and mount the reel
Position the two frame supports parallel to each other and screw them to the base rail. Use a square before tightening. Add a second lower rail if the frame flexes when you pull the hose. The frame should be slightly wider than the drum, with about 1/4 inch of clearance on each side.
Slide a washer onto the axle, pass it through the first frame support, then through the drum and the second support. Add an outside washer and locknut on each end. Tighten the nuts until the side-to-side play is minimal, then back them off slightly. The drum should spin freely. Over-tightening is a common failure: it crushes wood around the axle and makes the reel difficult to turn.
If the reel rocks, check the base first rather than sanding the drum. Uneven feet, a twisted base rail, or a frame that is not square usually causes the problem. Add rubber feet or screw the reel to a small paver if it will stay in one location.
Finish the wood and connect the hose
Apply finish before final assembly, especially inside the axle holes and on the end grain. Two coats of exterior paint provide the best moisture barrier. Exterior spar varnish preserves the grain but requires more maintenance and eventually flakes if the surface is not recoated. A quality exterior wood primer and paint is the practical choice for a reel left outdoors.
Install a short leader hose from the water supply to the reel, using a swivel fitting at the drum side if the design allows. Without a swivel, the leader twists every time you rotate the drum. Attach the garden hose to the outer end with a hose washer and a brass or plastic connector. Plastic is fine for occasional use and costs less; brass tolerates repeated connection and disconnection better.
Keep the hose end from slipping between the drum staves by adding a small clip or a drilled retaining hole in one flange. Do not clamp the hose so tightly that it kinks at the connection.
Test and maintain the reel
Before loading the full hose, spin the empty drum and check for rubbing. Add washers if the flanges contact the frame. Wind the hose slowly in even layers. A 5/8-inch hose may require roughly 17 to 20 inches of usable barrel width for 100 feet, so this 16-inch drum is best suited to a compact hose or careful winding. For a full 100-foot heavy hose, increase the drum width to 20 inches and strengthen the frame.
Drain the hose before freezing weather. Water trapped in the fittings can split them, while freeze-thaw cycles can open unsealed wood joints. Each spring, inspect the axle, tighten loose screws, and touch up exposed end grain. If the drum begins to wobble, stop using it until you check for a cracked flange or enlarged axle hole.