What's inside
As an Amazon Associate I earn from qualifying purchases. This post may contain affiliate links at no extra cost to you.
Contents
Why This Chair Works for Beginners
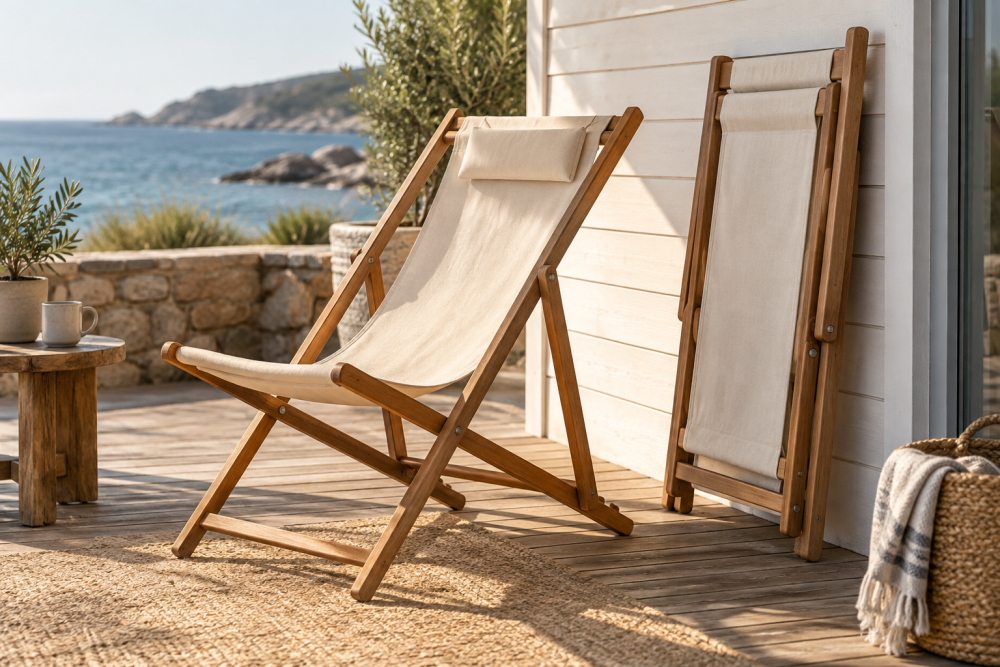
A wooden folding chair with a canvas sling seat is one of the few furniture projects you can finish in a weekend with a small shop and still end up with something you will actually use. There is no mortise and tenon joinery, no upholstery, and no complicated angles. The whole frame is four legs, two seat rails, two stretchers, and a canvas sling. If the cuts are square and the pivot bolt is in the right place, it folds flat and holds weight. If they are not, it racks or pinches.
This plan builds a chair that is 30 inches tall at the back, 17 inches to the seat, and 22 inches wide. It folds to about 6 inches thick. It holds 250 pounds comfortably when built from hardwood. The design uses a single pivot bolt per side and a canvas seat that carries the sitter’s weight, so you are not relying on complex locking hardware to keep it open.
Materials and Cut List
For one chair, you need about 12 linear feet of 1×3 hardwood (actual 3/4″ x 2-1/2″) and 8 linear feet of 3/4″ hardwood dowel or 3/4″ x 1-1/2″ rails, plus canvas. Do not use soft construction lumber from the big box store. Pine dents, splits at the pivot hole, and flexes enough that the chair feels unstable after a few months outside.
Cut list (all dimensions finished):
Front legs (2): 30″ long x 2-1/2″ wide x 3/4″ thick
Back legs (2): 30″ long x 2-1/2″ wide x 3/4″ thick
Seat rails (2): 21-1/2″ long, 3/4″ diameter dowel or 3/4″ x 1-1/2″ hardwood bar
Front stretcher (1): 19″ long x 2-1/2″ wide x 3/4″ thick
Rear stretcher (1): 19″ long x 2-1/2″ wide x 3/4″ thick
Canvas sling: one piece 24″ wide x 28″ long (10 oz cotton duck canvas)
Hardware: 2 x 5/16″ x 2-1/2″ carriage bolts with nylon lock nuts and washers for the main pivots, 16 x #8 1-1/4″ wood screws for the stretchers and dowel mounts, and 60-grit and 120-grit sandpaper. Use stainless or zinc-plated hardware if the chair will live on a patio.
Choosing Wood and Canvas
The two places beginners get into trouble are wood selection and canvas weight. Both affect whether the chair survives folding and unfolding.
| Material | Cost for One Chair | Pros | Cons |
|---|---|---|---|
| White Oak | $35 – $50 | Very strong at pivot hole, resists moisture, holds screws well | Heavier, harder to cut and sand |
| Hard Maple | $30 – $45 | Hard, inexpensive for a hardwood, clean look | Can burn when cutting, not as weather resistant |
| Poplar | $18 – $25 | Cheap, easy to work, paints well | Dents easily, weaker at dowel joints |
| Red Oak | $25 – $35 | Strong, widely available | Open grain absorbs water if left outdoors unfinished |
For most beginners, poplar is fine if the chair stays indoors or on a covered porch and you paint it. For outdoor, camping, or shop use, white oak is worth the extra money. It will not elongate the pivot hole over time the way softer woods do.
For the seat, use 10 oz cotton duck canvas or 15 oz cotton canvas. Do not use thin craft canvas or polyester outdoor fabric under 8 oz. Thin canvas stretches, sags to the cross rail, and tears at the dowel channel after a few uses. Heavy duck canvas from an cotton duck canvas fabric roll will support weight without noticeable stretch and still sew on a home machine with a #16 denim needle. If you do not sew, a local upholstery shop will hem the two dowel channels for under $20.
Tools You Actually Need
You do not need a table saw or router for this build. A miter saw or circular saw with a straight edge, a drill press or a steady hand drill, and a sander are enough.
Essential: drill/driver, 5/16″ and 3/4″ drill bits (a Forstner bit for the 3/4″ dowel holes is cleaner), tape measure, square, clamps, and a sanding block. A carriage bolt kit with washers and nylon lock nuts saves a trip to the hardware store and ensures the pivot bolts match. Optional but helpful: a pocket hole jig if you choose rectangular seat rails instead of dowels, and a jigsaw to round the leg tops and feet. That rounding is not decoration – sharp leg ends catch when folding and splinter under load.
If you only buy one upgrade, get a good Forstner bit set. A spade bit will wander and blow out the 3/4″ dowel hole, leaving a loose joint that wobbles. Forstners cut a flat-bottomed, tight hole that actually grips the dowel.
Step-by-Step Build
Work on a flat surface and cut all four legs at once to keep them identical. A 1/16″ difference in leg length makes the chair rock.
1. Round the ends. Mark a 1-1/4″ radius on all leg ends and cut or sand to a half-circle. This lets the legs pivot past each other without binding.
2. Mark the pivot. Measure 17″ up from the bottom of each leg and center-punch the 5/16″ pivot hole. Drill straight through. Accuracy here matters more than anywhere else. If the front and back pivots are not at the same height, the seat will sit crooked and the chair will not fold flat. Use a drill press or clamp a scrap board behind the leg to prevent blowout.
3. Drill dowel holes. On the inside face of each leg, drill a 3/4″ hole, 3/8″ deep, centered 1″ down from the top end. This captures the seat rail dowel. Dry-fit the dowels – they should press in snug without glue. If they are loose, wrap one turn of masking tape around the dowel end.
4. Assemble the two frames. Pair one front leg with one back leg, bolt them together at the pivot with a washer on each side and a nylon lock nut. Tighten until snug, then back off 1/4 turn so the legs swing freely without lateral slop. Repeat for the other side.
5. Add stretchers. Stand the two X-frames upright 19″ apart (outside to outside). Attach the front and rear stretchers between the front legs and between the back legs, 8″ up from the bottom. Use two screws per joint, pre-drilled. Check for square by measuring diagonals before the screws are fully tight – both diagonals should be within 1/8″.
6. Make the sling. Hem all four edges of the canvas with a 1/2″ double fold. Then fold each short end over 2″ and sew a straight seam to create a channel for the dowel. The finished sling length between dowel centers should be 22-1/2″. Too short and the chair is a perch; too long and you bottom out on the stretchers. Test by sliding the dowels through the channels and setting them in the legs before you sew the second channel.
7. Finish before final assembly. Sand to 120 grit, ease all edges with a 1/8″ roundover or hand sanding, and apply two coats of exterior polyurethane or spar varnish if the chair will go outside. Oil finishes look nice but offer little water protection. Paint is the most forgiving for poplar.
Common Failure Modes and How to Avoid Them
Most folding chairs fail in three predictable ways. All are preventable.
Pivot hole elongation. This happens when the nut is over-tightened and the wood around the bolt crushes, or when soft wood is used without washers. Always use a flat washer under the bolt head and under the nut to spread load. Wax the pivot area lightly so the legs slide on the washers, not on bare wood.
Dowel pull-out. If the canvas is too tight, it levers the dowel out of its hole when someone sits. Glue alone will not hold it. Drill the dowel hole at least 3/8″ deep and add a single #6 x 3/4″ screw through the outside of the leg into the dowel end after the canvas is fitted. Pre-drill or you will split the leg.
Racking. The chair twists side to side because the stretchers are not square or the leg width varies. Cut stretchers from the same board and check square at every stage. If the finished chair still racks, add a second rear stretcher 4″ above the first – it triangulates the frame with almost no added weight.
For seasonal use, store the chair folded and dry. Canvas mildews if folded wet, and even white oak will develop black spots around steel bolts. A quick wipe of paste wax on the bolts and a dry storage spot will keep it folding smoothly for years.