What's inside
As an Amazon Associate I earn from qualifying purchases. This post may contain affiliate links at no extra cost to you.
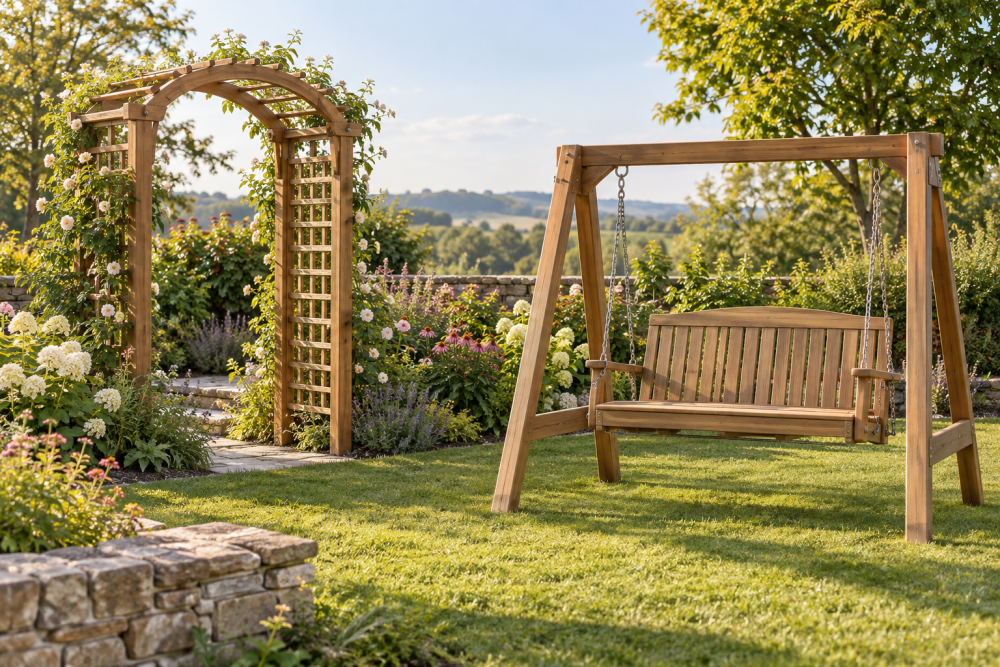
A garden arch with interlocking lattice panels looks light but holds up to wind, climbing plants, and wet winters if you build it from the right stock and joinery. This is a weekend project for an intermediate beginner: no mortise and tenon, no bending, just straight cuts, half-lap notches, and screws. Total cost runs $140-$280 depending on wood choice, and you can build it with a circular saw, drill, and a jigsaw.
Contents
Materials and Tools
Use rot-resistant lumber. For most climates, pressure-treated southern pine is the cheapest that will actually last in ground contact. Western red cedar costs about 2x more but is lighter, smells better, and takes stain more evenly. Avoid untreated SPF or standard pine – it will start to soften at the feet within one season even if painted.
| Wood Option | Cost for This Arch (approx.) | Weight | Rot Resistance | Best For |
|---|---|---|---|---|
| Pressure-Treated Pine (ACQ) | $140 – $180 | Heavy | Very high, especially in ground contact | Budget build, painted finish |
| Western Red Cedar | $240 – $280 | Light | High, but needs end-grain sealer at cuts | Natural or clear finish, lighter to move |
| Douglas Fir (untreated) | $160 – $200 | Medium | Moderate – needs thorough sealing | Covered garden, if you already seal all sides |
For a 4-foot wide x 7.5-foot tall arch, you need: 4 posts 2×4 x 8′ (for legs), 4 long rails 2×4 x 4′ (top and bottom of each side panel), 2 arch top beams 2×6 x 48″ (cut to shape), 30-36 linear feet of 1×2 or 1.5″ lattice strips, plus 6 cross ties 1×4 x 24″ for the top bridging. Fasteners: 2-1/2″ exterior coated deck screws, 1-1/4″ stainless brads or staples for lattice, and waterproof waterproof exterior wood glue. Use hot-dip galvanized or coated screws rated for treated lumber – standard zinc will corrode and streak black within months.
Tools: circular saw or miter saw, jigsaw for the arch curve, drill/driver, speed square, tape, clamps, and a sander. A brad nailer speeds up lattice assembly but is not required. Don’t skip clamps; the interlocking lattice needs pressure while the glue sets or the half-laps will spring open.
Dimensions and Cut List
Finished footprint is 48″ wide (inside clear width) x 24″ deep x 90″ tall at the crown. That clears a standard wheelbarrow and most rose arbors without feeling cramped. If your path is narrower than 36″, reduce width to 42″ but keep depth at 20-24″ – shallower arches rack in wind and vines will pull them over.
Cut list: Legs: 4x 2×4 at 84″ (allows 6″ crown above 78″ leg height). Side rails: 4x 2×4 at 21″ (they fit between legs to make a 24″ deep panel). Arch beams: 2x 2×6 at 48″ x 5.5″ wide – you will cut the arch curve from these. Lattice strips: 16x at 60″ and 16x at 21″ if using 1.5″ wide strips on a 4″ diagonal grid. Top ties: 3x 1×4 at 24″ for overhead joists. All cuts should be sealed with end-grain preservative, especially on treated pine and cedar, before assembly.
Failure mode to avoid: cutting legs exactly to 90″ and then digging them in. End grain in soil wicks water. Either set the arch on surface-mounted post bases or set legs 18-24″ in concrete with a gravel drainage pad. Direct burial without concrete works for 1-2 years, then frost heave loosens it.
Building the Interlocking Lattice Panels
Each side panel is a 24″ x 72″ rectangle with a diagonal lattice grid inside. The strength comes from half-lap interlocks, not from staples. Mark a 4″ x 4″ diamond grid on a flat surface or plywood jig. Lay the first set of strips at +45 degrees, then mark every intersection where the second set crosses.
Cut half-laps with a handsaw or circular saw set to exactly half the strip thickness (about 3/8″ for a 3/4″ strip). You want a snug notch, not loose. Cut kerfs inside the pencil lines and chisel out the waste. Dry-fit the crossing strips – they should sit flush with no step. If they rock, you cut too deep; shim with glue and sawdust or recut that strip. It is faster to cut notches in batches using a stop block.
Glue every interlock with a dab of waterproof glue and pin with one 1-1/4″ brad. Do not rely on glue alone on treated lumber – the surface chemicals weaken bond strength. The pins hold alignment while glue cures. Assemble panels flat on the ground on wax paper so squeeze-out does not bond to your driveway.
Frame each completed lattice with the 2×4 rails and legs: lay two legs parallel, screw top and bottom rails between them with two 2-1/2″ screws per joint, pre-drilling to prevent splitting. Drop the lattice grid inside the frame and screw through the frame into the lattice ends with 1-1/4″ screws. Keep the lattice 3/8″ shy of the frame edge so wood movement does not push joints apart.
Assembling the Arch Top
The top ties the two side panels together and gives the arch shape. Draw the curve on both 2×6 blanks: mark center, then swing an 24″ radius arc from the bottom edge to create a 6″ rise at the crown. A flexible batten or a string and pencil works. Cut with a jigsaw blades for wood at slow speed; sand the sawn edge to 120 grit or you will see every wobble after stain.
Stand the two side panels upright, braced temporarily with scrap. Clamp the two arch beams across the tops of the legs, one on the front face, one on the rear, so the legs are sandwiched. Check for square by measuring diagonals across the opening – they must match within 1/4″. Screw through the arch beams into each leg with three 2-1/2″ screws per leg. Predrill the arch beam to avoid splitting the curve.
Add the three 1×4 overhead ties equally spaced across the top, screwed down onto the arch beams. These prevent racking and give vines something to grip. If you expect heavy wisteria or grape, add a fourth tie or use 2×4 instead of 1×4 – leaf load plus wind can produce surprising uplift.
Installing and Finishing
Set the arch where it gets sun but not directly over an irrigation spray head – constant wetting rots the base first. For a stable installation without full footings, anchor each leg to a 12″ ground screw or a 2′ piece of rebar driven at an angle and screwed to the leg with a galvanized strap. This resists sideways pull from wind and mature vines, which is the real failure point. Concrete footings are better in loose or sandy soil.
Finish before vines cover it, because you will not get access later. Sand to 120 grit, ease all edges with a roundover or sandpaper to prevent splinters. On pressure-treated pine, wait 2-4 weeks for it to dry, then apply a penetrating exterior stain with UV protection. On cedar, use a clear or semi-transparent oil and recoat the end grain twice. Paint is durable but traps moisture if it chips; stain is easier to maintain on lattice where recoating is tedious.
Check after the first month: retighten screws at the arch-to-leg joint, as lumber shrinks and can loosen. Train vines with soft ties, not wire, and keep growth trimmed off the lattice half-laps so you can inspect for rot each spring. With sealed end grain and coated fasteners, a cedar or treated pine arch lasts 8-12 years before any major part replacement, even with clematis or roses on it.