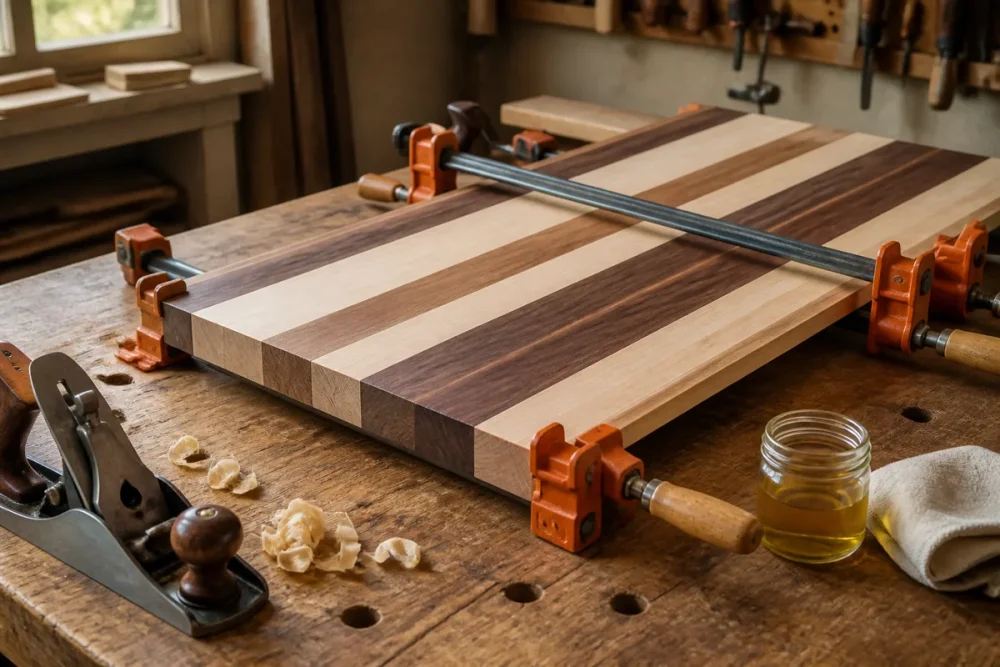
Key takeaways
- A practical wood glue guide that walks through choosing the right adhesive, prepping surfaces, clamping correctly, and diagnosing joints that fail.
What's inside
As an Amazon Associate I earn from qualifying purchases. This post may contain affiliate links at no extra cost to you.
Most failed glue joints in a home shop are not the glue’s fault. They fail because the mating surfaces were sanded instead of planed, because the clamps went on eleven minutes into a five minute open time, or because someone starved the joint trying to avoid squeeze-out. Yellow PVA glue is stronger than the wood around it when it is used correctly, which means a joint that splits along the glue line is almost always telling you about your process.
This wood glue guide walks through the choice of adhesive, surface prep, spreading, clamping pressure, and cure time as an actual sequence you can follow at the bench, then covers the mistakes that produce the majority of failures. Numbers here are standard shop practice, not lab claims, and everything assumes a modest setup: a few bar clamps, a hand plane or a jointer, and a bottle of glue that has probably been open longer than it should have been.
As an Amazon Associate we earn from qualifying purchases at no extra cost to you. Product prices and availability are accurate as of the date shown and are subject to change.


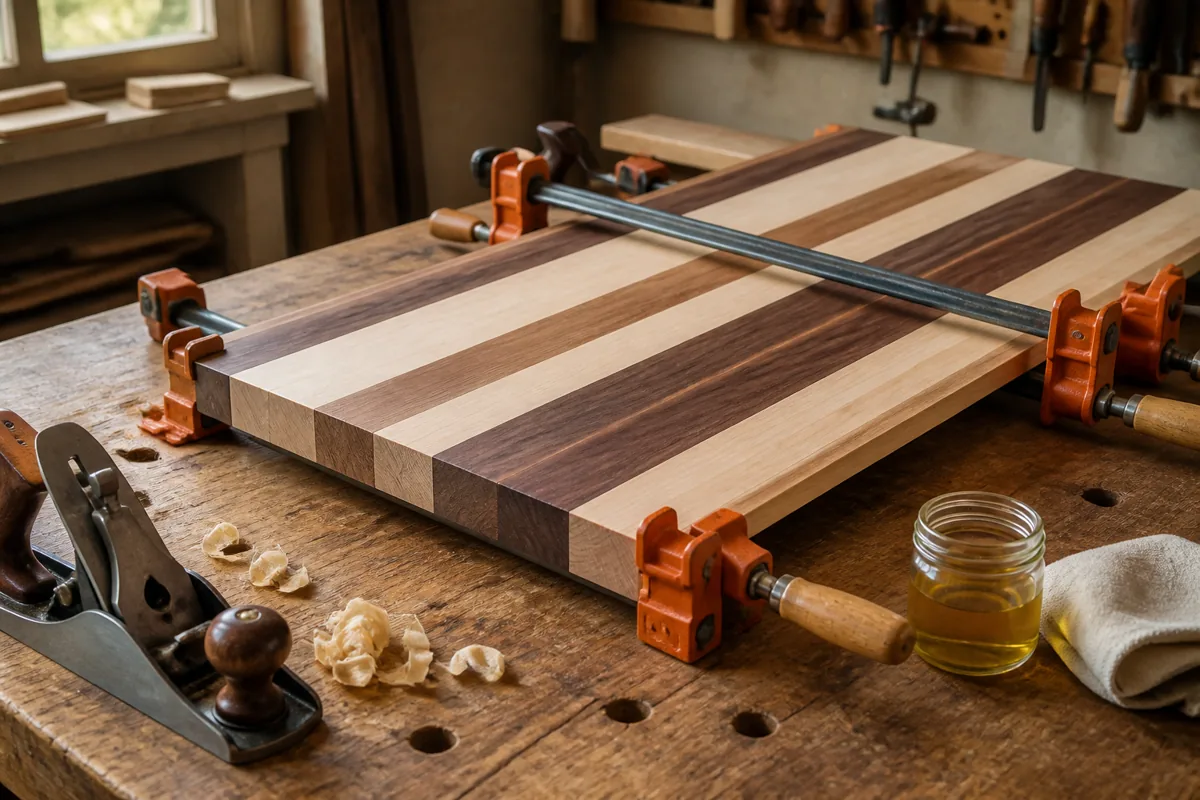
Step 1: Match the Glue to the Job
Four categories cover nearly everything a hobby shop does. Reaching past them is usually a sign the joinery needs rethinking rather than a more exotic adhesive.
PVA (yellow or white wood glue) is the default for edge joints, face glue-ups, mortise and tenon, and most casework. It cleans up with water, is non-toxic, and cures rigid enough to sand. Standard PVA is interior-rated. Type II water-resistant PVA handles occasional damp exposure, like an outdoor bench that lives under a porch roof. Type I is fully waterproof and worth the upgrade for anything that gets rained on.
Polyurethane foams as it cures because it reacts with moisture, so it tolerates slightly imperfect fits and bonds dissimilar materials. It is genuinely waterproof, and it stains your fingers for a week. Do not treat the foam as gap filling strength; it is mostly bubbles.
Hide glue, particularly liquid hide glue, is reversible with heat and moisture. That makes it the right pick for instruments, chair repairs, and anything a future owner may need to take apart. It also has a long open time, which is a genuine advantage on a complicated assembly.
Epoxy is the only one on this list that actually fills gaps with structural material. Use it for loose joints you cannot recut, for end grain in boat work, and for oily tropical species where PVA struggles.
| Glue Type | Typical Open Time | Clamp Time | Best Use |
|---|---|---|---|
| Standard PVA | 4-6 minutes | 30-60 minutes | Interior furniture, panels |
| Type II/III PVA | 4-6 minutes | 45-60 minutes | Damp or exterior work |
| Polyurethane | 20-30 minutes | 1-2 hours | Waterproof, mixed materials |
| Liquid hide glue | 10-20 minutes | 1-2 hours | Repairs, instruments, reversibility |
| Slow epoxy | 30-60 minutes | 6-12 hours | Gap filling, oily species |
Open time is the window from spreading to clamping. Once the surface skins over, pressing the parts together just breaks a partially formed bond, and no amount of clamp pressure repairs that. Shop temperature matters more than most people expect: below roughly 55 degrees Fahrenheit, PVA does not cure properly at all, and a cold garage in January will quietly ruin a glue-up that looked fine going into the clamps.
Step 2: Prepare Surfaces That Can Actually Bond
PVA works by soaking slightly into the wood fibers and locking them together. Anything that blocks that penetration weakens the joint, which is why surface prep does more for glue strength than glue selection does.
Aim for a freshly machined surface, ideally within a day of glue-up. A jointer, a planer, or a hand plane leaves an open, clean surface. Sanding does not: it burnishes the fibers and packs dust into them. If sanding is your only option for a glue face, stop at 120 to 150 grit and blow the dust off. Going finer than 180 on a mating surface is working against yourself. Save the 220 grit for the visible faces after assembly.
Check the fit dry before any glue comes out. Two boards for an edge joint should show no light between them when held together with light hand pressure. If they need clamp force to close a gap, the clamps are fighting the wood, and that stored tension pulls against the glue line for the rest of the piece’s life. A tenon should slide into its mortise with firm hand pressure or a light mallet tap, not require pounding.
Oily and resinous species such as teak, rosewood, and some cocobolo need a wipe with acetone or denatured alcohol immediately before glue-up. Let it flash off for a minute or two, then spread glue. For anything sitting in the shop for weeks, a light pass to refresh the surface beats trusting an old machined face that has oxidized.
Bar and Parallel Clamps for Panel Glue-Ups
Clamps are the one place in this process where a tool is genuinely required rather than nice to have. Parallel jaw clamps keep panels flat because the jaws stay square to the bar under load, which pipe clamps do not reliably do. Buy them in matched pairs and in the length you actually need; four good 36 inch clamps outperform ten cheap ones. Expect to keep adding a pair at a time for years.
Step 3: Spread, Then Clamp With the Right Pressure
Spread glue on both mating surfaces for a long grain joint. A single bead dragged down one edge and squashed by clamps leaves dry patches at the ends. Use a silicone brush, a scrap of veneer, or a small roller and work for a thin, even, continuous film with no bare wood showing through. Thin means thin: you should see the wood color through the glue, not an opaque white layer.
End grain drinks glue and needs a different approach. Size the surface first with glue thinned slightly with water, let it soak in for a couple of minutes, then apply a normal coat and assemble. Even then, treat an end grain butt joint as an alignment aid rather than structure. That is what dowels, splines, dominoes, and mortise and tenon exist for.
Bring clamps on within the open time and tighten in stages, starting at the center of a panel and working outward. Alternate clamps above and below the panel to keep it from bowing. Correct pressure for softwoods is roughly 100 to 150 psi, and for dense hardwoods 200 to 250 psi, which in practice means firm hand pressure on the clamp handle. You want a thin, even line of squeeze-out along the entire joint, appearing within a minute or two of tightening. No squeeze-out means a starved joint. Squeeze-out that runs like water means too much glue or too much force.
Let the squeeze-out reach a rubbery, gelled state, usually 20 to 45 minutes, then slice it off with a chisel or a sharp cabinet scraper held nearly flat. Scraping wet glue smears it into the surrounding grain, where it seals the pores and shows up as a pale blotch under finish. Scraping cured glue takes real work. The rubbery stage is the sweet spot.
- ✔ Thin even film on both surfaces develops full strength
- ✔ Squeeze-out along the full length confirms coverage
- ✔ Clamps applied inside open time let the glue chemically set, not just squash
- ✔ Cleaning glue at the rubbery stage prevents finish blotching
- ✘ Overtightening starves the joint and bows panels
- ✘ Skipping the dry fit forces clamps to hold stored tension
- ✘ Sanding glue faces past 180 grit burnishes the wood
- ✘ Gluing below 55F leaves a chalky, weak line
Step 4: Respect Clamp Time and Cure Time Separately
These are two different numbers and confusing them causes a lot of trouble. Clamp time is how long the parts must stay under pressure, commonly 30 to 60 minutes for PVA on a well fitted joint. Cure time is how long until the joint reaches full strength, which for PVA is roughly 24 hours at normal shop temperature and humidity.
Out of the clamps at an hour, a panel can be moved and handled carefully. It should not be run through a planer, flattened aggressively, or stressed at the joint. Machining a panel the same hour it comes out of the clamps is a common way to open a glue line that would have held fine the next morning. Give bent laminations and anything under continuing spring pressure the full 24 hours plus a margin.
Glue has a shelf life too. PVA is generally good for a year or two unopened and less once opened. If it comes out stringy, lumpy, or has separated in a way that will not stir back together, or if it has ever frozen, throw it out. A four dollar bottle is not worth a ruined tabletop. Write the purchase date on the bottle with a marker when you buy it.
Glue Bottles, Silicone Brushes and Rollers
Even spreading is most of the battle, and the stock nozzle on a glue bottle is not built for it. A set of silicone brushes and a small roller costs less than a bag of sandpaper and lets you get a uniform film down fast, which matters when the open time is five minutes. Silicone is the practical choice because cured glue peels off instead of ruining the tool.
Step 5: Diagnose Common Mistakes When a Joint Fails
Break a failed joint apart and read it. The failure surface tells you what went wrong.
Glue visible on both faces, wood fibers torn out. The glue did its job and the wood broke. Nothing to fix in your process; the design needed more glue surface or mechanical joinery.
Clean glue film on one face, bare wood on the other. Glue was spread on only one surface, or spread too late in the open time. Coat both faces and clamp sooner.
Dry, patchy areas along the line. Starved joint. Too little glue, too much clamp pressure, or both.
Chalky, crumbly white residue. The glue cured too cold. Move glue-ups indoors or heat the shop above 55 degrees before starting.
Joint opened weeks later, wood cupped. Wood movement, not adhesive failure. The boards were not acclimated to shop humidity, or a wide panel was cross-grain fastened to a frame with no room to move.
Two more mistakes cause trouble without being visible in the break. Gluing across the grain, such as a solid wood panel glued into a frame on all four edges, guarantees a seasonal split no matter how good the glue is. And relying on glue to fill a gap fails because PVA has almost no strength in a thick film; it needs to be a film, not a filler. A visible gap means recutting the joint or switching to a thickened epoxy.
Wood Glue Guide FAQ
How long do I really need to leave clamps on? For a well fitted PVA joint, 30 to 60 minutes in the clamps is enough to handle the piece, but wait a full 24 hours before machining, planing, or stressing the joint. Bent laminations and anything with spring back should stay clamped longer and cure a full day beyond that.
Do I need to sand the surfaces before gluing? No, and it usually hurts. A freshly planed or jointed surface bonds best. If you must sand a glue face, stop at 120 to 150 grit and remove all dust. Fine grits burnish the fibers and block glue penetration.
Will wood glue hold an end grain joint? Not on its own. End grain absorbs glue like a bundle of straws and produces a joint far weaker than a long grain one. Size the end grain with thinned glue first, then add mechanical reinforcement such as dowels, a spline, a loose tenon, or a proper mortise and tenon.
Work through the sequence once with attention to the numbers, a thin film on both faces, clamps on inside five minutes, firm hand pressure, squeeze-out along the whole line, and you will stop losing joints. The glue was never the weak link.
Check prices on Amazon →