Key takeaways
- A step-by-step method for milling barn siding and salvage lumber safely, plus what actually matters when choosing a planer for reclaimed wood.
What's inside
As an Amazon Associate I earn from qualifying purchases. This post may contain affiliate links at no extra cost to you.
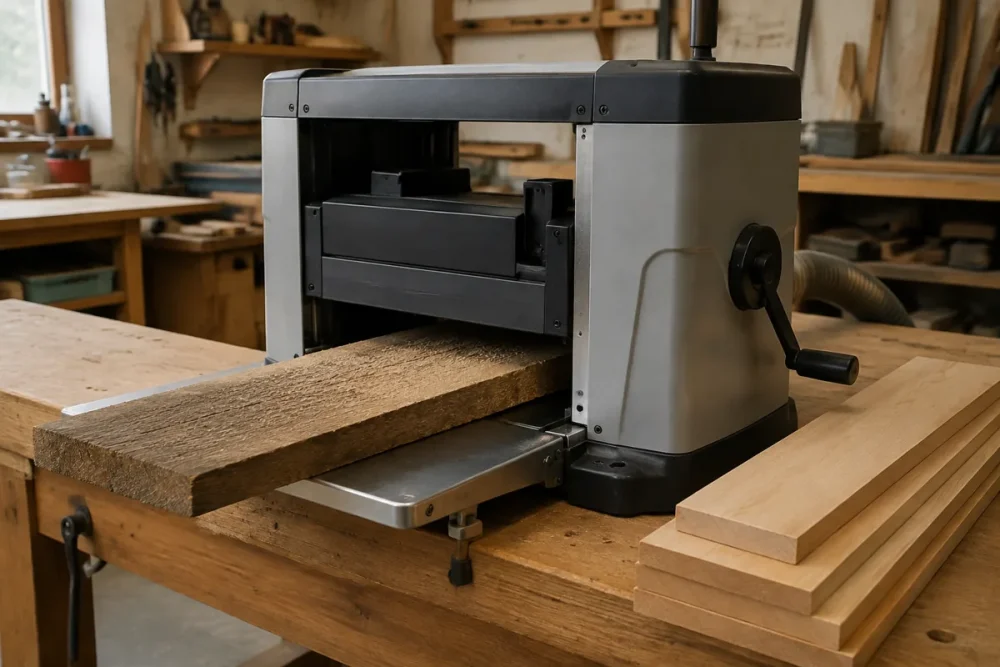
Reclaimed wood is the only lumber in the shop that fights back. One roofing nail buried under gray patina will nick a straight knife in a single pass, and that nick then prints a ridge down every board you run afterward. Choosing and using a planer for reclaimed wood is less about horsepower than about sequence: find the metal, flatten one face, then take the thinnest passes your patience allows.
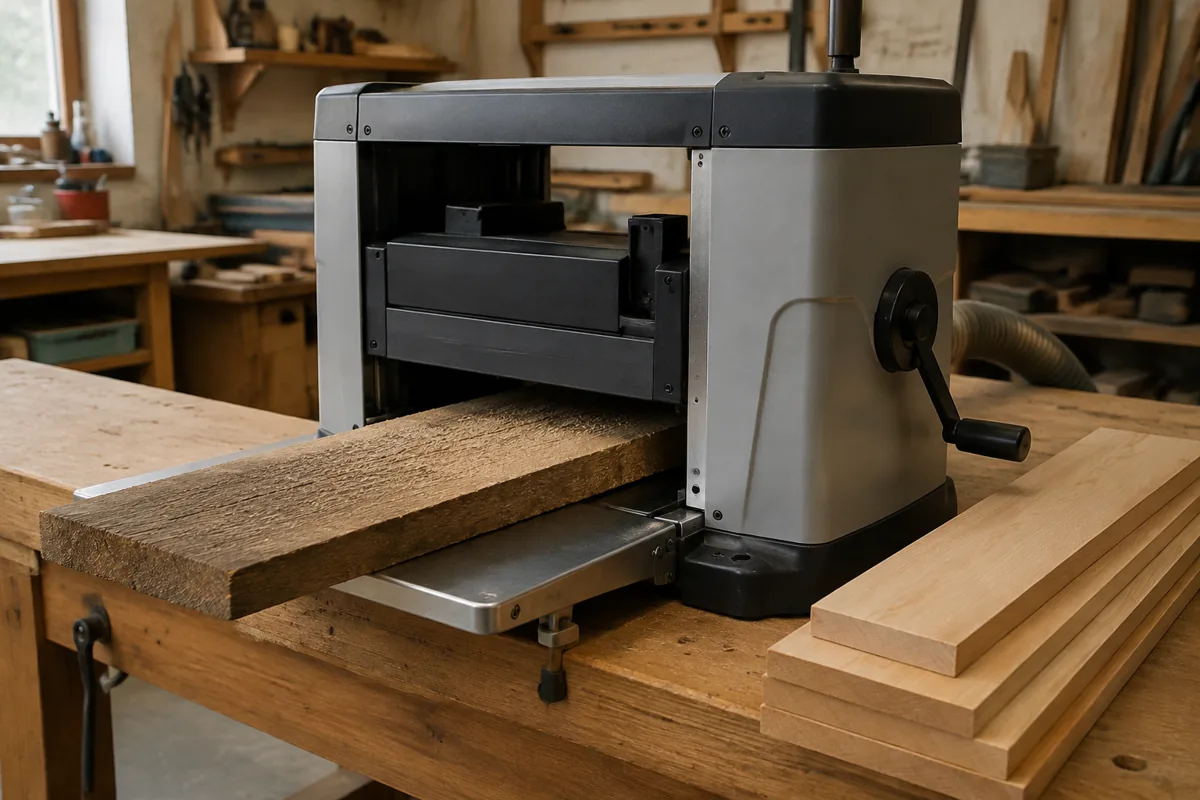
It also helps to be clear on what a thickness planer does. It makes the top face parallel to the bottom face. It does not flatten. Feed in cupped, twisted siding and the rollers squash it, the head skims it, and it springs back to cupped on the outfeed side, only thinner. So flattening comes first, and budget 1/8 to 1/4 in. of thickness loss on anything that spent decades in a hayloft.
As an Amazon Associate we earn from qualifying purchases at no extra cost to you. Product prices and availability are accurate as of the date shown and are subject to change.


| Tool | Where it earns its keep | What it costs you |
|---|---|---|
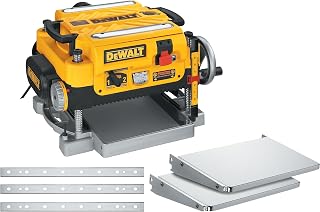
| 12-13 in. benchtop planer, straight knives | Thicknessing after one face is flat | Knives chip easily, so keep spare sets on the shelf |
| 13-15 in. planer, segmented carbide head | Painted, sandy, nail-scarred stock | More money up front, but you rotate one insert instead of scrapping a knife |
| 16-18 in. drum sander | Thin, brittle or checked boards, no tearout and no snipe | Slow going, and a steady appetite for abrasive |
| No. 5 hand plane, cambered iron | Narrow boards where you want to keep the patina | Time, sharpening, technique |
Step 1: Get Every Piece of Metal Out First
1. Brush the board down before anything else. A stiff nylon brush and a damp rag remove the sand and silica that live in weathered grain. Grit dulls an edge as surely as a nail does, just more quietly.
2. Scan both faces and both edges. Nails get driven from the back as often as the front, and old fence wire hides in beam checks. Circle every hit with a lumber crayon so you can still find it after you flip the board over.
3. Pull what you can, bore out what you cannot. A cat’s paw and end nippers get most shanks. For a broken nail sitting flush, bore it out with a 3/8 in. Forstner bit and glue in a plug. Driving it deeper with a nail set is how you forget it exists.
4. Deal with paint before the cutterhead does. Paint gums the chip breaker and kills edges, and anything painted before 1978 may contain lead. Swab-test it, and if it reads positive, do not machine that board at all.
Handheld metal detector for salvage lumber
A pinpointer style detector pays for itself the first time it finds a staple. Get one with adjustable sensitivity, because wide open on white oak everything beeps.
Step 2: Flatten One Face Before You Plane the Other
1. Read the board. Sight down its length for bow, lay a straightedge across the width for cup, and use winding sticks for twist. Mark the high corners in pencil.
2. Crosscut to rough length first. Cut parts to finished length plus 2 in. before milling. A 6 ft board with 1/4 in. of twist becomes two 3 ft boards with almost none, and you keep thickness you would otherwise plane away.
3. Flatten one face with a jointer, a sled, or a scrub plane. A jointer is fastest and a sled is cheapest. A scrub worked diagonally across the grain, followed by a No. 5, gives the best feel for how deep the nail holes and checks actually run.
4. Shim the sled so nothing rocks. Use 3/4 in. MDF a few inches longer than the board with a cleat at the trailing end, and hot-glue tapered shims under every hollow. If the board can flex under the rollers, the sled accomplishes nothing.
Step 3: Set Depth of Cut, Feed Speed, and Direction
1. Take 1/64 in. per pass, roughly 0.015 in. You can hog 1/32 in. off clean kiln-dried maple. On salvage stock a shallow cut means less tearout at checks and far less damage from a fastener you missed.
2. Use the slower feed rate. Two-speed benchtops roughly double their cuts per inch on the finish setting, which leaves less scalloping to sand out later.
3. Alternate faces pass for pass. Taking wood evenly off both sides keeps internal stress balanced so the board stays flatter. Save the last two light passes for the show face.
4. Feed with the grain, skewed slightly. Look at the edge and feed so the grain runs downhill into the cut. On interlocked grain, skew the board 10 to 15 degrees to the feed direction.
5. Stop 1/32 to 1/16 in. proud and manage snipe. Support long boards level with the tables, or butt them end to end so the last inch is never unsupported, then trim the ends off using your extra length.
Choosing a Planer for Reclaimed Wood
The default machine is a 12-1/2 to 13 in. benchtop running two or three double-edged disposable knives. They cut cleanly and reset easily, and a nicked knife flips or gets swapped. Keep two spare sets and let one worn set be your dedicated reclaimed-wood knives.
If salvage lumber is most of what you mill, a segmented carbide head changes the math. Dozens of small inserts sit in a spiral pattern, so damage stays local: loosen one screw, rotate the insert 90 degrees, and the surface is clean again. They run quieter and handle figured grain better, and aftermarket heads exist for several popular benchtops.
A 15 in. stationary planer buys capacity you may not need, since most salvage boards are under 10 in. wide. A drum sander is the smarter second machine for brittle, checked, or nail-pocked stock you refuse to run past knives.
13-inch benchtop planer with segmented carbide head
Worth the premium if reclaimed stock is your normal diet. Check the insert count and confirm replacement inserts are sold separately, because a head with obscure inserts becomes a liability.
- ✔ A chipped insert rotates in a minute instead of costing a knife set
- ✔ Noticeably quieter than straight knives
- ✔ Cleaner cut on figured and cross grain
- ✘ Higher purchase price and pricier replacement inserts
- ✘ Slightly more surface texture to sand out
- ✘ Needs real dust collection to clear chips
Step 4: Sand to 150, Then Let the Wood Move
1. Start at 80 grit only if you need it. A random orbit at 80 clears planer scallops and light tearout. If the planed surface is already clean, start at 100 and save the thickness.
2. Work up through 120 to 150. Stop at 150 for stain and 180 for oil. Finer than that burnishes the surface, and stain goes on pale and blotchy.
3. Sticker the stack and wait. Use 1 in. stickers every 16 in. for three to seven days. Freshly exposed core wood gives up moisture and moves, so aim for 6 to 9 percent on a meter before glue-up.
Three Mistakes That Cost Knives and Boards
Thicknessing before flattening. The board comes out parallel, thin, and still twisted, and now there is no material left to fix it.
Planing away all the patina. Saw marks, nail stains and silver-gray color live in the top 1/16 in. Plane the back face, thickness from there, and leave the show face to a card scraper.
Running beam bottoms without inspection. Gravel and roofing grit get pressed into the underside of sill beams. Scrub and scan, and if the wood still crunches under a chisel, resaw that face off instead.
Frequently Asked Questions
Will a planer ruin the character of reclaimed wood? It can, because the character is only about 1/16 in. deep. Keep it by flattening the back face, thicknessing from that reference, and leaving the show face alone. On 3/4 in. siding where both faces show, a drum sander takes off far less per pass.
Is a magnet good enough, or do I need a metal detector? A magnet finds ferrous metal near the surface and misses nails under 1/4 in. of weathered wood. A cheap detector finds much more. Neither is perfect, which is the honest argument for a carbide insert head.
How much thickness will I lose on barn siding? Nominal 3/4 in. rough siding usually lands between 1/2 and 5/8 in. once one face is flat and both are clean. Badly cupped boards can finish near 3/8 in., so design around 1/2 in.
Work the sequence in order: clean, scan, de-nail, flatten one face, then thickness in 1/64 in. bites at the slow feed. That routine keeps knives alive far longer than any single machine feature.
Check prices on Amazon →