What's inside
As an Amazon Associate I earn from qualifying purchases. This post may contain affiliate links at no extra cost to you.
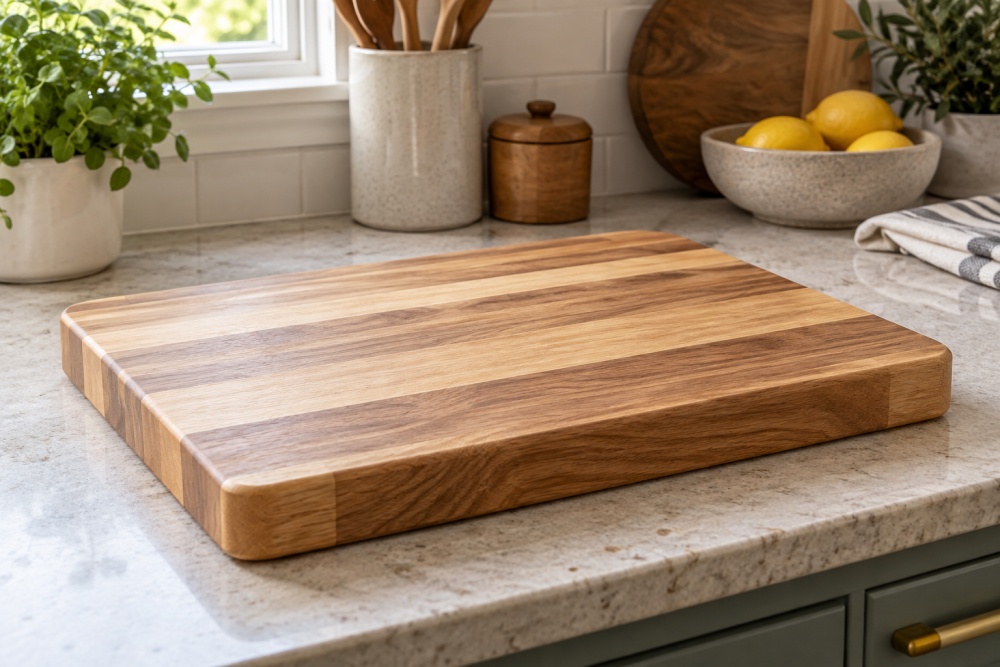
A wooden Thanksgiving serving board is a manageable weekend project, even if you have only basic shop tools. This plan makes a 16-by-10-inch board from a single hardwood blank, with eased edges and a shallow juice groove on one face. Use that face for cheese, bread, or dry appetizers; keep carved turkey and other wet foods on the ungrooved face unless you’re prepared to clean the groove carefully.
Contents
Plan and materials
Choose a straight, kiln-dried hardwood board about 18 inches long, 11 inches wide, and 3/4 to 1 inch thick. Maple, cherry, and walnut are common food-contact choices. Avoid reclaimed wood of unknown history, pressure-treated lumber, and boards with cracks, loose knots, or deep checks. A clear, straight-grained piece is easier to machine and less likely to split.
Maple is hard-wearing and light-colored; cherry darkens with age; walnut is darker but usually costs more. Any can work. Pick one species rather than gluing together contrasting scraps: a single piece avoids glue joints that can open if the board gets soaked.
| Wood | Useful quality | Trade-off |
|---|---|---|
| Maple | Hard, pale, widely available | Can show stains from strongly colored foods |
| Cherry | Easy to work and warm in color | Darkens with light and age |
| Walnut | Dark appearance and good durability | Often costs more; dust can irritate skin |
For a straightforward build, a handsaw or circular saw, a router, a drill, clamps, and sanding supplies are enough. A hardwood project board can save milling time if it is flat and already close to the target thickness. A cheaper construction-grade board is not a good substitute: it may be damp, twisted, or treated, and is not intended for food-contact service.
Tools and layout
You’ll also need a square, pencil, straightedge, clamps, and a router bit for the groove. A 1/4-inch round-nose bit makes a modest channel. A router guide or simple template helps keep the groove even; a router edge guide is useful if you don’t already have a reliable way to guide the tool.
Mark a 16-by-10-inch rectangle, then round the corners to a 1-inch radius using a cup or other template. Leave at least 1 inch of flat margin around the board. If you plan to cut a groove, draw its path about 3/4 inch in from the perimeter and stop it short of the ends so the juice stays on the board. Skip the groove if you’re not comfortable controlling a router; it’s decorative only if it leaks onto the counter.
Cut and shape the board
Inspect the blank and mark the better-looking face as the serving side. Cut the rectangle with a saw, supporting the offcut so it cannot pinch the blade. If using a circular saw, clamp a straightedge and check the blade depth: set it only slightly deeper than the board. Trim cautiously; a cut that wanders beyond the layout line is difficult to hide.
Cut the corners to your marks, then refine the curves with a jigsaw, coping saw, or sanding block. Keep the board flat on the bench and work to the line in small increments. A lopsided corner is more obvious after the edges are rounded, so compare the four corners before moving on.
Cut the juice groove
Clamp the board securely to a sacrificial surface. Set the router depth to about 1/8 inch and test the cut on scrap of the same species. Set a fence or template so the groove runs evenly around the board, with rounded corners rather than sharp turns. Make a shallow first pass, then deepen it to the final depth. A heavy cut can burn the wood, chatter, or pull the router away from its guide.
Keep both hands on the router and follow the bit maker’s instructions for feed direction. If the router snags or the board shifts, stop and reset the work rather than forcing the cut. A groove deeper than about 3/16 inch is usually unnecessary for serving and creates more area to scrub.
Sand and finish
Sand the faces and edges in stages: 80 grit only if there are saw marks, then 120, 150, and 220 grit. Move with the grain on the faces. Ease every edge with a few passes so it feels comfortable in the hand, but don’t round it so much that the board looks melted. Vacuum or brush away dust between grits; leftover coarse grit can leave scratches that appear after oiling.
Finish with a food-contact mineral oil or a board conditioner made from mineral oil and wax. Apply a generous coat, let it soak for 20 to 30 minutes, then wipe off all excess. Add another coat if the surface still looks dry. Do not use cooking oil such as olive oil; it can turn rancid. Film finishes can chip under knife use, so they are a poor choice for a board that may also be used for cutting.
A food-grade mineral oil is a simple, low-cost option. A wax blend costs more but can leave a slightly richer feel; either needs refreshing when the board looks dry.
Check and care
Before serving, check for splinters, sharp edges, and a stable, flat underside. Wipe the board with a damp cloth and dry it promptly. Never soak it, put it in a dishwasher, or leave it across a sink where the middle can sag. Water exposure can raise grain, warp the board, or open checks—especially if one face dries much faster than the other.
For raw meat, use a separate board or follow careful food-safety cleaning practices; a decorative serving board is not automatically a good choice for every food. Wash by hand with mild soap, dry upright or on a rack with air reaching both faces, and re-oil when the wood appears pale or rough. If a crack develops, stop using the board for food rather than filling it with an unknown adhesive.