What's inside
As an Amazon Associate I earn from qualifying purchases. This post may contain affiliate links at no extra cost to you.
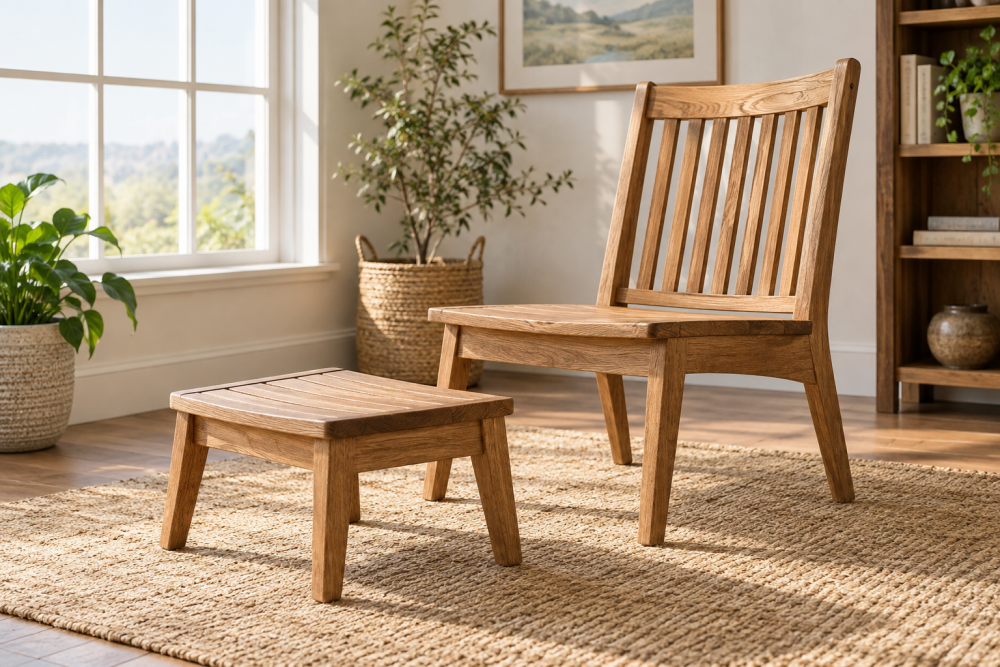
A dining chair with a shaped backrest is a useful intermediate woodworking project. The seat is straightforward; the back is where accuracy matters. A comfortable curve must be repeated on both sides, the joints need to resist twisting, and the finished chair must stand level on four legs.
This plan uses a solid wood seat, four separate legs, side and back rails, and a curved backrest made from either a wide board or several laminated strips. The laminated version is usually the safer choice because it is less likely to split while bending and lets you build a stronger, more predictable curve.
Contents
Project size and material choices
The dimensions below make a normal dining chair approximately 18 inches wide, 20 inches deep, and 33 inches high. A finished seat height of 18 inches works with most dining tables. If your table is unusually high or low, adjust the leg length before cutting.
| Part | Suggested size | Recommended material | Main concern |
|---|---|---|---|
| Seat | 18 × 17 × 1 inch | Hardwood panel or edge-glued boards | Movement and sharp corners |
| Front legs | 1 1/2 × 1 1/2 × 17 1/4 inches | Maple, beech, ash, or oak | Keeping both legs identical |
| Rear legs | 1 1/2 × 1 1/2 × 31 inches | Clear, straight-grained hardwood | Long-grain strength and matching angles |
| Rails | 3/4 × 3 × cut to fit | Same wood as the legs | Accurate shoulder cuts |
| Backrest | 3/4 × 3 1/2 × 18 inches | Wide board or laminated strips | Even curve and comfortable edges |
Buy extra stock for the legs and backrest. A knot or short-grain defect that is harmless in a cabinet can become a break in a chair. If you are buying tools for the project, a woodworking combination square is more useful here than a large collection of specialized gauges.
Step 1: Make and shape the seat
Glue up the seat from two or three boards, keeping the grain direction consistent and alternating the growth-ring orientation if the boards allow it. Let the panel dry fully, then plane or sand it to about 1 inch thick. Cut it to 18 by 17 inches.
Mark a 1 1/2-inch corner radius on the front corners. Cut the curves with a bandsaw or jigsaw, then refine them with a router and template or a sanding block. Ease every exposed edge with a 1/8-inch round-over bit or hand sanding. A square seat edge becomes uncomfortable quickly, especially when the chair is used for a long meal.
Do not permanently attach the seat yet. It is easier to assemble and square the base while the seat is still separate.
Step 2: Cut the legs and frame rails
Cut the front legs to 17 1/4 inches. The rear legs should be about 31 inches so they continue upward to support the backrest. Make a stop block and cut the front legs together; a difference of even 1/16 inch can make the chair rock.
Cut the front, back, and side rails to fit between the legs. A practical starting point is a 3-inch rail height, with the bottom of each rail about 3 inches above the floor. Leave at least 2 1/2 inches of solid wood below the seat for strength.
Mortise-and-tenon joints are the best long-term choice. For a beginner-friendly build, use loose tenons or substantial dowels rather than relying on screws alone. Two 3/8-inch dowels at each rail joint are suitable if they are accurately aligned and glued. Screws can help clamp a joint, but a screw driven into end grain is not a substitute for a mechanical joint.
Step 3: Assemble and square the chair base
Dry-fit the front and rear leg pairs first. Check that the legs sit flat and that the rails are flush with the leg faces. Glue the joints one pair at a time, then connect the pairs with the side rails. Use clamps without over-tightening; excessive pressure can pull a joint out of square.
Measure diagonally across the base in both directions. The measurements should be within 1/8 inch of each other. If they are not, push the frame into square before the glue sets. Set the frame on a flat surface and check for rocking. Correct a small problem by marking the long leg and sanding it gradually. Do not cut randomly from several legs, or you may create a chair that rocks in a different direction later.
Step 4: Lay out the shaped backrest
Make a full-size paper or plywood template before cutting the backrest. A comfortable shape usually has a shallow outward bow toward the sitter, with the center projecting about 3/4 inch farther than the ends. Keep the curve broad rather than making a sharp arc. A tight curve creates weak short grain and uncomfortable pressure points.
For a single-board backrest, choose clear stock at least 3 1/2 inches wide. Cut the curve slightly outside the line, then use a template and flush-trim bit to produce a clean, repeatable shape. For a laminated backrest, resaw or buy strips about 1/8 to 3/16 inch thick, spread glue evenly, and clamp them around a plywood form. Leave the assembly in the form for the glue manufacturer’s full recommended time.
A set of woodworking bar clamps is useful for laminating. Cheap clamps are fine for this job if they hold pressure without slipping; you do not need premium clamps for one chair.
Step 5: Fit and attach the backrest
Mark the same height on both rear legs and drill the backrest holes or mortises with a guide block. The backrest should sit roughly 8 to 10 inches above the seat, leaving enough lumbar support without making the chair feel closed in.
Use a dry fit to check three things: the backrest is centered, both ends are at the same height, and the curve faces the sitter correctly. A common failure is reversing a laminated back or drilling one rear leg slightly higher than the other. Fix alignment before applying glue.
Attach the backrest with two dowels or a tenon at each end. If the backrest is wide, allow it to expand and contract across its width by making one fixing point snug and the other slightly elongated across the grain. Do not trap a wide solid board rigidly with multiple screws.
Step 6: Sand, test, and finish
Sand the chair through 120 and 180 grit, stopping at 180 unless you are applying a very thin finish. Round the front seat edge more generously than the rear edge. Test the chair before finishing by sitting down, shifting your weight, and pulling gently on the backrest. Creaking usually indicates a loose joint, while visible movement at a rail joint means the frame needs repair rather than more finish.
For a dining chair, a durable wipe-on polyurethane, hardwax oil, or quality furniture varnish is practical. Apply at least three thin coats of a wipe-on finish, sanding lightly between coats where the instructions call for it. A wipe-on polyurethane wood finish is forgiving for a first project, though it gives a less natural feel than oil. Finish the underside and all end grain as well as the visible surfaces; unfinished areas absorb moisture unevenly and encourage movement.
Before putting the chair into regular use, let the finish cure completely. Finally, place it on a hard, level floor and confirm that it does not rock. A shaped backrest rewards careful layout, but the chair’s real strength comes from equal legs, well-fitted joints, and a back attachment that is allowed to move with the wood.