What's inside
As an Amazon Associate I earn from qualifying purchases. This post may contain affiliate links at no extra cost to you.
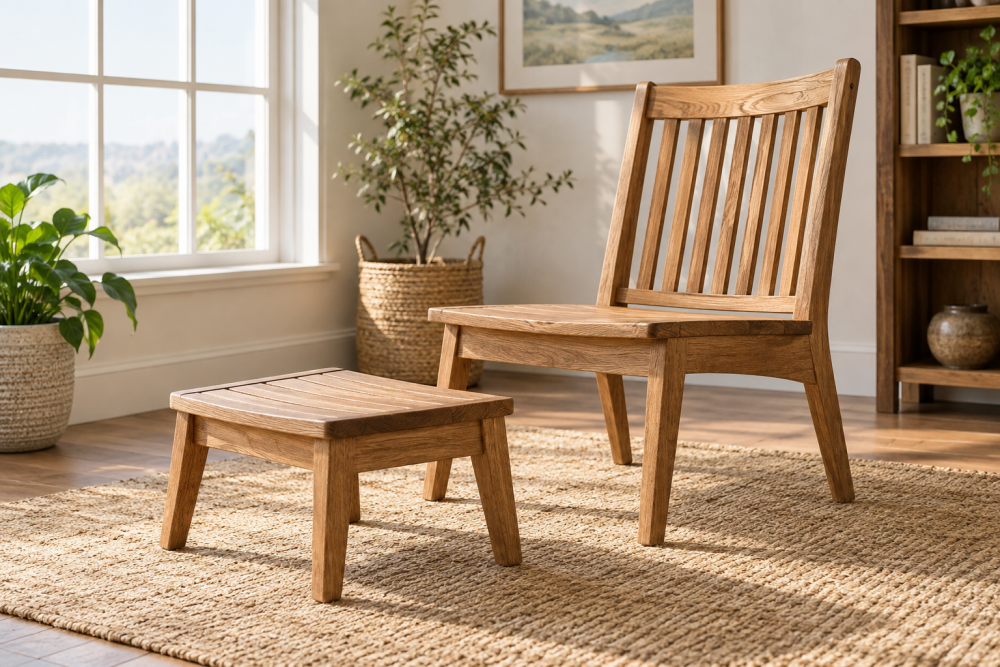
A wooden dining chair with a shaped back splint looks more complicated than a straight-back chair, but the construction is straightforward: four legs, side and back rails, a seat, and one curved or tapered splint that supports the sitter’s back. The difficult parts are keeping the legs square, cutting matching joinery, and shaping the splint without making it weak.
This project is best for an intermediate woodworker. You need to cut accurate mortises and tenons or dowel joints, glue a wide frame without twisting it, and bend or shape a back piece. Plan on a weekend for construction, plus finishing time.
Contents
Choose the Design and Materials
The dimensions below suit an average dining chair, but make a cardboard mockup before cutting expensive stock. A finished seat height of 18 inches is standard. Use a seat about 18 inches wide by 17 inches deep, with the back posts rising to roughly 34 inches from the floor.
| Part | Suggested size | Material guidance |
|---|---|---|
| Front legs | 1-3/4 by 1-3/4 by 18 inches | Straight-grained hardwood |
| Rear legs | 1-3/4 by 1-3/4 by 34 inches | One continuous piece if possible |
| Side and front rails | 3/4 by 2-1/2 inches | Hardwood, with long grain along the rail |
| Seat | About 18 by 17 by 3/4 inch | Solid wood or plywood with a hardwood edge |
| Back splint | About 3/4 by 3-1/2 by 20 inches | Clear, flexible-grained hardwood |
Oak, ash, maple, beech, and cherry all work. Ash and beech are good choices for a shaped splint because they are strong and less likely to split than brittle, short-grained boards. Avoid knots in the splint and rear legs. Buy about 25 percent more lumber than the finished parts require for defects and layout.
For a first chair, a hardwood chair-making lumber blank is often worth the extra cost. The cheaper option is ordinary kiln-dried hardwood from a local supplier, provided it is flat, acclimated, and free of major defects.
Make the Shaped Back Splint
Draw the splint full-size on cardboard first. A comfortable shape is slightly narrower at the ends, about 2-1/2 inches wide there and 3-1/2 to 4 inches wide through the middle. Keep at least 5/8 inch of wood at the thinnest point. The finished splint should curve toward the sitter by approximately 1-1/2 inches across its height, with eased edges rather than a sharp bend.
There are two practical ways to make it. The safest for a first build is to cut the outline from a thick board, then shape the front face with a spokeshave, rasp, or router sled. This produces a strong, continuous-grain part. Do not cut the splint from a short offcut with grain running across its width; it may snap when someone leans back.
For a more pronounced curve, laminate three thin strips, each about 1/4 inch thick, over a curved form. Spread glue evenly, clamp from the center outward, and leave the assembly overnight. Laminating is more predictable than steaming, but the glue line remains visible unless the strips are cut from matching stock.
A spokeshave and wood rasp set gives better control than a power sander when shaping the splint. Stop frequently and check both edges against your template. A splint that is thinner on one side will twist when clamped.
Cut and Prepare the Chair Parts
Mill all four legs and rails together so their thicknesses match. Mark the inside faces and label every joint. Cut the rear legs as full-length pieces if the design allows; this eliminates a joint between the back post and rear leg and makes the chair much stronger.
Use 3/8-inch mortise-and-tenon joints for the rails if you have the tools and experience. A tenon about 1-1/4 inches long provides useful glue area. Loose tenons or paired 3/8-inch dowels are acceptable alternatives, but dowels demand accurate drilling. The most common failure is a rail that meets its leg slightly out of square, leaving the chair to rock after glue-up.
Dry-fit the entire base before applying glue. Check that the front rail and both side rails are level, that the rear legs are parallel, and that the diagonals of the frame match within 1/8 inch. If the measurements differ more than that, correct the joints before proceeding.
Assemble the Base
Glue the side assemblies first, then join them with the front and back rails. Use a flat assembly table and clamp across the joints without crushing the wood. Measure diagonals again while the glue is wet. Wipe squeeze-out with a damp cloth, but do not flood open end grain with water.
After the glue cures, test the chair on a flat floor. If it rocks, identify the short leg rather than sanding randomly. Mark the high leg, trim it with a sharp block plane or sanding block, and test again. A chair that rocks before the seat is installed will usually get worse, not better.
Fit the Splint and Seat
Cut shallow mortises or stopped dadoes into the rear legs for the splint. Position its center about 25 to 27 inches above the floor, leaving enough room for the user’s lower back to clear the seat. The splint should lean or bow slightly backward at the top. Use a temporary spacer and clamps to set the curve before marking the joinery.
Never rely on screws alone for the splint. Use glue in the mortises, then add a hardwood pin through each rear leg if the joint permits it. Predrill the pin holes to prevent splitting. A screw can supplement the joint, but it should not carry the chair’s leaning load by itself.
Attach the solid-wood seat with screws through slotted cleats or figure-eight fasteners. The slots allow seasonal movement across the grain. If you use plywood, a fixed screw is acceptable, although a hardwood edge will improve appearance and protect the plywood layers.
Sand and Finish
Ease every exposed edge with a 1/16- to 1/8-inch roundover. Sand through 120, 150, and 180 grit; going much finer can reduce finish adhesion without improving a dining chair’s durability. Pay special attention to the splint, where sharp edges become uncomfortable quickly.
For a practical dining-chair finish, use three thin coats of satin water-based polyurethane, sanding lightly with 320 grit between coats. It dries quickly and resists spills. Oil-based polyurethane gives a warmer color and longer open time, but it smells more and may take several days to cure fully. Apply finish to the seat underside and inside rail surfaces before final assembly if access will be difficult.
Check the Finished Chair
Before using the chair, inspect every joint for gaps and set it on a hard, level floor. Sit down gently, then lean back while watching the splint and rear joints. There should be no clicking, movement, or visible glue-line opening. Tighten hardware only if the design includes hardware; do not try to pull a loose mortise-and-tenon joint closed with a screw.
Keep the first chair conservative: use a broad splint, generous joints, and straight-grained stock. Once the design proves comfortable and rigid, you can reduce the splint thickness, introduce stronger curves, or substitute a woven seat without changing the basic frame.