What's inside
As an Amazon Associate I earn from qualifying purchases. This post may contain affiliate links at no extra cost to you.
A bench hook is a small shop-made stop that holds work against a bench edge while you saw or pare it. It is quick to build from plywood offcuts, needs no hardware, and is useful for crosscutting narrow stock by hand. The dimensions below suit a typical bench and a handsaw; adjust them if your bench is unusually thick or your workpieces are wider.
Contents
Materials and dimensions
Use plywood at least 12 mm (½ inch) thick for the base. A piece about 230 mm wide by 300 mm long (9 by 12 inches) is a practical starting size. The upper stop can be the same width, about 40 mm tall (1½ inches), and the lower hook about 25 mm tall (1 inch). Both should run across the full width of the base.
These proportions leave room for your hands while keeping the hook small enough to store easily. If you often cut wider boards, make the base wider than the workpiece by at least 25 mm (1 inch). Plywood with sound, flat faces is preferable to warped scraps or material with loose plies. Cabinet-grade plywood is not necessary; a clean piece of construction plywood is fine.
Tools and supplies
You will need a saw for cutting the parts, a square, pencil, clamps, and wood glue. A drill and screws are optional. A fine-tooth crosscut handsaw is useful for the work the finished hook is meant to support, but use any serviceable handsaw you already own. A sanding block or file helps knock down sharp corners.
For glue, ordinary woodworking PVA is adequate. Screws can reinforce the stops, but they are not essential if the glue joint has good contact and is clamped while it dries. If you use screws, choose a length that will not break through the opposite face of the base.
Choose your joinery
| Method | Advantages | Drawbacks |
|---|---|---|
| Glue only | Fast, inexpensive, no visible screw heads | Depends on flat mating surfaces and a sound glue cure |
| Glue and screws | Clamps the parts mechanically and tolerates small gaps better | Requires drilling; screws can split thin plywood or protrude |
Glue only is fine for a light-duty hook made from flat plywood. Add screws if the scrap is rough, the stop is narrow, or you expect frequent hard sawing. Neither method compensates for a warped base: that will rock on the bench and make the tool frustrating to use.
Cut the parts
Mark the base to your chosen size and check its corners with a square. Cut it as straight as you reasonably can; a slightly imperfect edge is usable, but a base that twists or rocks is not. Trim the upper stop and lower hook to the same width as the base. The upper stop should be around 40 mm tall and the lower one around 25 mm tall.
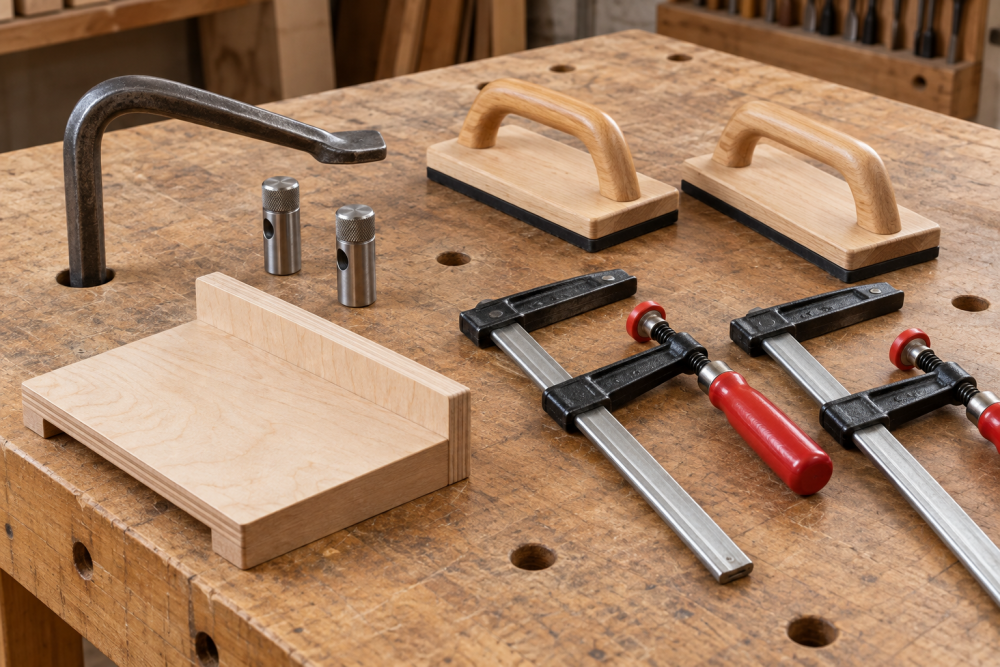
Before assembly, place each strip across the base and check that its ends are flush. The upper stop goes near one end of the top face, with its edge about 25 mm (1 inch) in from the end. The lower hook goes on the underside at the opposite end, flush with that end of the base. Keep both strips square to the long edges. The offset upper stop provides a ledge for the workpiece; the lower hook catches the bench edge.
Assemble the bench hook
Spread a thin, even layer of glue on the contact face of the upper stop. Set it across the top of the base at the marked position, align it square, and clamp it. Wipe away squeezed-out glue with a damp cloth. Check the alignment again before the glue sets; a stop angled across the base can steer a saw cut off line.
Turn the base over and attach the lower hook at the opposite end, with the strip flush to the base edge. Clamp it square. If adding screws, drill pilot holes first, then drive two or three screws through each strip into the base. Keep holes well away from the plywood edges to reduce splitting, and confirm screw tips cannot emerge through the work surface. Follow the glue maker’s cure time before putting the hook under load.
Check the fit and use it
Set the lower hook over the edge of your workbench so the base lies flat. The hook should catch securely without rocking. Place a scrap board against the upper stop and make a light test cut. If the base shifts, check that the lower hook seats against the bench edge and that the bench surface is clear of chips. A strip of thin non-slip shelf liner under the base can help on a slick bench, though it may make the tool sit slightly higher.
For a cut, hold the workpiece firmly against the upper stop with your non-sawing hand, keeping fingers above and behind the saw path. Start with short, controlled strokes and let the saw do the cutting. The bench hook is not a substitute for a vise when planing, heavy chiseling, or working on large stock; those jobs can lever the tool off the bench.
Common problems and fixes
If the hook rocks, flatten the underside with sandpaper on a known-flat surface, or remake the base from flatter stock. If the upper stop loosens, remove dust and old glue, then reglue it; screws can be added as backup. A stop that is too low may not register thin pieces well, while one that is excessively tall can obstruct the saw handle. Keep the stop tall enough to support the stock but low enough to give your saw clear access.
After several cuts, saw kerfs may reach the base. That is normal, but do not cut deeply enough to weaken the upper stop or split the base. You can rotate the hook or make a fresh one from another offcut when the surface becomes too chewed up. For a replacement, a small panel of ½-inch plywood is convenient, but suitable scrap is just as good.
Finish is optional. Leaving the hook bare avoids slippery coatings and makes glue repairs easy. If you seal it, use a thin coat and keep the contact faces clean so the workpiece still grips the stop. The useful feature is not a polished surface; it is a square, stable tool that sits securely on your bench.