What's inside
As an Amazon Associate I earn from qualifying purchases. This post may contain affiliate links at no extra cost to you.
Contents
Best Beginner Woodworking Projects for Learning Half-Lap Joints
A half-lap joint removes half the thickness from each of two pieces so they overlap at the same level. The joint is simple in concept, but it teaches several skills that carry into cabinetmaking: accurate measuring, controlled sawing, waste removal, and fitting without splitting the wood.
For a first project, use straight, affordable stock such as pine, poplar, or construction-grade fir. Hardwood is not necessary while you are learning. A sharp handsaw, a chisel, a combination square, and a clamp will do the job. A router or table saw makes repeated joints faster, but neither is required.
As an Amazon Associate we earn from qualifying purchases at no extra cost to you.


What Makes a Good First Project?
The best beginner project uses a small number of joints, keeps the parts easy to hold, and does not punish a slightly imperfect fit. Avoid starting with a large table or a load-bearing frame. Long parts are harder to keep square, and a small error at each joint can compound into a visibly twisted assembly.
Choose stock between 3/4 and 1 inch thick. Mark the joint shoulders with a sharp pencil or marking knife, then set a cutting gauge or square to half the actual thickness. Do not assume nominal lumber dimensions are exact. A board sold as 1 inch thick may measure 3/4 inch after milling.
Cut just on the waste side of the line. Removing too much material creates a loose joint that glue cannot reliably correct. Removing too little is useful: you can pare the remaining fibers with a chisel and sneak up on a tight fit.
Project Comparison
| Project | Typical size | Half-laps | Difficulty | Best lesson |
|---|---|---|---|---|
| Picture-frame corner practice | 8 by 10 inches | 4 | Easy | Accurate layout and shoulder cuts |
| Small wall shelf bracket | 10 to 14 inches | 2 to 3 | Easy | Fitting intersecting parts |
| Compact trestle stool | 16 to 18 inches tall | 4 to 6 | Moderate | Repeatability and square assembly |
| Garden trellis | 24 by 36 inches | 8 to 12 | Moderate | Multiple joints and outdoor finishing |
1. Picture-Frame Corner Practice
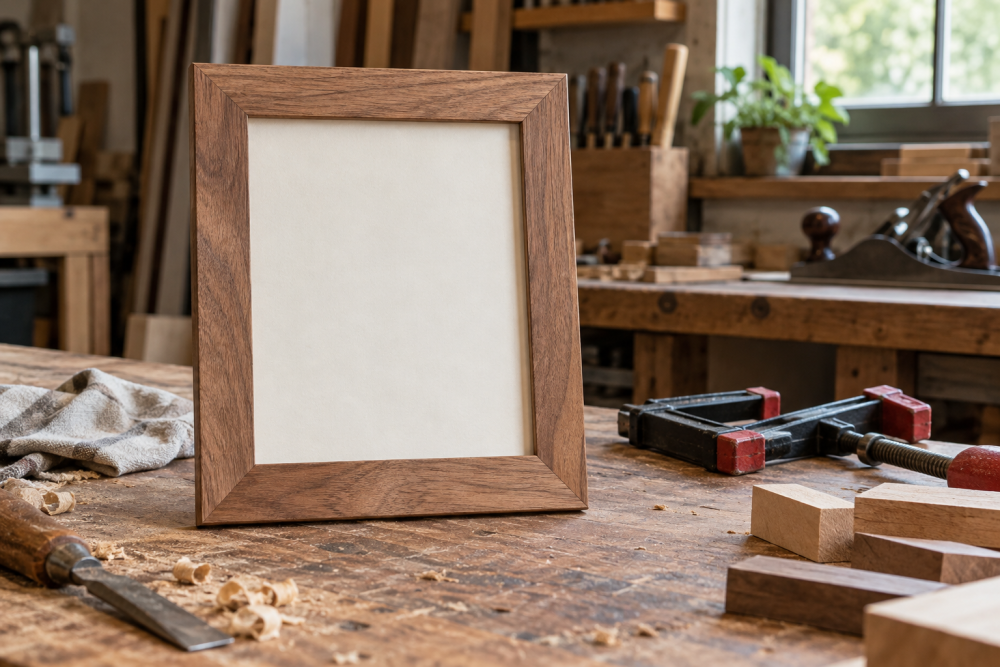
A small practice frame is the lowest-risk way to learn the joint. Cut four pieces of 1-by-2 stock, each about 12 inches long. At the end of each piece, lay out a half-lap approximately 2 inches long. Cut two matching pieces from the face side and the other two from the back side so the frame closes around a square opening.
Use a backsaw or fine-tooth Japanese pull saw to define the shoulders. Make several relief cuts inside the waste area, stopping at the depth line, then remove the waste with a chisel. This is safer than levering out a large chip, which can tear below the shoulder.
Dry-fit the corners on a flat surface. The joint should close with light hand pressure. If it requires a mallet, find the high spot and pare it down. If you can see a gap wider than about 1/32 inch, do not fill it with glue and sawdust; recut or remake the part. A frame also exposes another common mistake: joints that fit individually but make the assembly out of square.
2. Small Wall Shelf Bracket
A triangular shelf bracket introduces a practical load-bearing shape without requiring many parts. Cut one vertical piece 12 inches long, one horizontal piece 10 inches long, and a diagonal brace about 14 inches long from 1-by-3 stock. Use half-laps where the vertical and horizontal pieces meet, and add a half-lap at each end of the diagonal.
For a cleaner result, make a simple plywood or scrap-wood stop block. It keeps the parts aligned while you mark repeated depths. The diagonal is the most likely part to cause trouble because its angle makes layout less intuitive. Mark the joint directly against the assembled pieces rather than relying only on calculated measurements.
Keep this bracket for light-duty use, such as a small plant shelf or mail shelf. A half-lap is strong when the shoulders bear tightly, but soft pine can crush around screws. If the bracket will hold heavy books, use thicker stock, longer screws, and a design with more support.
3. Compact Trestle Stool
A low stool is a useful next step because it requires several matching joints. Build two end trestles from 1-by-3 or 1-by-4 stock, then connect them with two stretchers. Use half-laps where the legs cross the trestle rails, or use them at the stretcher connections if you want a simpler layout.
Make one joint first and use it as a template for the rest. Mark every part from the same reference face. Mixing faces is a frequent cause of mismatched depths and legs that do not sit flat. Check the assembly diagonally before applying glue; equal diagonal measurements usually indicate a square frame.
A 24-inch bar clamp is useful here, but cheaper screw clamps are fine for a small stool. Clamp pressure should close the joint, not bend the frame. Add screws or dowels only after the fit is correct. Fasteners cannot pull a badly cut half-lap into a reliable shape.
4. Simple Garden Trellis
A trellis provides practice with repeated half-laps in a grid. Use cedar, redwood, or treated lumber if it will remain outdoors. Build a rectangle from two vertical rails and two horizontal rails, then add two or three internal slats. Keep the grid spacing consistent with a story stick, which is faster and more accurate than measuring every intersection.
Outdoor wood moves with moisture, so leave the joints snug but not impossibly tight. Seal or paint the cut surfaces, especially on treated or cedar stock. A trellis does not need furniture-grade perfection, making it a good project after the practice frame.
If you have access to a router, a compact trim router with a straight bit can remove the waste quickly. Use a guide and make several shallow passes rather than one deep cut. For one trellis, hand tools are cheaper and perfectly adequate; a router earns its keep when you plan to make many identical joints.
Tools and Common Mistakes
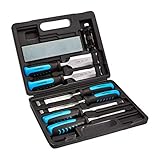
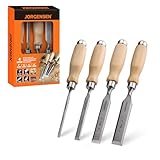
A square is more important than an expensive saw. Add a sharp woodworking chisel set in the 1/4-, 1/2-, and 3/4-inch range, a marking knife or sharp pencil, and a flat work surface. Hone the chisel before starting; a dull edge encourages prying and bruises the joint.
The most common failures are cutting on the wrong side of the line, measuring from different faces, and removing waste past the depth mark. Another is sanding the joint until it fits. Sanding rounds the shoulders and creates gaps. Pare high spots with the chisel, test the fit often, and keep the joint faces flat.
Before glue-up, dry-assemble the entire project. Check for rocking, twist, and gaps under a straightedge. If a part is short or a joint is badly oversized, remake it. Half-lap projects are inexpensive practice, and replacing one board is usually faster than disguising a mistake in the finished piece.