What's inside
As an Amazon Associate I earn from qualifying purchases. This post may contain affiliate links at no extra cost to you.
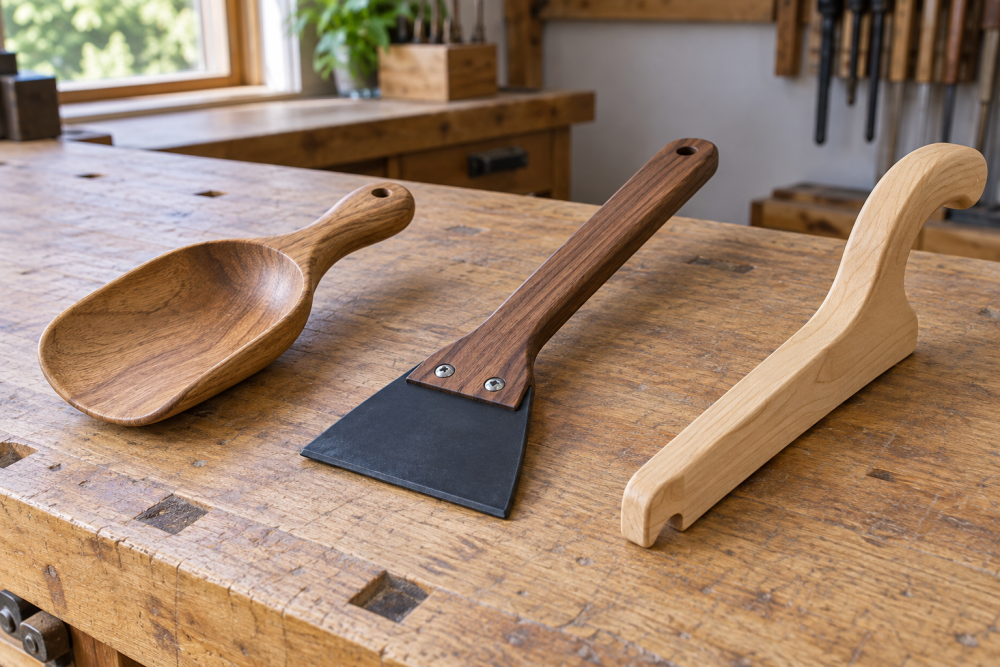
A wooden push stick is a simple shop aid for guiding stock past a table-saw blade while keeping your hands away from the cut. This beginner version uses scrap hardwood, a notched heel and a rounded grip. It is suited to pushing narrow boards through a rip cut—not to every cut, and not as a substitute for a blade guard or careful setup.
Contents
Choose a design that fits the job
Make the stick about 12 to 14 inches long, 2 to 2½ inches tall at the grip, and roughly ½ to ¾ inch thick. Add a rear heel that catches the end of the workpiece. A longer handle gives your hand more distance from the blade; the heel provides forward pressure without relying on friction alone.
This basic shape works for many narrow rip cuts, but it is not a universal safety device. Use a purpose-made push block or a second push tool when a cut needs downward pressure, when the workpiece is very short, or when the fence and blade layout leave no safe path for the stick. Do not push a small offcut between the blade and fence.
Materials and tools
Use straight-grained hardwood such as maple, birch or beech, about ½ to ¾ inch thick. A flat piece of ¾-inch plywood is also a reasonable choice and may be more stable than an unknown scrap board. Avoid cracked, warped or knotty stock: a split near the heel can let the stick fail under pressure. Softwood is cheap and easy to shape, but its heel can wear or break sooner.
You will need a pencil, ruler, square, saw for roughing out the shape, and a rasp or file for shaping. A drill and roundover bit or sandpaper can soften the grip edges. A band saw is convenient, but not essential. If you do not already own one, a wood rasp and file set is a lower-cost way to smooth the curves.
Choosing stock for a beginner push stick
| Material | Good points | Trade-offs | Best fit |
|---|---|---|---|
| Hardwood offcut | Durable heel; comfortable to shape | May split if grain or defects are poorly placed | A sound, straight scrap already in the shop |
| ¾-inch plywood | Usually stable; layered construction can resist splitting | Edges need sanding; damaged plies weaken the heel | A quick build from a clean panel offcut |
| Softwood scrap | Cheap and easy to cut | Heel may dent, wear or snap sooner | A temporary stick or practice build |
For shaping, a coarse rasp removes material quickly; a sanding block is slower but works fine for small adjustments. A hand sanding block is often enough if the saw cut is already close to the line.
Draw the grip and heel
Mark a blank around 14 inches long and 2½ inches tall. Keep the grip at least 4 inches long, with a gentle curve on top rather than a sharp dip that concentrates pressure under your fingers. Round the front end of the grip so it is comfortable to hold. A hole or deep finger notch is optional; it can make the stick easier to pick up, but a small notch may weaken a narrow handle.
At the back, draw a heel about ¾ inch deep and 1 to 1½ inches wide, leaving enough material above it that the stick cannot snap easily at the step. The heel should catch the board’s trailing end while the stick stays behind the stock. Check that its lower edge will not drag on the table. The exact profile matters less than a solid heel, a comfortable grip and enough clearance for your cut.
Cut, shape and check the stick
Cut the outline with a band saw, coping saw or another suitable tool, keeping your hands clear of the blade. If rough-cutting on a band saw, leave about ⅛ inch outside the line and refine it with a rasp. Do not try to hold a tiny piece close to a moving blade just to follow a curve; leave the profile simpler if the work cannot be held securely.
Round over the top and side edges with a file or sandpaper, stopping when the grip feels comfortable. Sand the heel and its inside corner smooth, but do not thin the heel to a fragile point. Inspect both faces and edges for cracks, torn layers or splintering. If the blank flexes noticeably under firm hand pressure, choose thicker material or make a new stick.
Test it and use it safely
Before using the stick, unplug the saw or otherwise follow its specified safe setup procedure. With the blade stopped, place scrap of the same thickness against the fence and check that the heel engages the board. Confirm that the stick can travel through the intended path without hitting the fence, guard or blade area. If it binds, adjust the shape or choose another push tool.
For a cut, set the fence and guard as the saw manufacturer directs, stand out of the blade’s line, and keep the workpiece flat against the table and fence. Use the heel to move stock steadily; do not twist the stick or lift the workpiece. Keep both hands away from the blade path, and stop the saw if stock shifts, pinches or stalls. Wait for the blade to stop before clearing offcuts.
Check the stick before each session. Replace it if the heel cracks, the grip loosens, or the contact face becomes too worn to catch stock reliably. A homemade wooden stick costs little and is easy to replace. For cuts needing firm downward pressure or better control over a wider board, a purpose-made table-saw push block can be a better fit; the simple stick remains useful for the narrow rip cuts its shape suits.