Key takeaways
- Almost any saw cuts a 2x4, but square, splinter-free results come down to depth setting, tooth count, and how you support the board. Here is the full procedure.
What's inside
As an Amazon Associate I earn from qualifying purchases. This post may contain affiliate links at no extra cost to you.
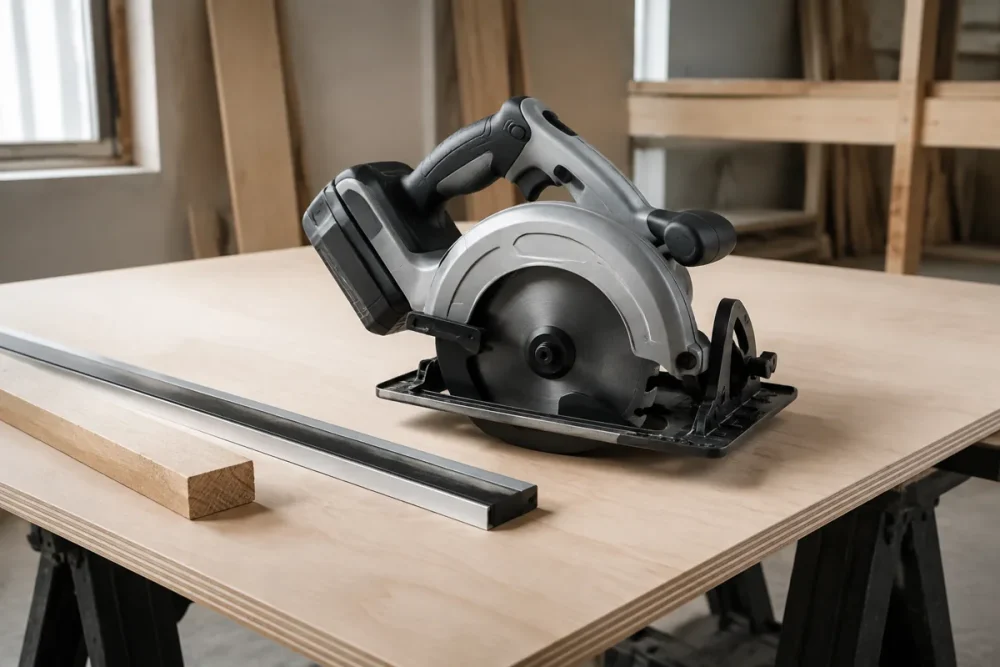
A 2×4 measures 1-1/2 inches thick by 3-1/2 inches wide, so almost any saw on the shelf will get through one. That is exactly why choosing a circular saw for cutting 2×4 lumber trips people up: the decision looks trivial, and then the first cut lands two degrees off square, the blade binds halfway across, and the end grain tears out in long splinters.
Raw power is rarely the limiting factor in framing lumber. Depth of cut at a bevel, a baseplate that is truly square, tooth count, and board support decide whether a cut is usable. Here is what to buy, how to set the saw up, and the numbered procedure for square crosscuts and safe rips.
As an Amazon Associate we earn from qualifying purchases at no extra cost to you. Product prices and availability are accurate as of the date shown and are subject to change.



| Saw type | Depth at 90 degrees | Bevels a 2× | 4 in one pass | Best use |
|---|---|---|---|---|
| 7-1/4 in. corded sidewinder | About 2-3/8 in. | Yes | Shop bench, decks, long rips | |
| 7-1/4 in. cordless brushless | About 2-3/8 in. | Yes | Full capacity with no cord to drag | |
| 6-1/2 in. compact cordless | About 2-1/8 in. | Usually not | Light framing, overhead work | |
| 5-1/2 in. mini saw | About 1-5/8 to 1-7/8 in. | No | Plywood and trim, not framing |
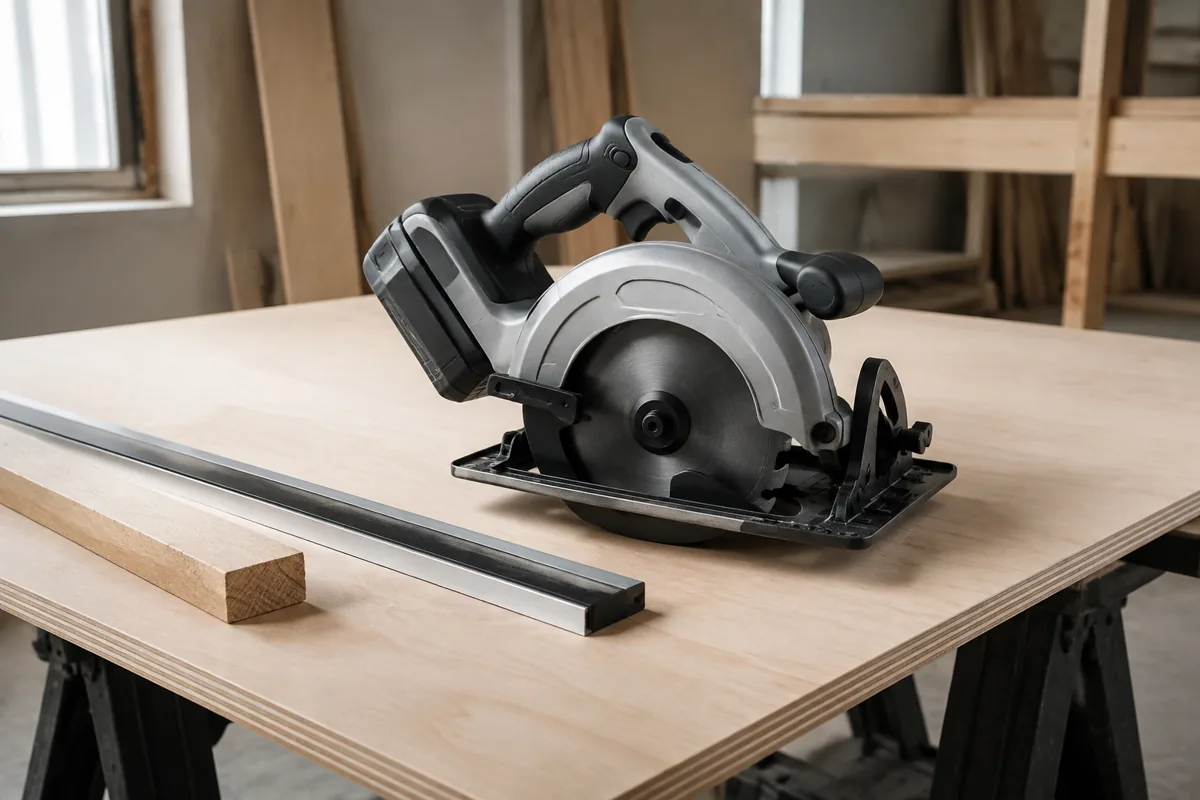
What to Look For in a Circular Saw for Cutting 2×4 Lumber
1. Depth at 45 degrees, not just at 90. Cutting straight through 1-1/2 inches of thickness needs only about 1-3/4 inches of depth once you allow for tooth projection. Tilt the shoe to 45 degrees and the blade travels diagonally through that thickness, so you need roughly 2-1/8 inches. Full-size 7-1/4 inch saws clear that easily. Many compact 6-1/2 inch saws stop short and cannot finish a beveled 2×4 in one pass.
2. A stiff, flat shoe. Thin stamped baseplates flex under hand pressure and lose their 90 degree setting after a drop. Cast magnesium or heavy-gauge steel holds calibration, which matters more than a few extra amps.
3. Fast blade changes. You will switch between a 24-tooth framing blade and a 40-tooth blade for cuts that show. An onboard wrench and a spindle lock keep that from becoming an excuse to keep running a dull blade.
4. Cord or battery. An 18V or 20V brushless saw (DeWalt XR, Milwaukee FUEL, Makita LXT) handles dry 2x4s all day and earns its keep away from an outlet. A 15 amp corded sidewinder costs less and never fades on the last cut of a batch.
7-1/4 in. corded sidewinder saw
The unglamorous choice and still the sensible one for bench work. Full depth capacity, nothing to charge, and it leaves budget for good blades.
Cordless brushless 7-1/4 in. circular saw
Buy into the battery platform you already own. Full-size depth, and a brushless motor holds blade speed in damp treated lumber where cheap saws bog down.
- ✔ Full depth at 45 degrees, so bevels take one pass
- ✔ No cord to snag on sawhorses or offcuts
- ✔ Shares batteries with your drill and driver
- ✘ Higher cost per cut than corded
- ✘ Runtime drops in wet or treated stock
- ✘ Nose-heavy with a large battery installed
Set the Saw Up Before You Cut Anything
Step 1. Kill the power. Unplug the saw or pull the battery. Every step below puts fingers near the teeth, and a trigger bumped against a sawhorse is how people get hurt.
Step 2. Check the shoe for square. Retract the guard, set a combination square on the baseplate, and bring it against the flat body of the blade between two teeth, never on a tooth. Daylight means the bevel stop needs adjusting.
Step 3. Set the depth to about 1-3/4 inches. The rule is roughly 1/4 inch of blade below the board, about one full tooth. A blade set too deep exposes more teeth, tears out the underside, and kicks harder when it binds.
Step 4. Mark your shoe offset. Measure from the blade to each edge of the baseplate and write both numbers on the shoe with a marker. You need that figure every time you clamp a straightedge guide, and it differs by model.
Step 5. Build real support. Two sawhorses with sacrificial 2×4 bearers, or a pair of 2x4s on the ground. Support the keeper side and let the offcut end hang free so it drops away instead of pinching the blade.
How to Make a Square Crosscut on a 2×4
Step 1. Measure, then square the line across the 3-1/2 inch face with a speed square. Lines drawn by eye are the most common cause of out-of-square studs.
Step 2. Put an X on the waste side. The kerf eats roughly 1/16 to 3/32 inch, so cutting the wrong side of the line leaves the board short.
Step 3. Hold the speed square against the far edge as a fence for the shoe, pressing firmly with your off hand well behind the blade path.
Step 4. Rest the front of the shoe on the board with the blade clear of the wood, then bring the saw to full speed before the teeth touch anything. Starting with the blade buried is the classic kickback setup.
Step 5. Feed at a steady rate and watch the blade against the line, not the sight notch. If the motor drops in pitch, ease off rather than pushing harder.
Step 6. Follow through past the far edge, release the trigger, and let the blade stop before lifting. Two passes of 120 grit on a sanding block cleans the fuzz off ends that will show.
Ripping a 2×4 and Cutting 4×4 Stock
Ripping cuts along the grain, and a handheld saw has no riving knife to hold the kerf open, so this is where things get dangerous. Clamp a straightedge at your measured shoe offset, or use the rip fence that shipped with the saw for cuts within a few inches of the edge. Support both halves, and if the kerf closes behind the blade, stop and tap a shim into it.
A 4×4 is a full 3-1/2 inches thick, past the reach of any 7-1/4 inch saw. Carry the layout line around all four faces, cut one face at full depth, then flip the post and cut from the opposite side. The two kerfs meet only if your lines are accurate and the shoe is square.
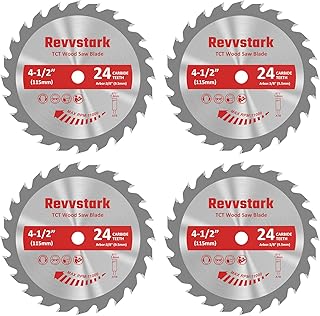
24-tooth 7-1/4 in. framing blade
A fresh inexpensive blade cuts better than a tired premium one. Keep a 24-tooth for framing and a 40-tooth for visible cuts, and treat blades as consumables.
Common Mistakes That Ruin 2×4 Cuts
Cutting between two sawhorses. Both halves sag inward, the kerf closes, and the saw climbs back toward you. Let the offcut fall.
Running full blade depth. More exposed teeth, worse tearout, harder kickback, no benefit.
Steering by the sight notch. Notches are approximate on most saws. Watch the blade meet the line.
Holding the board with a knee or hand near the cut. Clamp it or use a stop block instead.
Using a 60-tooth blade in wet framing lumber. The gullets pack with damp fiber, the blade burns, and the cut wanders.
Frequently Asked Questions
Can a 6-1/2 inch circular saw cut a 2×4? Yes at 90 degrees, with depth to spare. It usually cannot finish a 45 degree bevel through 1-1/2 inch stock in one pass, so you would cut from both faces or move up to a 7-1/4 inch saw.
How many teeth do I need for 2x4s? 24 teeth for framing, ripping, and anything that gets covered. Around 40 teeth for cuts that show, like shelving or a bench top. Skip fine plywood blades in construction lumber.
Why does my saw burn and bog down in 2x4s? In order of likelihood: a dull or pitch-coated blade, a kerf pinching from poor support, depth set too deep, or a twisted board rocking on the bearers. Clean the blade with pitch remover before assuming it is worn out.
Set the depth, square the shoe, mark the waste side, and support the board so the offcut falls free. Do those four things and an entry-level saw produces cuts most people would credit to a miter saw. Skip them and no amount of brushless torque saves the joint.
Check prices on Amazon →