What's inside
As an Amazon Associate I earn from qualifying purchases. This post may contain affiliate links at no extra cost to you.
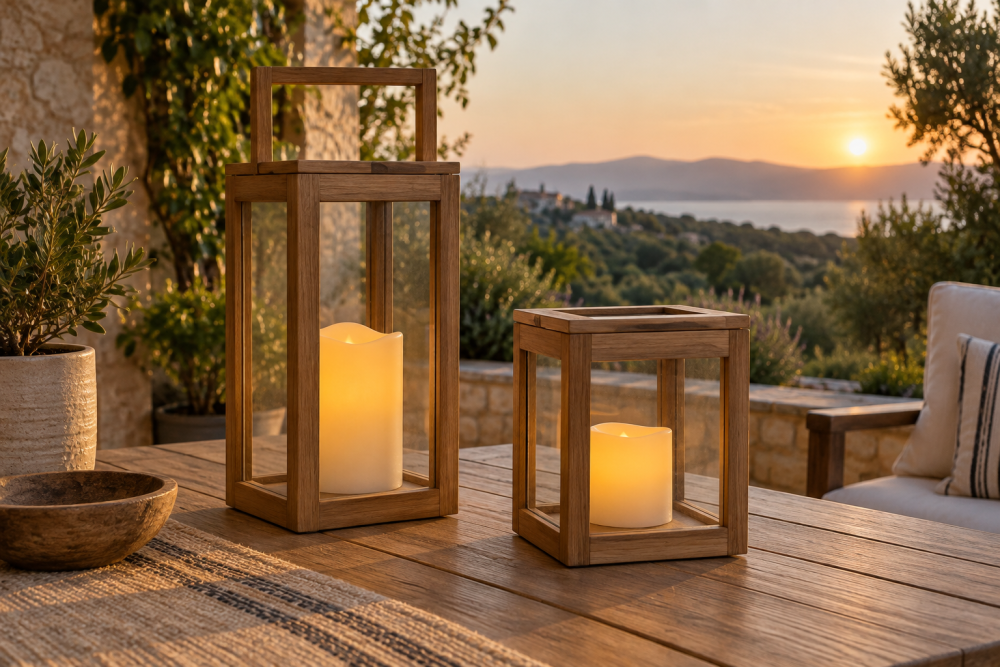
A wooden candle lantern is a manageable weekend project if you can make square cuts and drill straight holes. This version has a cedar frame, four open sides, and a removable metal tray for a candle. The open design is easier to build than a glazed lantern and lets heat escape, but it needs shelter from wind and should never be left unattended.
Contents
Size, materials, and tools
The finished lantern measures about 8 inches square and 14 inches tall, not including the handle. It is sized for a small pillar candle up to 3 inches in diameter. Use cedar or another naturally durable outdoor wood; avoid pressure-treated lumber near an open flame.
For the frame, buy 1-by-2 cedar stock (actual size is usually about ¾ by 1½ inches). You will also need a ¾-inch-thick cedar base blank about 8 inches square, four ¼-inch-thick wood panels around 6½ by 9 inches, and a 6-inch-wide metal candle tray. A tray designed for candles is safer than setting a candle directly on wood. Check its dimensions before cutting the base recess.
Gather a saw, drill, ⅛-inch drill bit, square, clamps, exterior-rated screws, and sandpaper in 120- and 180-grit. A cedar 1-by-2 board assortment is a practical starting point; pick straight pieces with few knots. A miter saw speeds up repeat cuts, but a handsaw and a square work fine.
Cut list and design choices
Cut the frame parts from 1-by-2 stock. The dimensions below assume the corner posts sit on the base and the rails fit between them. Dry-fit the pieces before fastening; stock thickness varies, and a small measurement error can leave the panels loose or prevent the frame from closing square.
| Part | Quantity | Cut size | Purpose |
|---|---|---|---|
| Corner posts | 4 | 12 inches | Vertical supports |
| Top and bottom rails | 8 | 5½ inches | Frame each side between posts |
| Side panels | 4 | 6½ by 9 inches | Wind screens between frame rails |
| Base | 1 | 8 by 8 inches | Supports frame and candle tray |
| Handle pieces | 2 | 6 inches | Optional raised carrying handle |
Thin wood panels block more wind than open slats, but they can trap heat if the lantern is too enclosed. Keep a gap of about 1 inch between the top rails and the panels, and leave the bottom open around the tray. For a breezier, simpler build, use two opposing panels and leave the other sides open. That option is easier to assemble but offers less protection from gusts.
Build the frame
Cut all parts and label them. Sand the cut ends before assembly; sanding is harder once the corners are together. Set the base on a flat surface and mark a square for the posts, leaving about ¼ inch of base visible around the outside edges. Position one post at each corner, check that the posts are perpendicular with a square, then drill pilot holes through the base and fasten each post with two 1¼-inch exterior screws.
Fit the lower rails between the posts, about 1 inch above the base. Drill pilot holes through each rail end and into the posts, then secure with exterior screws. Repeat at the top, keeping the rails level and the opening square. Pilot holes matter here: cedar splits easily near an end, and a split post can make the whole frame wobbly. If a screw starts to bind, back it out and widen the pilot hole slightly rather than forcing it.
Fit the panels and candle tray
Measure each opening between the rails and posts before trimming the panels. Leave roughly ⅛ inch of clearance on each edge so seasonal swelling does not jam them into the frame. Fasten panels from the inside with short exterior screws, or use small brads if the wood is thin. Keep the heads flush; a screw that breaks through the outside face is difficult to hide and can catch on clothing.
Center the metal tray on the base. If it has a rim, mark its footprint and cut a shallow recess only if you have the right tool and can keep the tray removable. A loose tray that sits flat is safer and simpler than a poorly cut pocket. Do not use a glass jar or an improvised tin as a substitute for a stable, heat-rated candle holder.
Sand exposed edges to 180 grit, especially around the handle and panel corners. A plain finish is fine for cedar, which weathers naturally to gray. If you want to retain color, apply an exterior-rated, fully cured finish to the wood only; keep finish off the tray and any surface that may be directly exposed to flame or hot wax. Exterior clear wood finish can slow color change, but it will need maintenance as the weather wears it down.
Finish, test, and use safely
Before lighting a candle, set the lantern on a noncombustible, level surface outdoors and check that it does not rock. Put an unlit candle in the tray and confirm it cannot tip or slide. Keep at least 3 inches of clear space around the flame and 2 inches above it; if your candle is taller, use a taller lantern or a shorter candle. Do not carry the lantern while the candle is lit, and bring it inside during strong wind or rain.
For outdoor use, a battery-operated candle avoids flame and hot-wax risks. A basic unscented pillar candle is cheaper and gives real light, but it requires close supervision and a sheltered location. Battery candles are safer around children and dry leaves, though their light can look less natural. If choosing that route, a weather-resistant LED pillar candle with a timer is convenient; check the listing for outdoor-use ratings, since many decorative LED candles are indoor-only.
Inspect the lantern each season. Tighten loose screws, replace cracked panels, and remove any finish that is peeling near the candle area. Store it dry when you are not using it for an extended period. The open frame is intentionally simple: it is easier to repair than a sealed lantern, but it is not a substitute for a purpose-built fire enclosure.